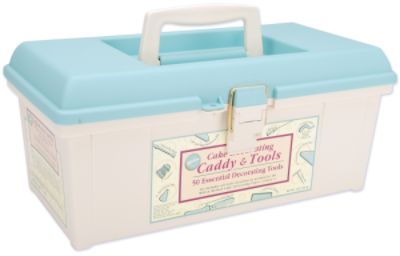
My birthday was about a week after I made the sushi cake, and my husband surprised me with Wilton cake decorating classes. Not only did I love his creative gift, but also a chance to gain some cake decorating skills. A few weeks later, I was enrolled in Course 1: Discover Cake Decorating (AKA buttercream class). Not only did I find the techniques useful, but the best part was that I was able to buy all these great cake decorating supplies. I opted for the Wilton tool caddy kit, which contained a ton of decorator tips, bags, and gel coloring.
We made three cakes, all focusing on different techniques. The first cake showed us how to frost a cake and then use the #16 star tip.
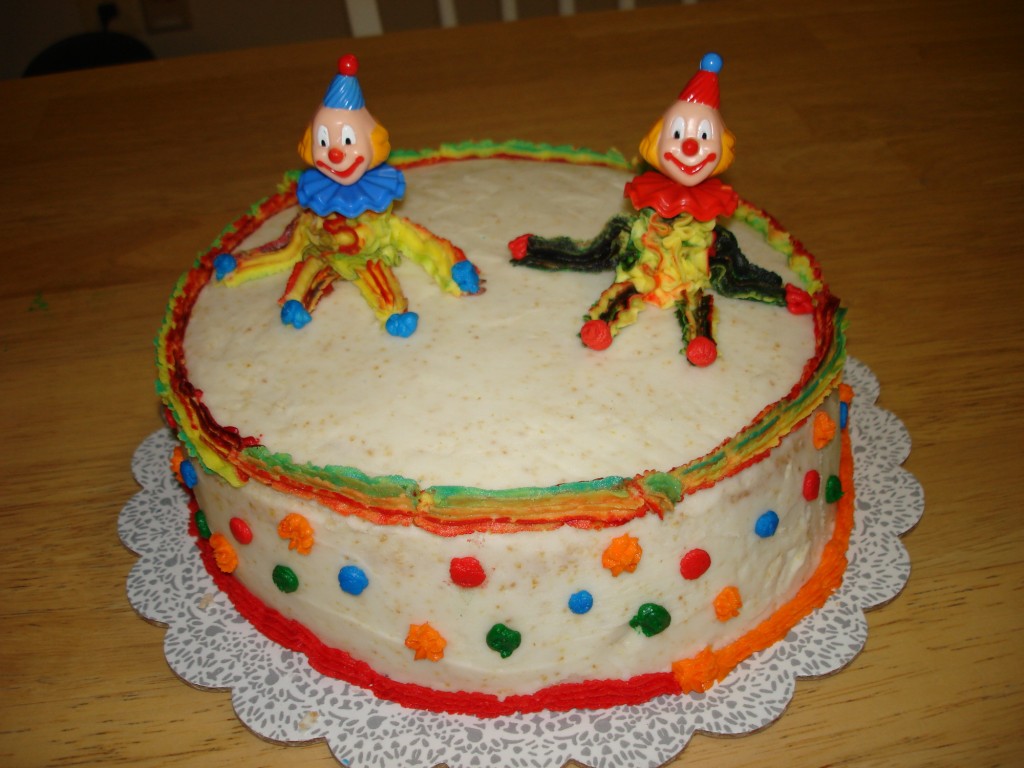
The second cake showed us how to pipe figures with the #21 tip. We made these creepy clown bodies and stuck plastic heads on top. We also learned how to do tie dye icing. Basically put white icing in your bag, and then take a toothpick with a color on it and drag it through the icing. You can do this with a few colors and then when you squeeze it out of the tip, the colors will mix together.
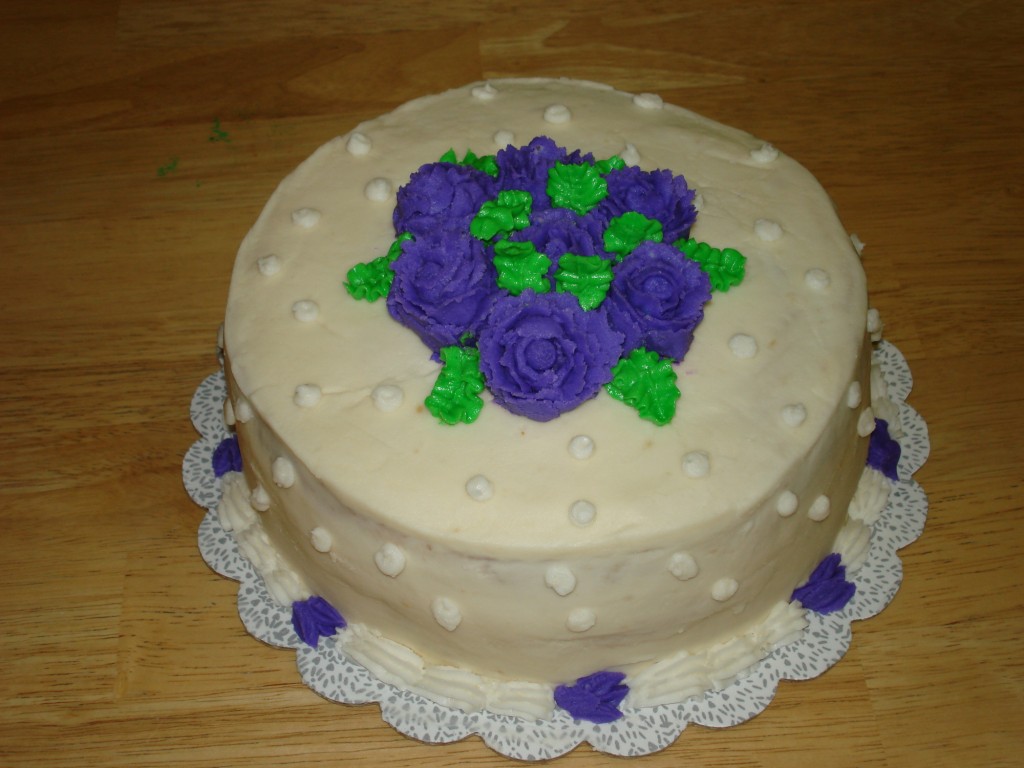
The final cake was my favorite. This cake showed us how to make roses with tip #12 for the base, and #104 for the petals. We also used the #67 leaf tip. I’m still not great at making roses, but given enough time I can usually make at least one good one. They are such a nice accent on a cake. I really should use them more.
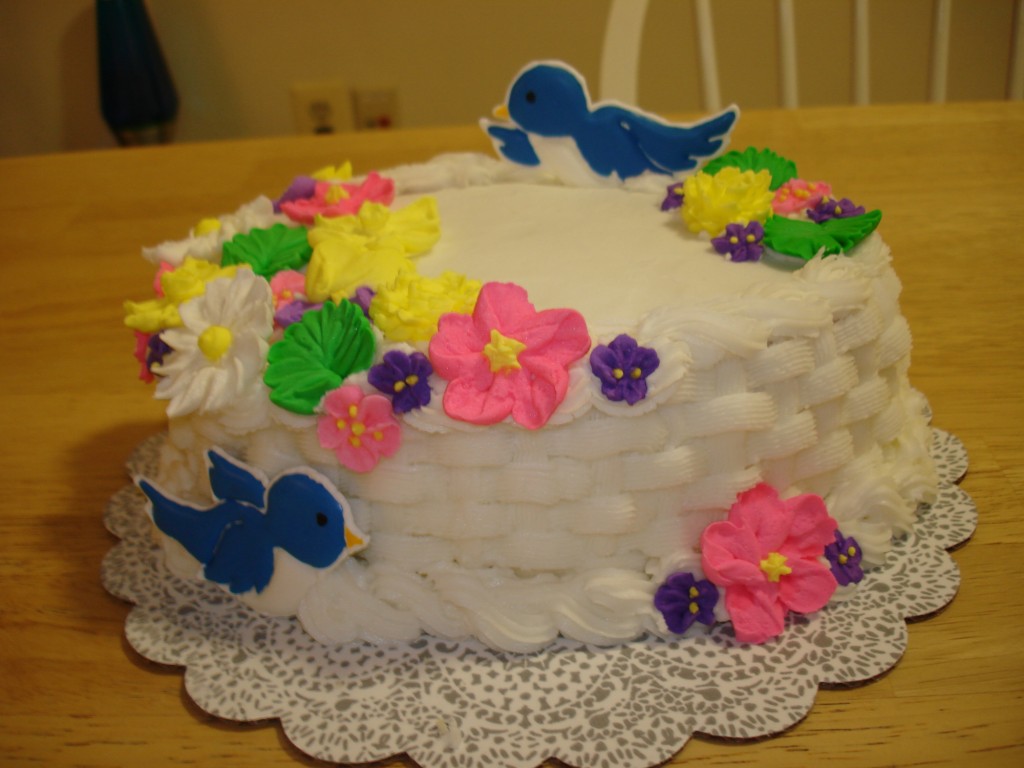
I liked this class so much that I took the second class in the series, Course 2: Flowers and Borders (AKA royal icing). This class was a whole other ball game. We worked for 3 weeks making all different flowers with royal icing to place on top of our final cake. Royal icing dries hard and is very sturdy, so you can make the flowers well in advance to putting them on the cake. It is also a great way to make accents on your cake structurally sound.
My favorite tips that I’ve learned from these classes are:
1. Always crumb coat your cake first. To do this, apply a very thin layer of icing so that the cake shows through. Put in the fridge for 30 minutes and then ice your cake. This will prevent crumbs.
2. To get a nice finish on your cake, dip your knife into hot water. Wipe if off with a paper towel, and smooth over the cake. The heat from the knife will melt the icing a bit and give it a smoother appearance.
3. To make a cake higher without adding layers, tort your cake. To do this, cut your cake in half horizontally, and add either icing or fruit in between the two layers. Not only will your cake be higher, but this adds an interesting flavor and texture.
And now for my favorite buttercream and royal icing recipes:
- 1 cup unsalted butter, softened
- 4 cups confectioners sugar, sifted
- 3 tsp vanilla extract
- 3-4 tablespoons milk
- Cream room temperature butter with an electric mixer until smooth and fluffy. Gradually beat in confectioners’ sugar until fully incorporated. Beat in vanilla extract. Pour in milk and beat for an additional 3-4 minutes.
- 3 TBSP Meringue powder
- 4 cups confectioners sugar
- 6 TBSP warm water
- Beat all ingredients until icing forms peaks (7-10 minutes at low speed with a heavy-duty mixer, 10-12 minutes at high speed with a hand-held mixer). Keep covered when using, or the icing will dry out.


