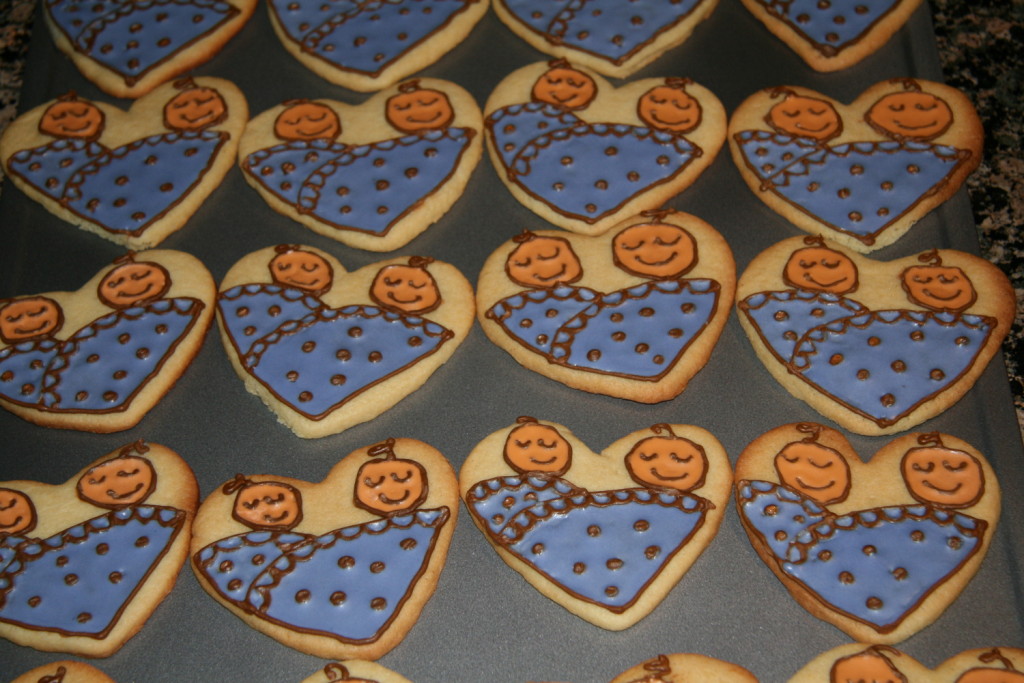
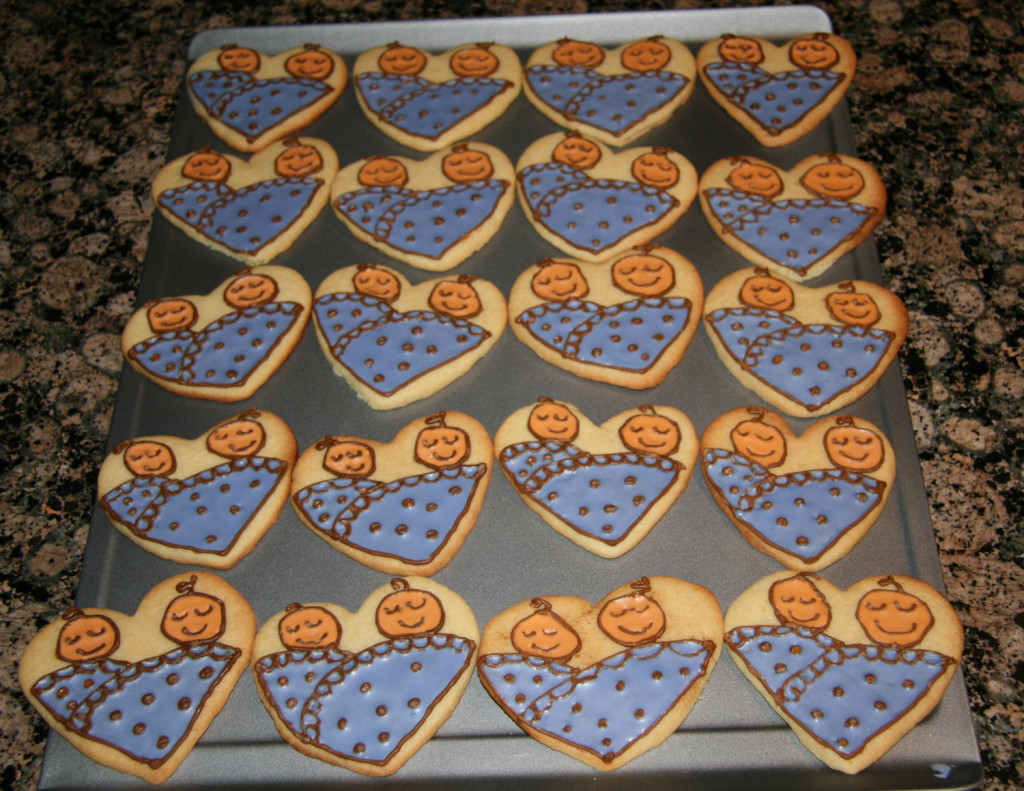
 I’m really into sugar cookies lately. They are so easy to make, and then you can spend all your time decorating them in cute ways. You don’t have to worry about the structural integrity like with carved cakes, and they are easy to transport since the icing dries hard. And who doesn’t love a sugar cookie? Find me one person…I challenge you! My favorite recipe is this one, and it has never failed me.
Anyways, I made these for my friend’s baby shower, and as you can guess, she is having TWIN BOYS! Double trouble 🙂 I can’t take full credit for the design…I found them on Pinterest. This was fairly complicated to draw on a cookie, but after a few tries, I got it. The entire design is done with royal icing (recipe here). Start by drawing the outline with full strength royal icing, and let that dry. I used a wilton #2 tip. Then, to fill in the cookie, add just enough water to the royal icing so that it flows freely from a spoon. You still want it a thick liquid, but fluid. I also used a #2 tip for this part, because if you flood the cookie too much, you will lose the designs. So I filled in with a thin layer of blue and peach icing so you could still see the faces and polka dots. If you are really concerned, you can add some icing to the cookie (using an icing bag and tip) and then spread it around with a toothpick.
A more in-depth tutorial can be seen here.
Remember, for complicated designs, keep the pressure on the icing bag steady and move slowly and deliberately. I messed up most when I rushed. If you do mess up, you can take a thin paintbrush (that is devoted to cake decorating), dip it in water, and gently move the outline where you want it. You can also use this method to smooth down stray icing that doesn’t lay flat. But do this right away, as the icing dries fast.
Have fun, and be creative! Think of sugar cookies as your canvas and icing as your medium.


