Monster Truck Birthday Cake!

Monster1

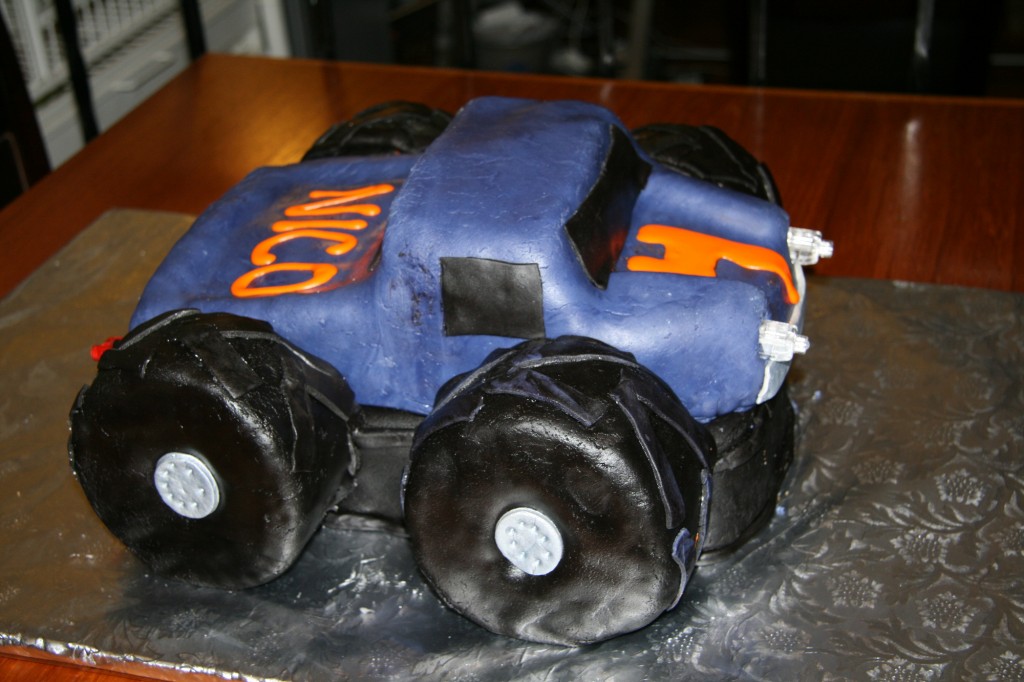
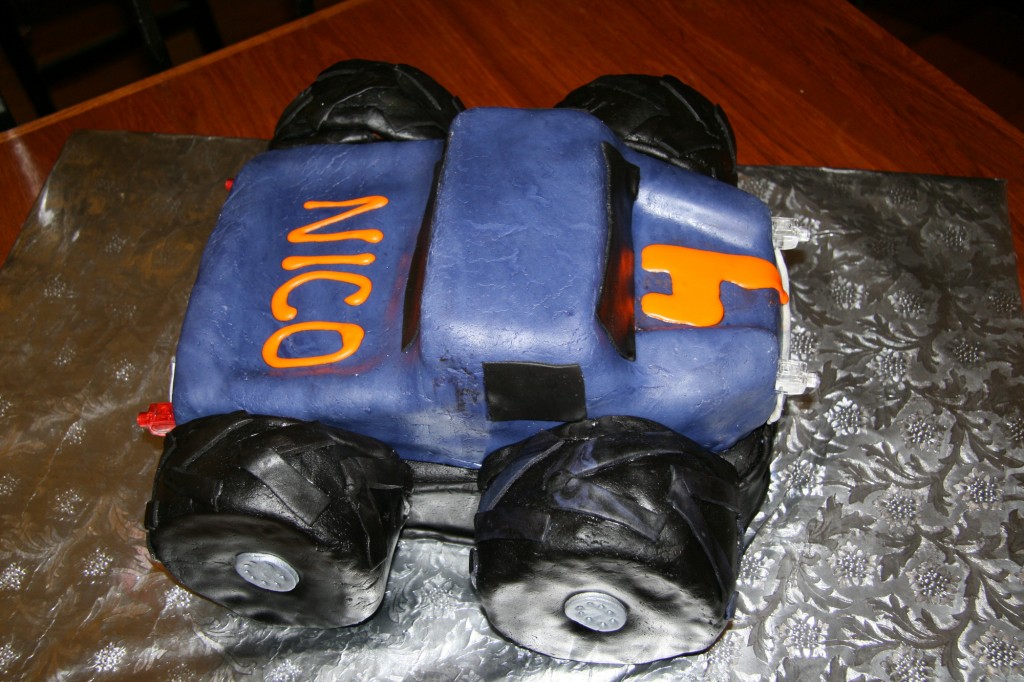
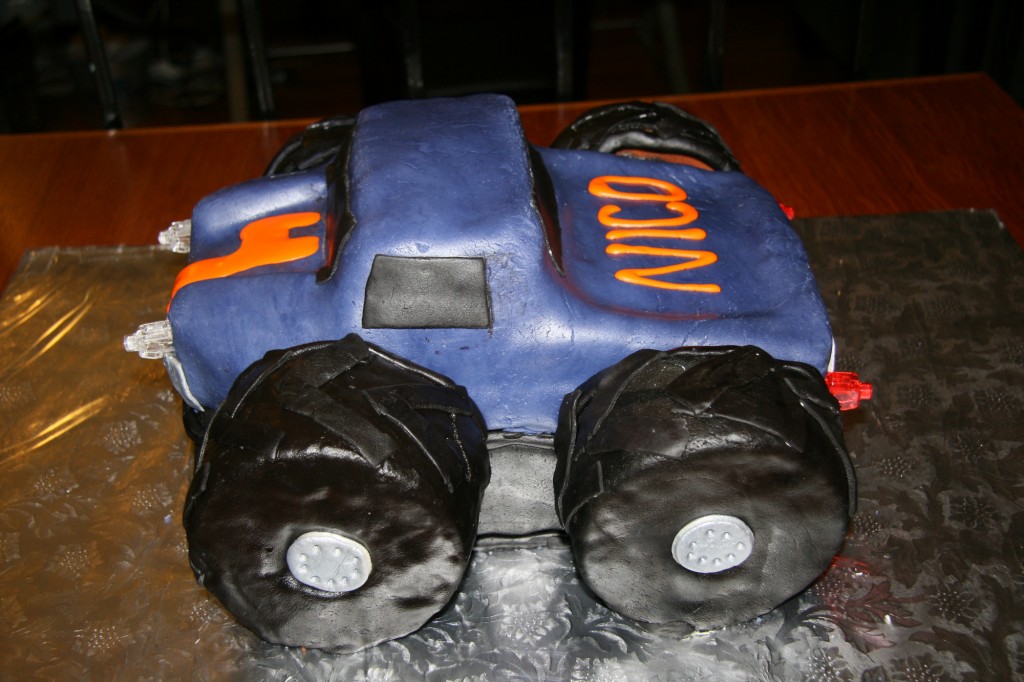
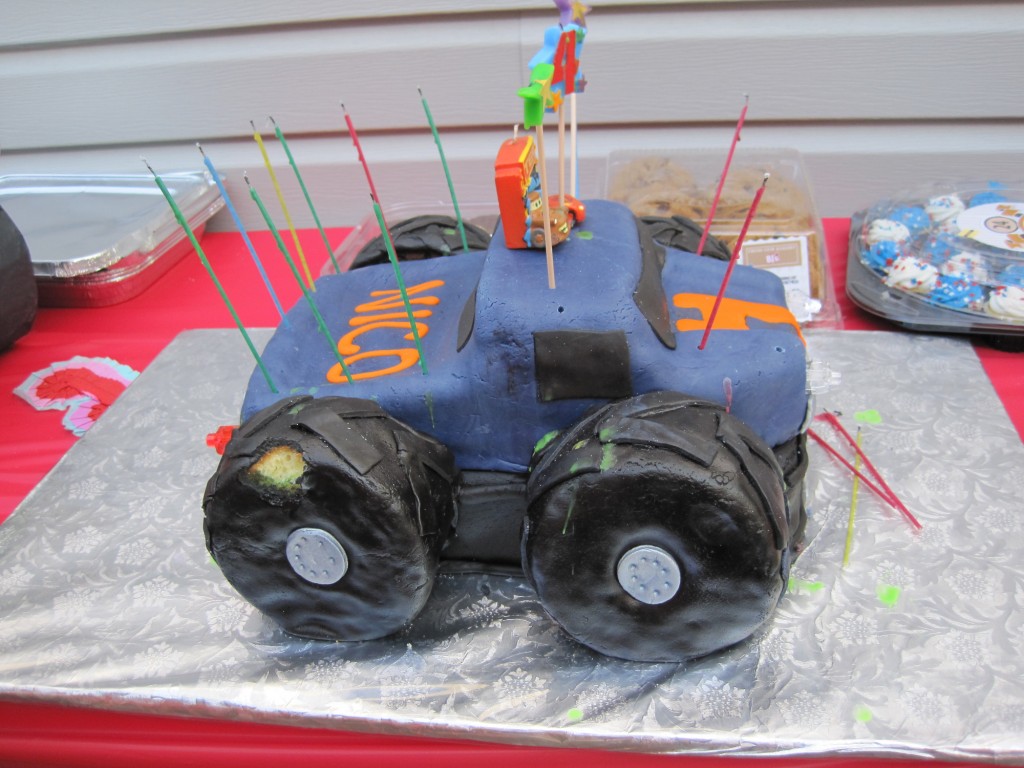
Last Saturday was my cousin Nico’s 4th birthday party. His mom always comes up with really great themes for his parties. Last year, I made this Lightning McQueen cake for his Disney Cars birthday party. This year, the theme was monster trucks, so I was excited to have another fun cake to make. Since I had the experience of making a car cake before, I went with a similar design with a few important modifications:

Instead of cupcakes for wheels, I made four 5-inch diameter cakes that were 3 inches high. This added height (many of my cake pans are just 2-inches high) meant that when the wheels were turned on their sides, they were wider and considerably more stable.

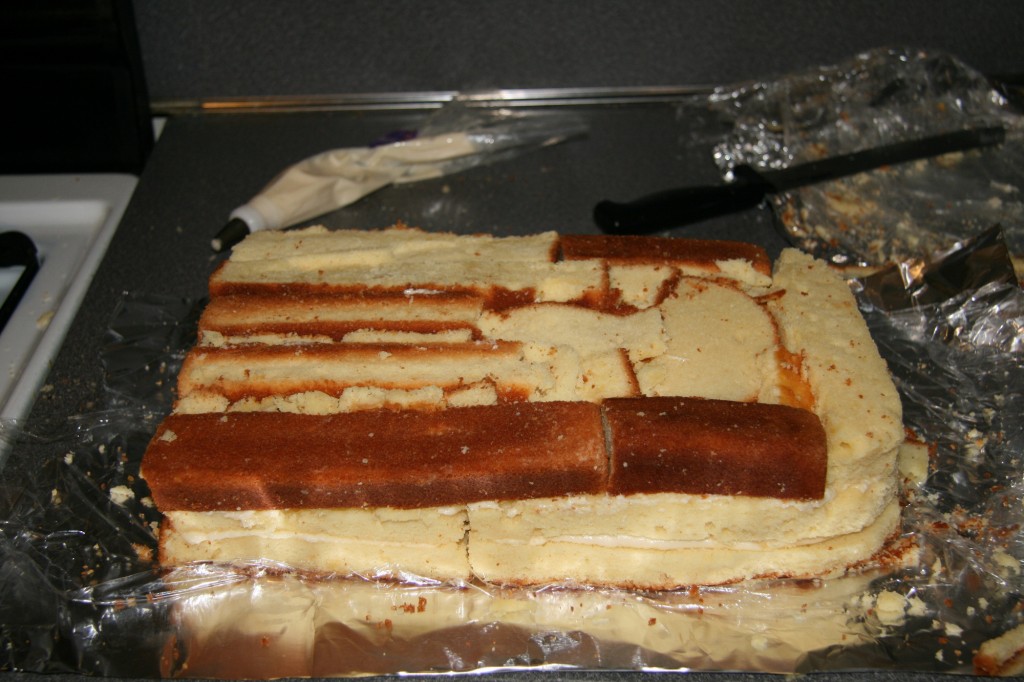
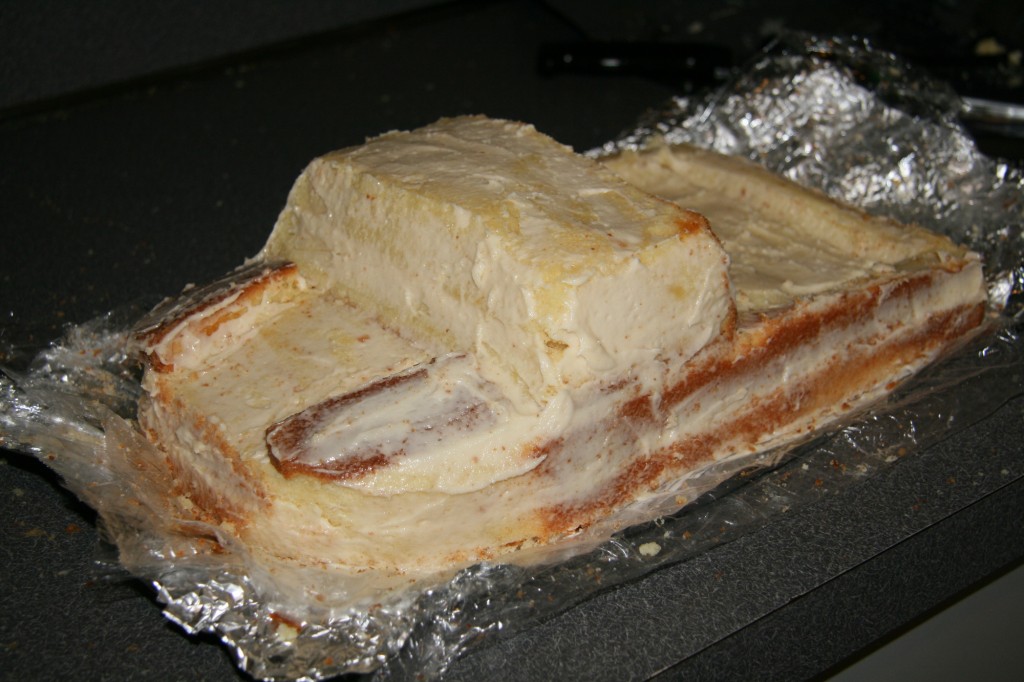
I also raised the car body up by about 3 inches to better fit the huge wheels. There was no way I was actually going to rest the car on top of the wheels, so instead I added an extra 13×9 cake and cake scraps that I wrapped in black fondant. I know this is cheating, but I figured it was the best way to make the cake structurally sound (especially since it had to travel to Brooklyn for the party).

The base, made out of cake and scraps:

Monster7

Lastly, I made the car body into a pickup truck rather than a sports car. This was actually easier for me since it meant I had to do a lot less sculpting than with the McQueen cake.

Monster6

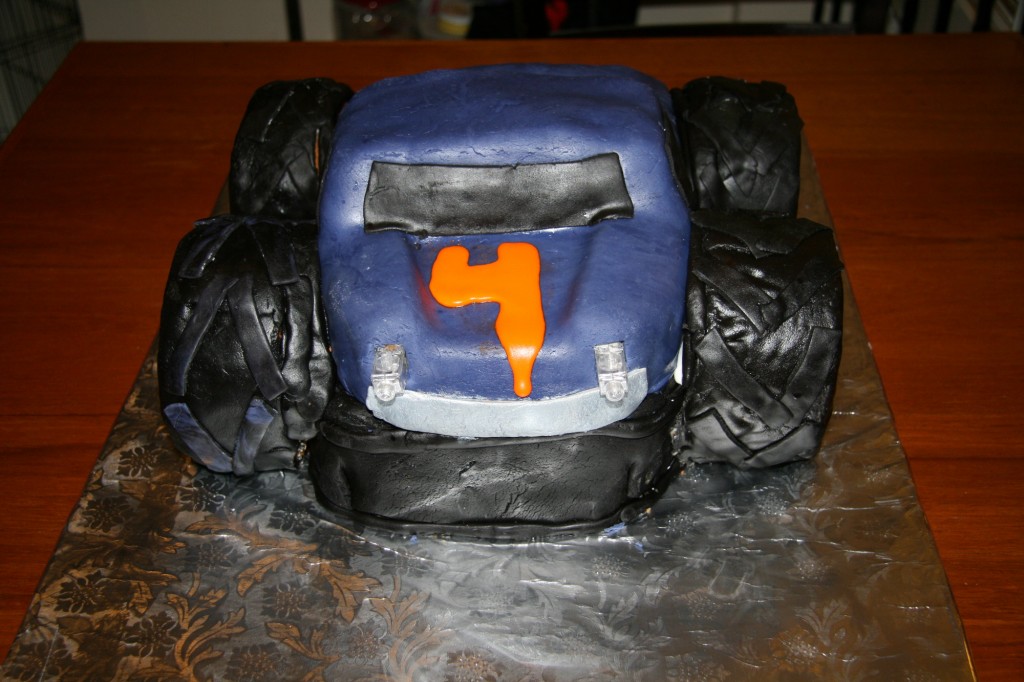
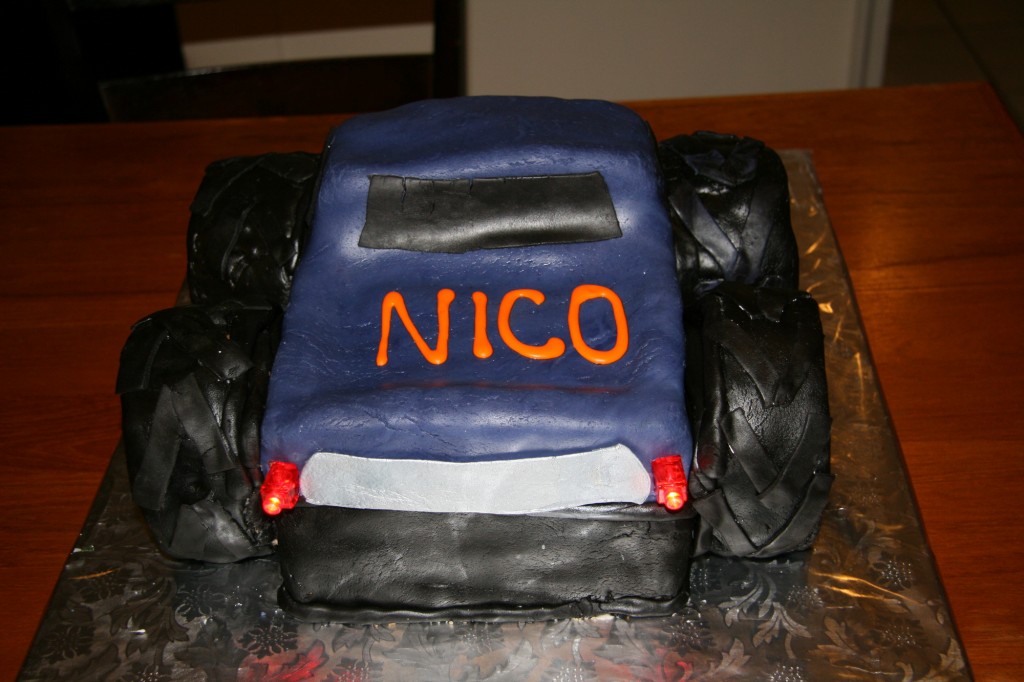
Then I just covered the base in black fondant, topped it with the car body and covered that in blue fondant, and covered the wheels and added them to the sides. I sprayed white fondant with edible silver spray for the hubcaps and bumpers, and I used orange royal icing to write on the truck.

Monster3

Monster4

Monster2

Monster8

Of course, the best detail of the cake I can’t even take credit for…my boss gave me these LED finger lights to use for the headlights and brake lights (thanks, jim).

Monster5

They are pretty cool, and come in a rainbow pack. So now I have to come up with something that needs blue and green lights…

finger-lights2

How was the cake received by the birthday boy? Well, immediately upon blowing out the candles, he took a bite from the wheel! I’d say that is a good sign.

(Note the bite out of the rear wheel)

Monster9

Happy Birthday, Nico! Can’t wait to find out what kind of cake I’m making for your 5th birthday!

Posted in Cakes | Comments Off on Monster Truck Birthday Cake!

S’mores Pie

Smores1

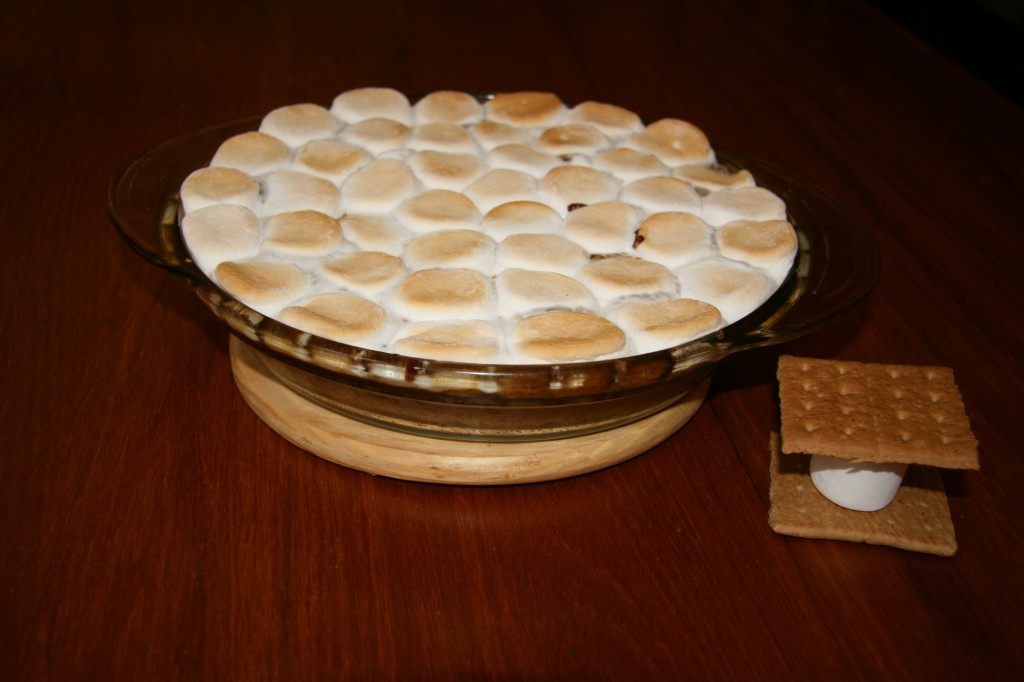
Between work and house hunting (and of course hunting for the perfect baking kitchen) I haven’t had a lot of time to post. But two weekends ago I made this pie for a 5th birthday party we attended. It was for our friend’s son, and they always have the best themes. This year’s was “county fair”, and it had games, a dunk tank, and a blue ribbon contest. My pie didn’t win, but it was well received. Since a requirement of fair food is that it has to be fun, I decided to go with a s’mores pie… with graham cracker crust, creamy chocolate filling, and topped with toasted marshmallows.

Smores2

I followed the recipe straight from a blog I found online, but I didn’t love the graham cracker crust. I found it too crumbly and it didn’t really hold up to cutting. So I’m going to post my own crust recipe, which I used to make pumpkin pie cupcakes last October.

S’mores Pie (modified from Pixelatedcrumb.com)
Ingredients
  • For the crust:
  • 1 1/2 cups graham cracker crumbs
  • 6TBSP butter, melted
  • 1/3 cup sugar
  • For the chocolate filling:
  • 3/4 cup heavy cream
  • 3/4 cup milk
  • 10 oz semisweet chocolate chips
  • A pinch of salt
  • 2 eggs, beaten
  • 1 bag of large marshmallows (though you will need only half the bag)
Instructions
To make the crust:
  1. Preheat the oven to 350.
  2. Break up the graham crackers and pulse in the food processor until you have 1 1/2 cups of fine crumbs. Mix the crumbs with the melted butter and sugar until it is well blended. Press onto the bottom of a glass pie dish and bake for 8-10 minutes.
  3. Turn the oven down to 325 for the rest of the recipe
To make the filling
  1. Whisk together the milk and cream in a medium saucepan. Warm over medium-low heat and add chocolate and the salt. Stir until it is completely melted and smooth. Add the whisked eggs slowly and mix until smooth.
  2. Pour the chocolate filling into the crust and bake for 15-20 minutes, until it is set. Remove from oven.
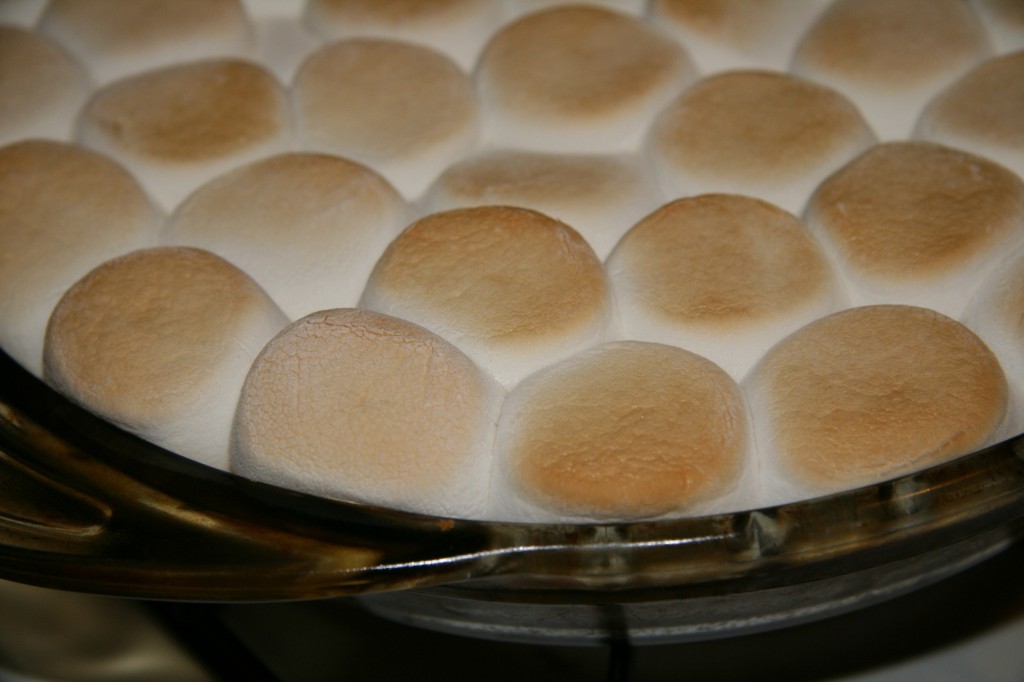
  3. Cut large marshmallows in half using kitchen scissors, and place on top of the pie in a circular pattern until it is completely covered.
  4. Set the oven to broil and once it has reached the correct temperature, place the pie on the top rack for 2-5 minutes, until the marshmallows are toasted. Watch closely because this will happen quickly. Remove from oven when marshmallows are the desired color.
  5. This pie is best served warm. So if you do not serve it straight from the oven, pop it in the microwave for a few seconds to warm it up.


Posted in Other Desserts | Comments Off on S’mores Pie

Flourless chocolate cake (AKA a giant truffle)

Flourless_chocolate1

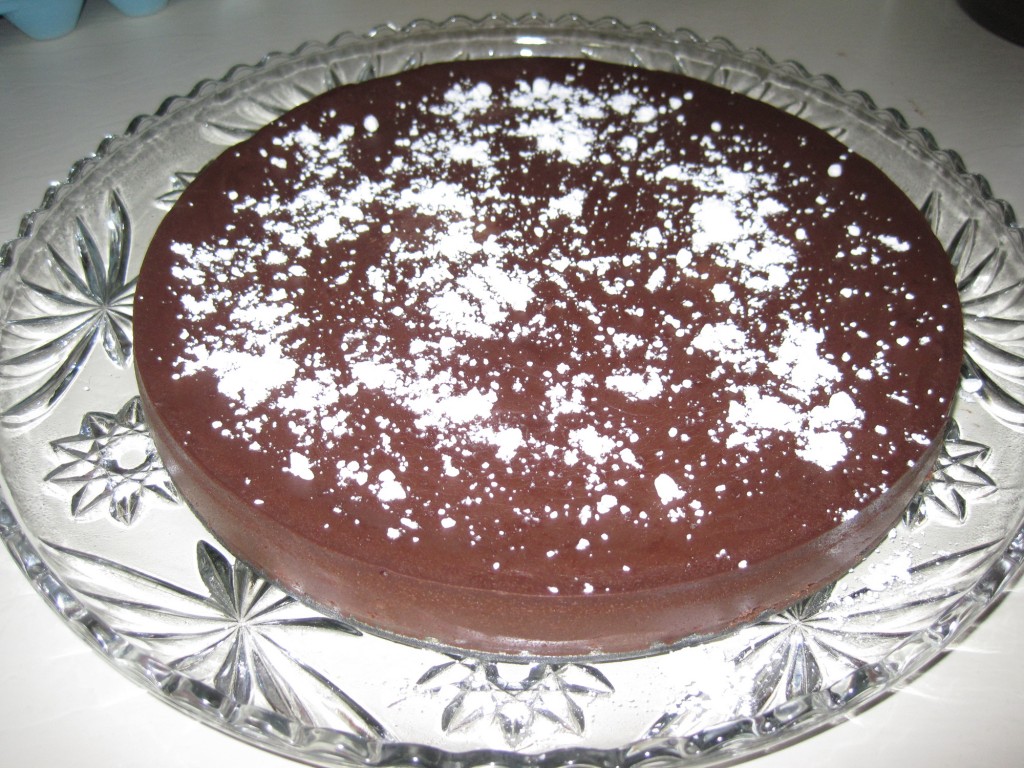
I saw a recipe for flourless chocolate cake on one of my favorite baking blogs, Brown Eyed Baker, and thought this would be perfect to make for Easter dinner. We have been trying to do more gluten free dishes since my husband’s aunt was diagnosed with Celiac disease. Even though this is gluten free, it’s a dessert that everyone will enjoy (unless you are weird like my husband and hate chocolate).

It’s quite easy to make, and you can add additional flavors to make it your own. I added the zest and juice of one orange, but next time I think I will add more as the orange flavor was almost non-existent.  Also, the cake tastes just like a truffle, so slightly bitter. If you are like me and prefer sweeter chocolates, you can mix the type of chocolate, and use 1/2 milk and 1/2 bittersweet (or even 1/2 semi-sweet and 1/2 bittersweet depending on your preference). I’ll post the recipe the way I made it.

Flourless chocolate cake (from Brown Eyed Baker)
Ingredients
  • 10 eggs
  • 2.5 sticks of butter
  • 1/4 cup of brewed coffee
  • 20 oz bittersweet chocolate, chopped
  • The juice and zest of one large orange
Instructions
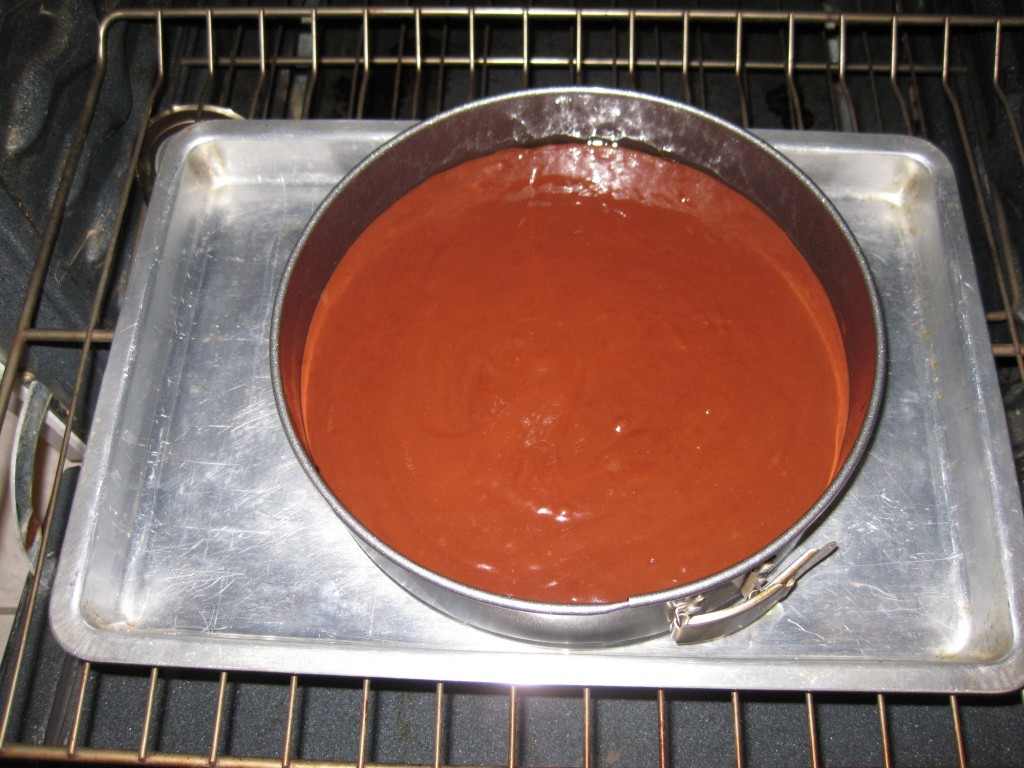
  1. Spray a 10-inch Springform pan with Pam cooking spray. Preheat the oven to 325 degrees.
  2. Beat the eggs on medium speed in an electric mixer for about 5 minutes, until they have doubled in volume.
  3. Place the chocolate, butter, coffee, orange juice, and zest in a heatproof bowl and set over a pot of simmering water. Stir until the ingredients are melted and completely smooth. The temperature should read 115 degrees on a candy thermometer.
  4. Fold 1/3 of the eggs into the chocolate mixture with a rubber spatula until just combined. Then add the remaining eggs in two more additions until completely combined.
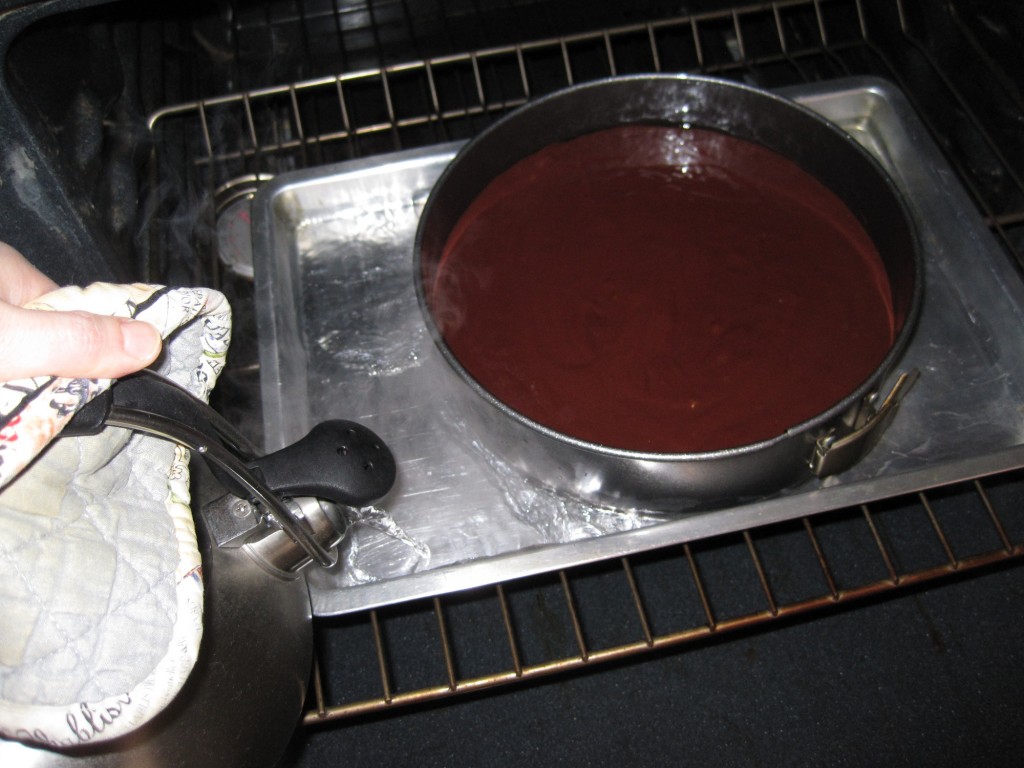
  5. Place the Springform pan inside a roasting pan and pour boiling water in the pan until it reaches halfway up the sides of the Springform pan.
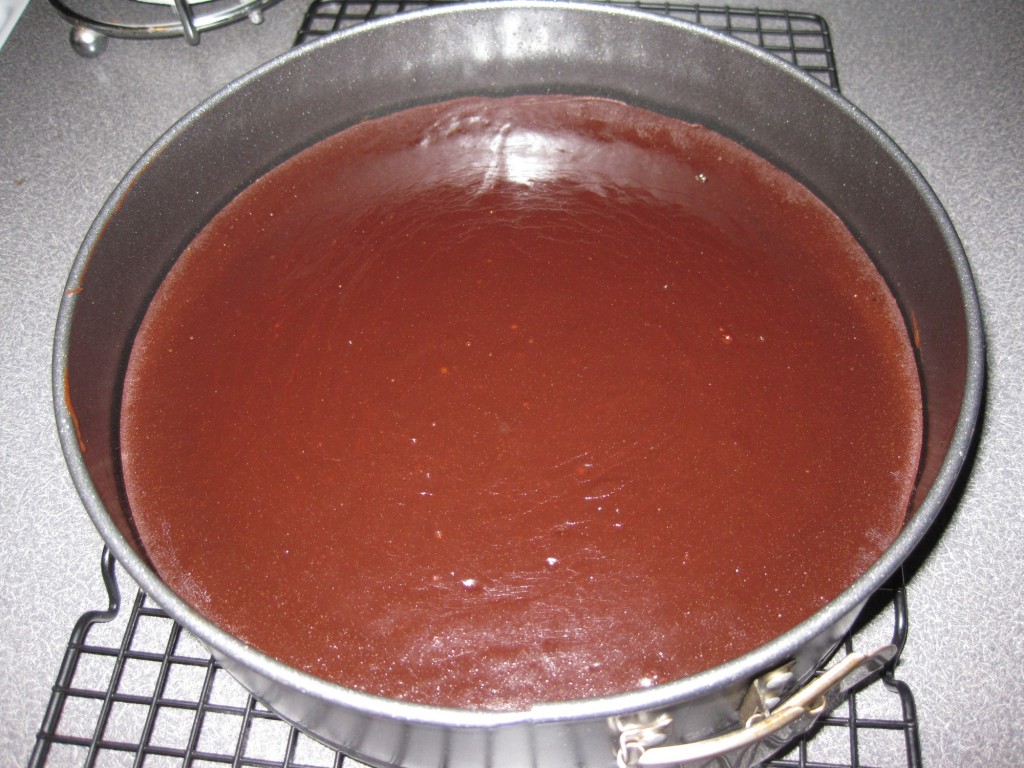
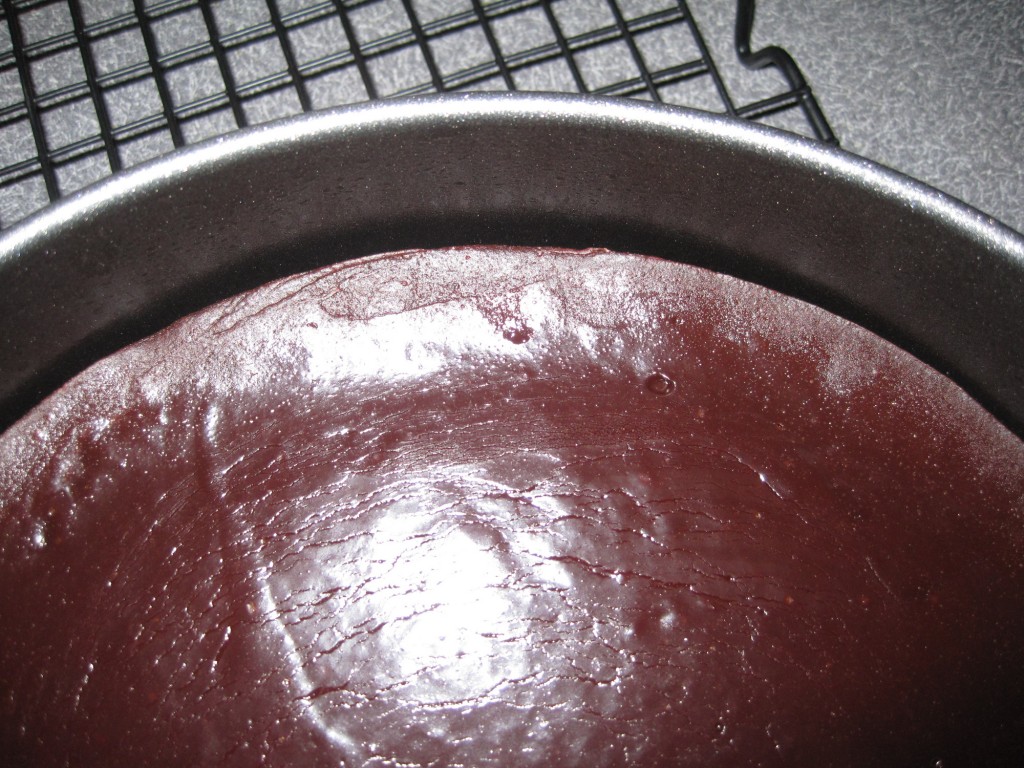
  6. Bake for 22-25 minutes, until the edges are set and the middle is still slightly jiggly. The cake should read 140 on a candy thermometer.
  7. Remove cake from bath and cover in plastic wrap and refrigerate until ready to serve (can last 4 days refrigerated).
  8. Sprinkle the top with confectioners sugar before serving.
Notes
Some people prefer warm cake and some prefer it cold. Warm cake is more like the chocolate lava cake you see in restaurants. You can microwave individual slices for about 10 seconds if you prefer it warm.


Flourless_chocolate2

Flourless_chocolate3

Flourless_chocolate4

Flourless_chocolate5


Posted in Cakes | 3 Comments

Tulip sugar cookies in support of Parkinson’s Awareness Month

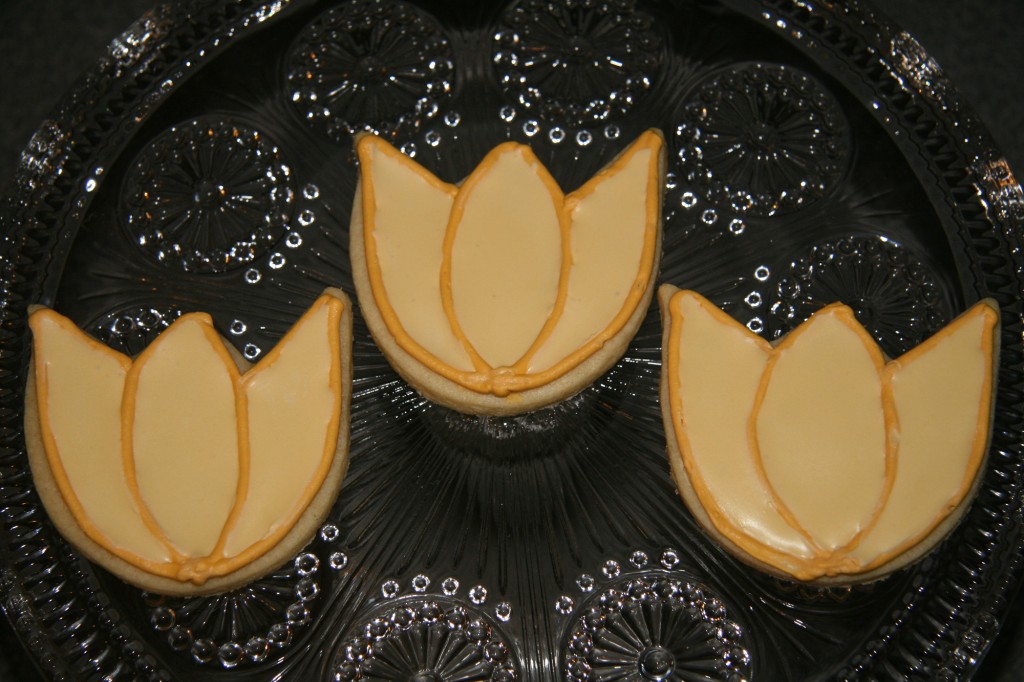
Tulip-cookies1

As some of you may know, I work part-time for the Parkinson’s Disease Foundation (PDF) as their research grants manager. April is Parkinson’s Awareness Month, so I thought I could use my baking skills not only to make treats for the office, but also to help raise awareness through blogging.

Parkinson’s disease is the second most common neurodegenerative disease, and affects nearly 1 million people in the United States. It largely affects movement through the loss of brain cells that produce dopamine.  Symptoms include tremor, stiffness, slowness of movement, and postural instability. Parkinson’s disease is progressive and there is no cure, although medication and surgery can help manage symptoms.

Below is a letter about Parkinson’s Awareness Month and the Tulips Bloom in April program, in which your school can hold a fundraiser or an awareness activity for Parkinson’s.

Tulips Bloom in April

Other links:

To learn more about Parkinson’s Disease and the work PDF does, please click this link

If you would like to make a donation, you can do so through this link


Okay, now onto the cookies!! “Why tulips?” you may ask… Read about the PDF tulip here.

I’ll go through the technique first, and then give the recipe.

Basically, once you make the dough, chill for at least 2 hours before rolling it out. I prefer rolling it out on parchment paper. Make sure to lightly flour the rolling surface, the top of the dough, and the rolling pin. Once it is 1/4 inch thick, you can cut out your cookies. I used a 3-inch tulip cookie cutter.

Tulip-cookies2

Place on a parchment paper lined cookie sheet and chill in the fridge 10-15 minutes before baking, so the cookies do not spread too much. Between batches, cool the cookie sheet and then chill in the fridge before placing the cookies on the sheet. Then chill again for 10-15 minutes before baking. And so on…

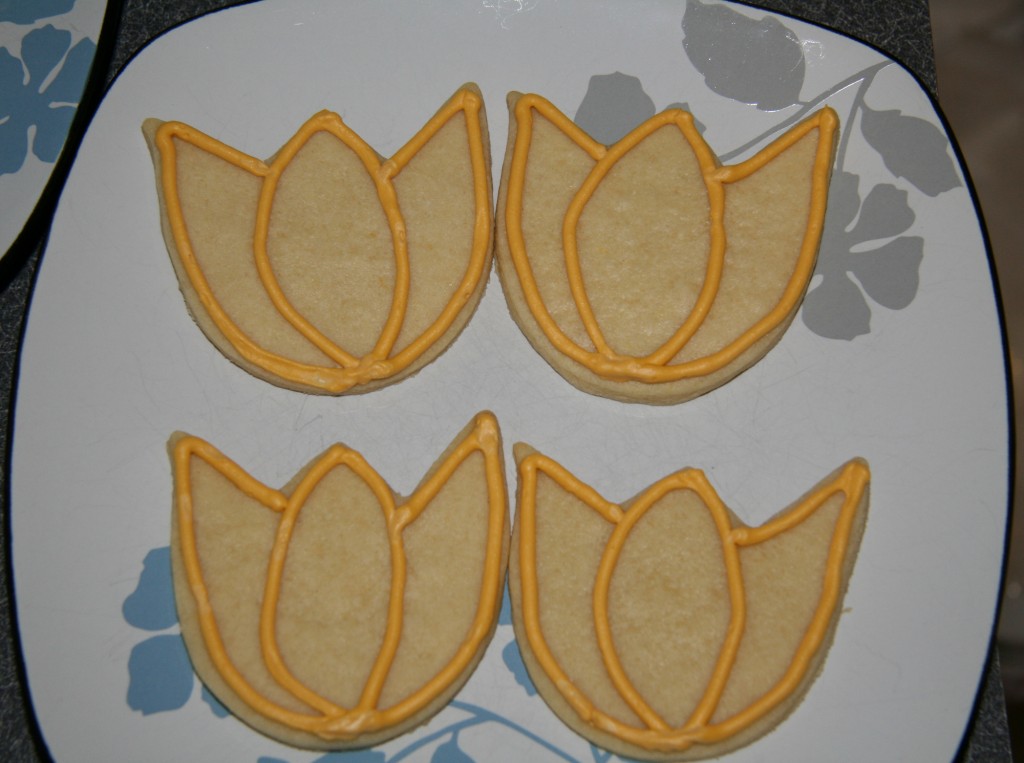
Once the cookies are done, outline the shape with royal icing that is fairly stiff, but still thin enough that you can easily trace the shape of the cookie. Let the outline dry completely before flooding the cookie with royal icing.

Tulip-cookies3

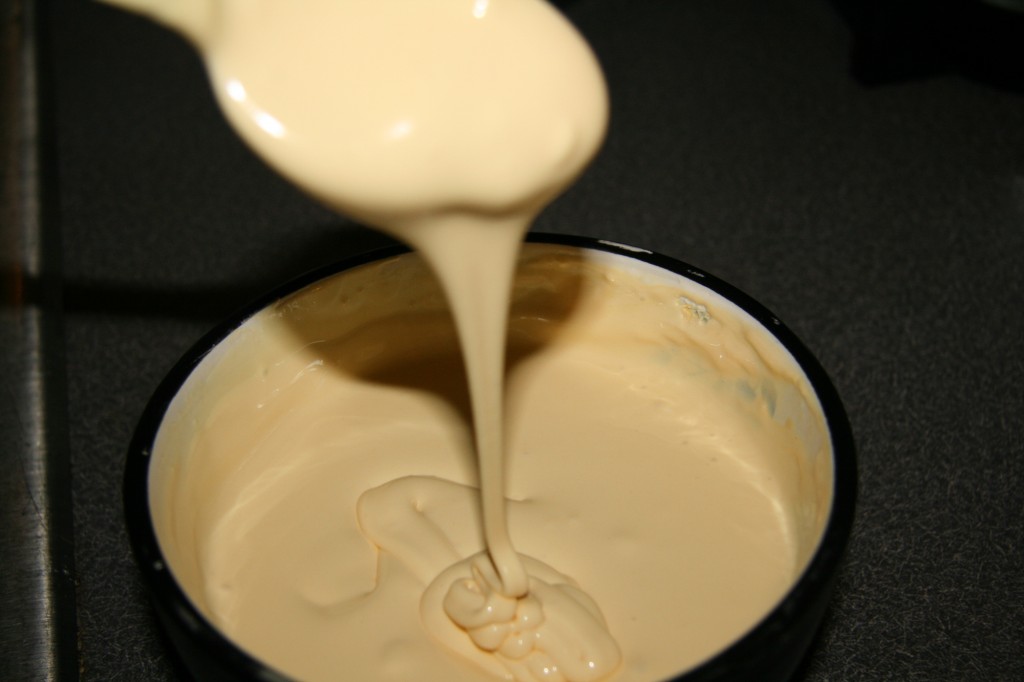
To flood the cookie, add enough water to the royal icing so that it flows freely from a spoon.

Tulip-cookies4

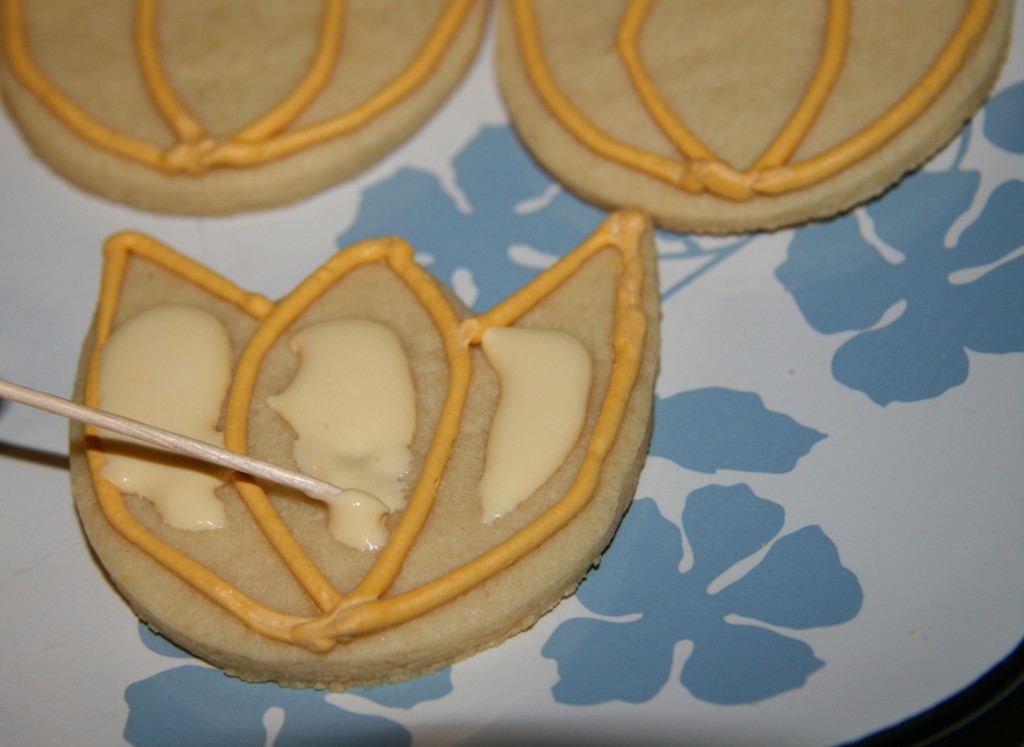
Using a knife, place some of the royal icing onto the cookie and then use a toothpick to fill it in completely. While working with the royal icing, keep a damp cloth over the bowl so it does not dry out.

Tulip-cookies5

Sugar cookies (from Dorie Greenspan via Brown Eyed Baker)
Ingredients
  • 2 cups all-purpose flour
  • 1/2 tsp salt
  • 1/2 tsp baking powder
  • 10 TBSP butter, room temperature
  • 1 cup sugar
  • 1 large egg
  • 1 large egg yolk
  • 1 tsp vanilla
Instructions
  1. In a large bowl, sift together the flour, salt, and baking powder
  2. In a mixer with a paddle attachment, beat the butter for 1-2 minutes until smooth.
  3. Add the sugar and beat another minute until it is pale and creamy.
  4. Add the egg, egg yolk, and vanilla, and beat until it is incorporated. Gradually add the flour mixture
  5. The dough is best if it is not over worked, so at the end you should turn off the mixer and mix by hand using a rubber spatula.
  6. Divide dough into 2 portions and flatten each into a disc. Wrap with plastic wrap and chill for at least 2 hours.
  7. Once cookies are cut, bake at 350 degrees for 10 minutes.


For the royal icing, I used this recipe and added 1 tsp vanilla.

Posted in Cookies, Logo Work | 2 Comments

Happy Easter, and an update on my ultra-vibrant Easter eggs!

IMG_2580a

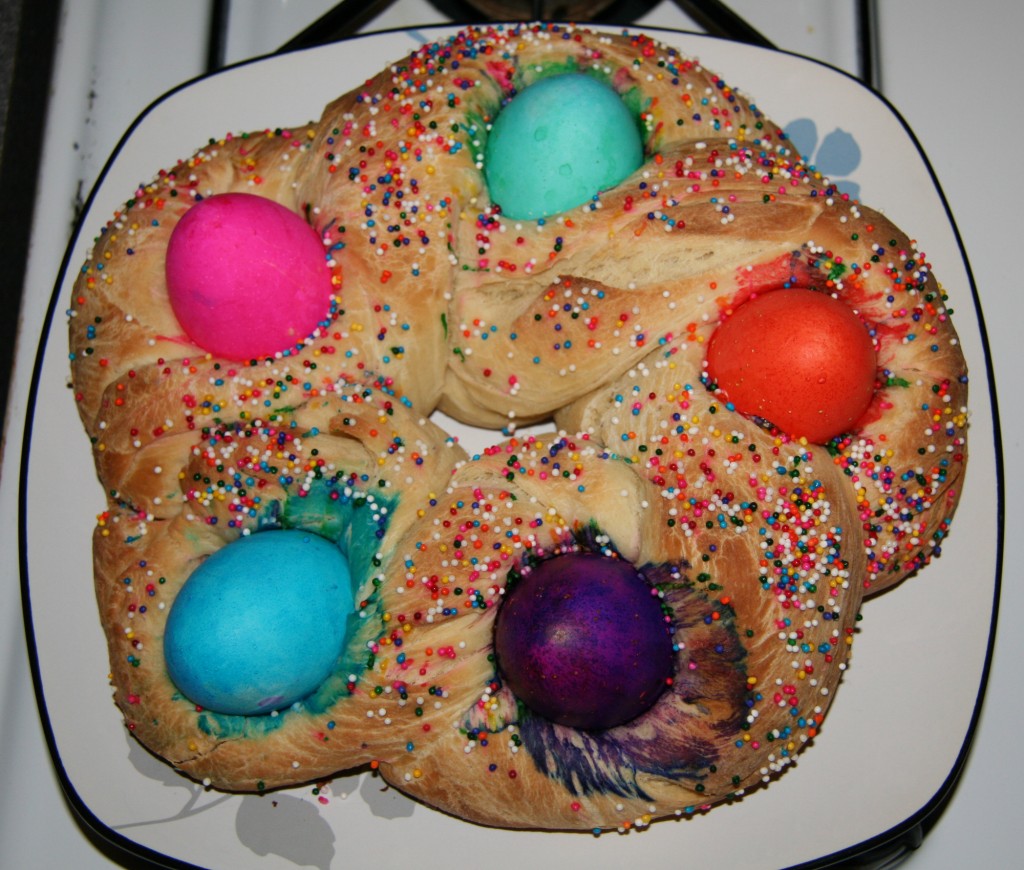
Happy Easter!! Just wanted to give you all an update on how my bread came out using my Wilton-colored Easter eggs. Again, like last year, I am very happy with the bread itself, but the eggs could use some work. The color was great, BUT once I placed the wet towel on top for the dough to rise, some of the dye came off the eggs and bled into the bread.

I read a bit online, and found that some people let their dough rise in the oven next to a pot of boiling water. This *might* be the solution, because the bread is still in a warm and humid place, but the eggs are not in direct contact with moisture. I think I’ll try this next year and see how it goes. Stay tuned!

Posted in Miscellaneous | Comments Off on Happy Easter, and an update on my ultra-vibrant Easter eggs!