Ultra Vibrant Easter Eggs with Wilton Color Gel

Wilton_eggs1

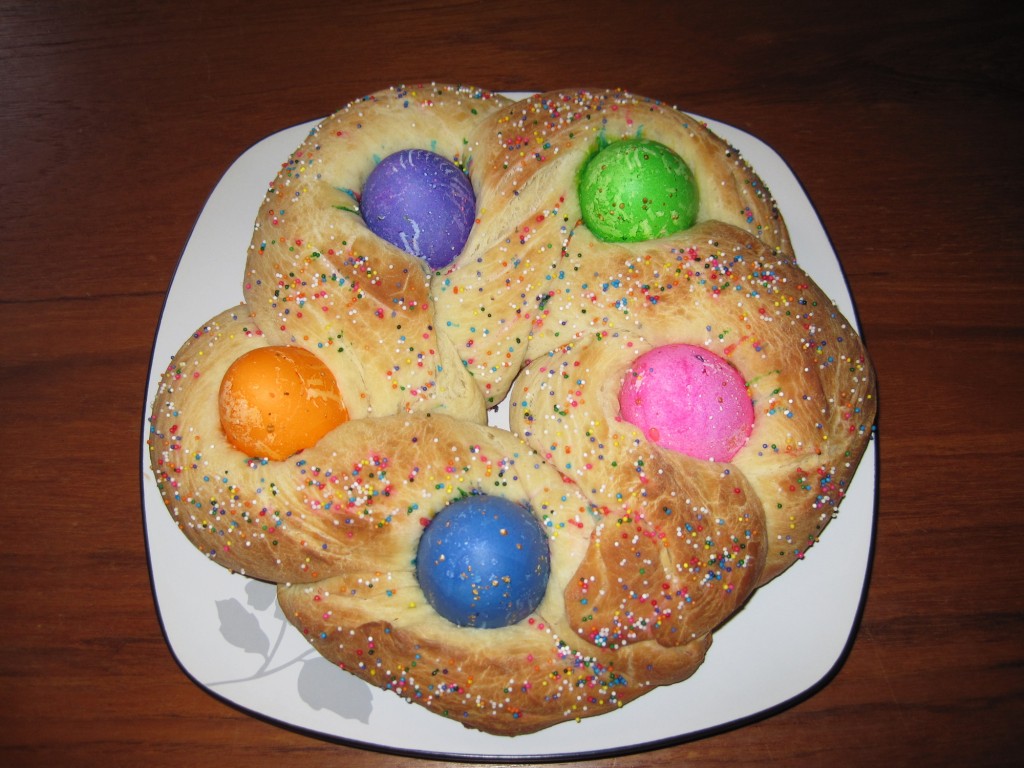
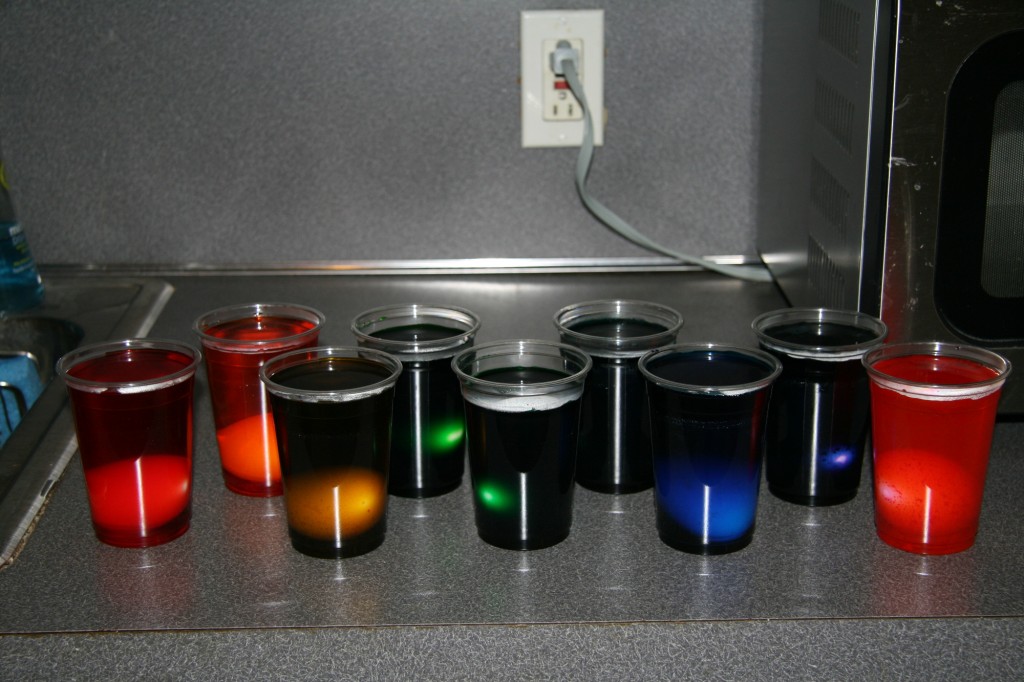
A few years ago I made Easter egg bread for the first time, and I’ve been hooked ever since. I LOVE how it comes out, with the exception of the eggs. Since I have to dye them raw (they cook as the bread cooks), the color doesn’t really stick to the shell. I’ve been able to get beyond pastel shades, but I’d still prefer deeper and more vibrant colors.

Easter_treats1

Love my bread, but the eggs could be brighter and more uniform in color.

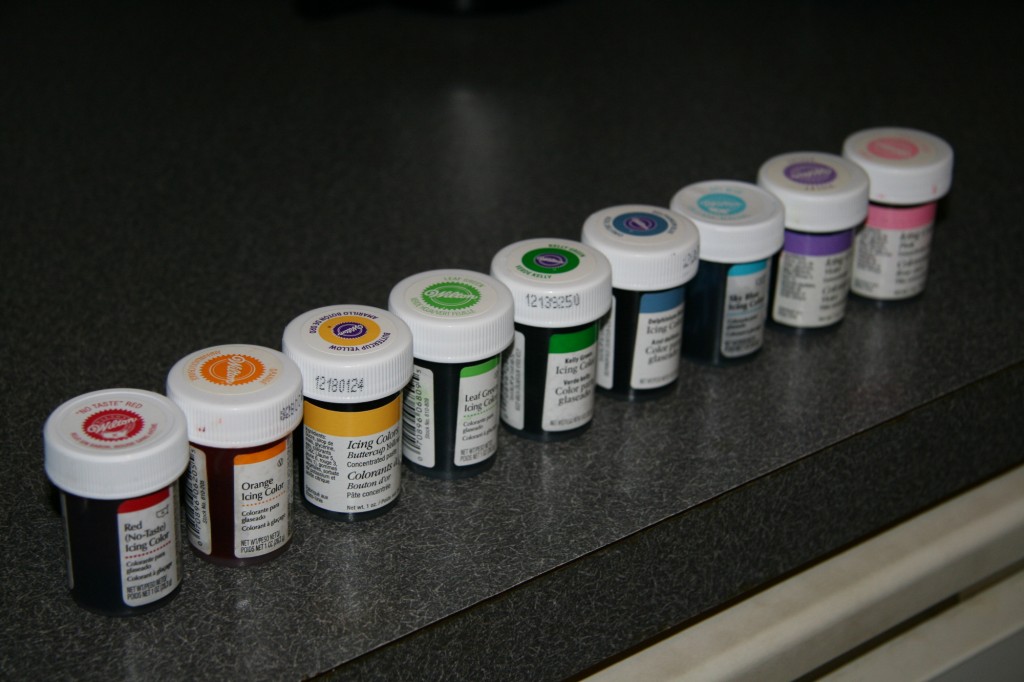
I searched online and found that some people color their eggs with Wilton gel icing color. Since I have a bunch of colors readily available, I decided to give it a try.

Wilton_eggs2

Wilton_eggs3

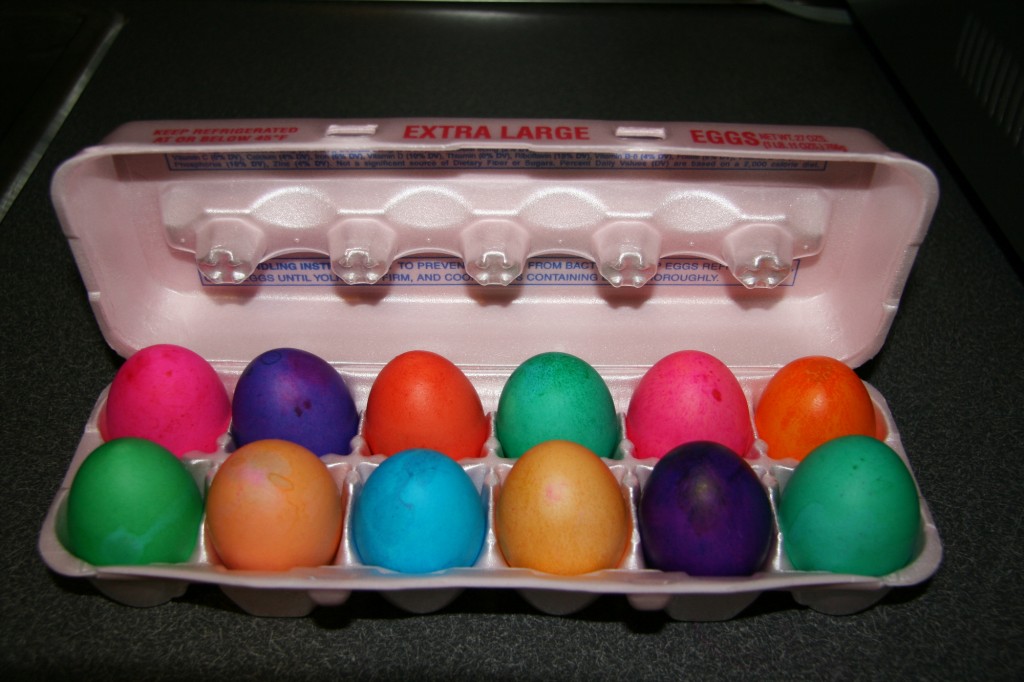
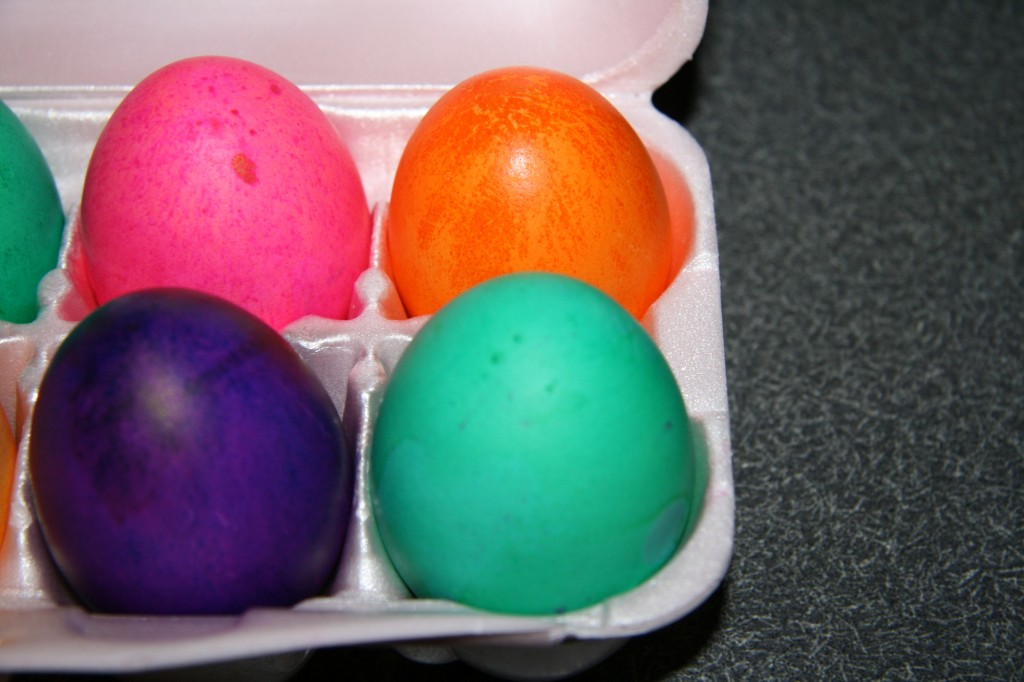
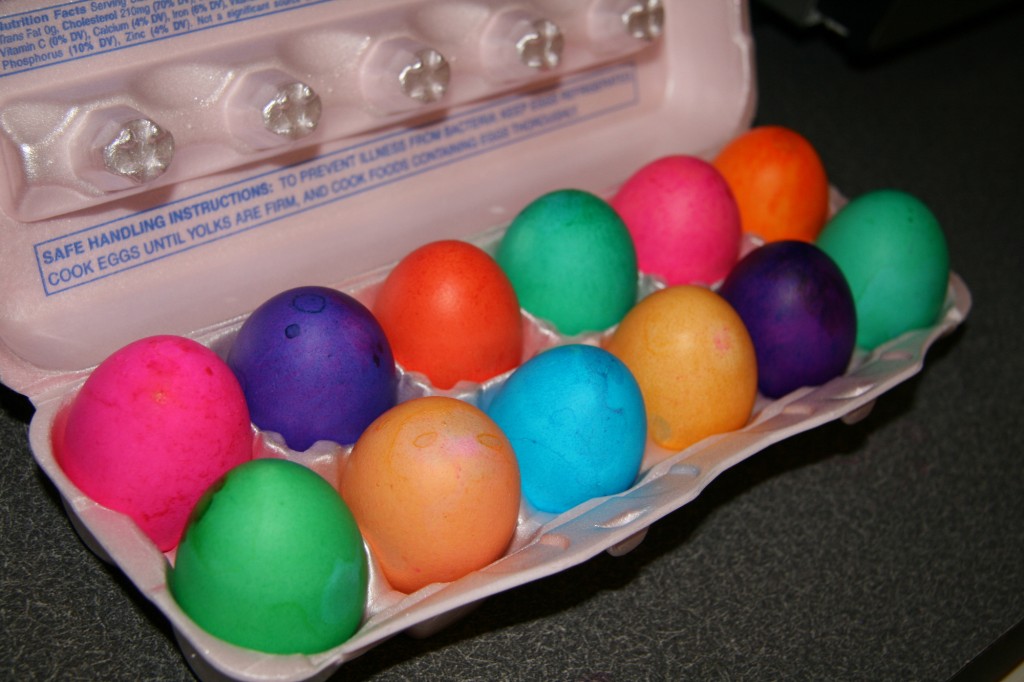
The Pros: Beautiful, vibrant colors.

Wilton_eggs4

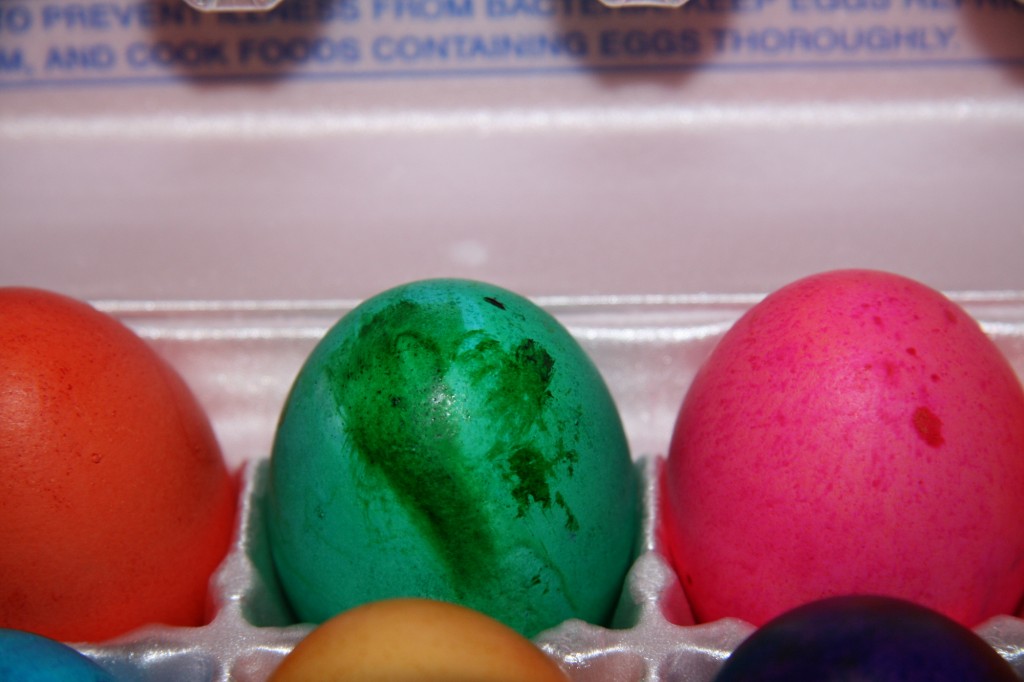
The Cons: If your gel is old and can’t easily dissolve in hot water, then you can get splotches of dye on your eggs.

Wilton_eggs5

This didn’t happen for many eggs, and I noticed when making the dye that my green gel seemed especially dried out. So if your gel is the correct consistency, you should be fine.

Wilton_eggs6

This method definitely allows for much brighter dying of raw eggs, and now my eggs are all ready to be baked into my bread!

Dying Eggs with Wilton Gel
Ingredients
  • For each color:
  • 1/4 tsp Wilton gel icing color
  • 3/4 cup hot water
  • 1 TBSP white vinegar
Instructions
  1. Place 1/4 tsp Wilton gel in a plastic cup
  2. Immediately add 3/4 cup of hot, steaming water, and stir until the gel is dissolved
  3. Add 1 TBSP white vinegar and stir
  4. Repeat for the remaining colors
  5. Gently lower the eggs into the cups and leave for 10 minutes
  6. Remove eggs with a spoon and place on a cooling rack that has been placed on top of paper towels.
  7. Let dry for 10 minutes.

Posted in Miscellaneous | Comments Off on Ultra Vibrant Easter Eggs with Wilton Color Gel

Beer Bread for St. Patrick’s Day!

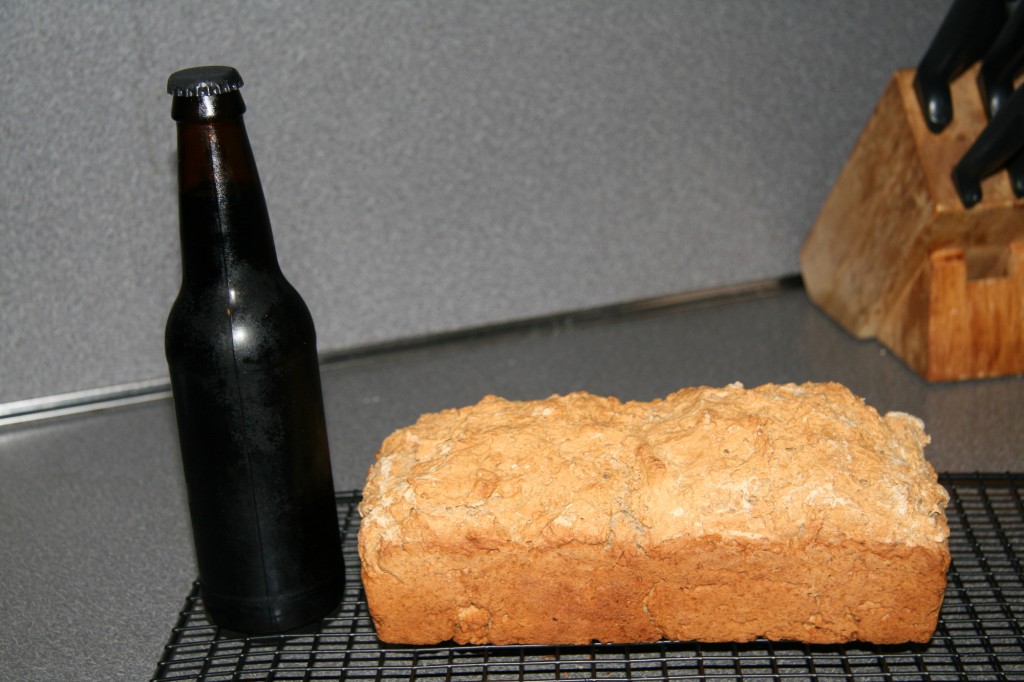
Beer_bread1

Yesterday we were invited to my Italian in-laws’ house for corn beef and cabbage (it’s true, everyone really is Irish on St. Patty’s Day!). I thought a beer bread would go nicely with the Irish fare being served. Even better, we recently brewed our own vanilla stout, which I thought would be great in bread form.

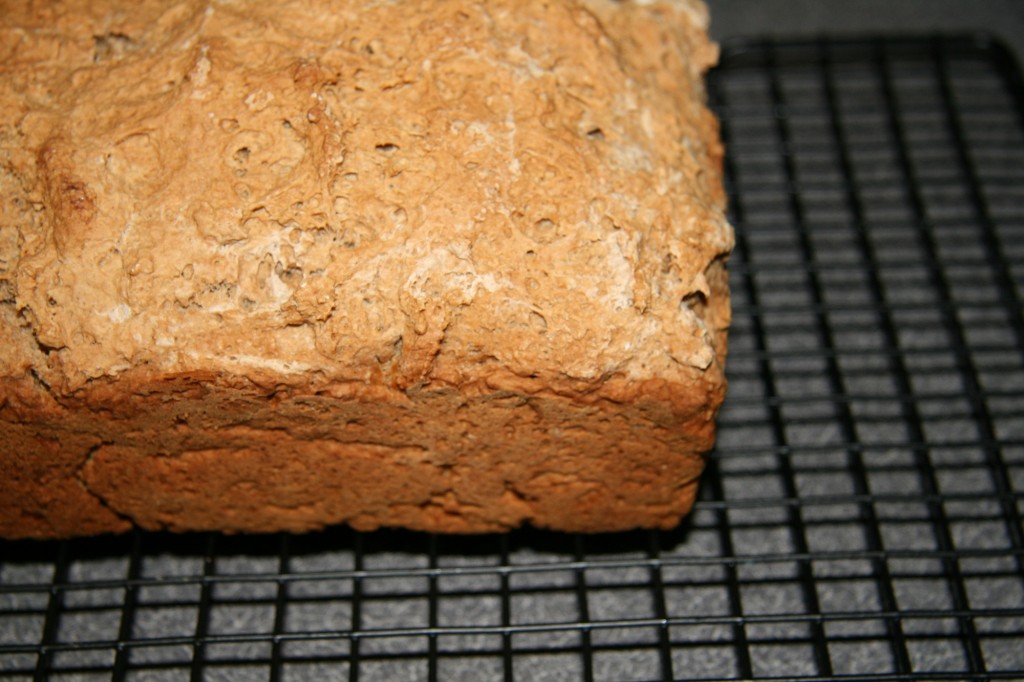
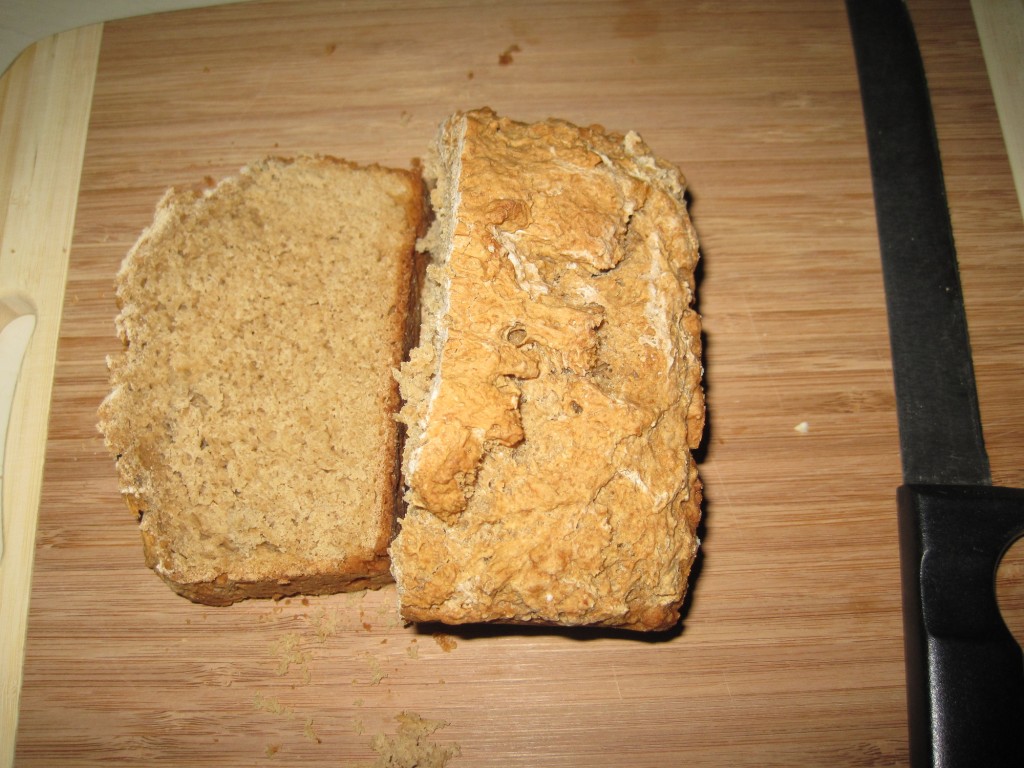
This bread recipe called for Guinness, so I just substituted our beer, which was a little sweeter and had a little more malt flavor. Overall, I think it was a great beer to use. The bread turned out crusty on the outside, and perfectly soft on the inside.

Beer_bread2

Beer_bread3

Happy St. Patty’s Day, everyone!

Beer Bread (modified from Food.com)
Ingredients
  • 4 cups all-purpose flour
  • 2 TBSP baking powder
  • 1 tsp salt
  • 1/4 cup sugar
  • 12 ounces dark beer
  • 2 eggs, slightly beaten
Instructions
  1. Preheat the oven to 375 degrees and grease a loaf pan with Pam cooking spray.
  2. Sift together the flour, baking powder, salt, and sugar. Add the beer and eggs, and mix in an electric mixer with a dough hook until combined.
  3. Spread the dough in the loaf pan and smooth the top with a knife.
  4. Bake for 60-70 minutes, and then let cool on a baking rack.


Posted in Breads | Comments Off on Beer Bread for St. Patrick’s Day!

Mini apple pies in honor of Presidents’ Day!

Mini-apple-pie1

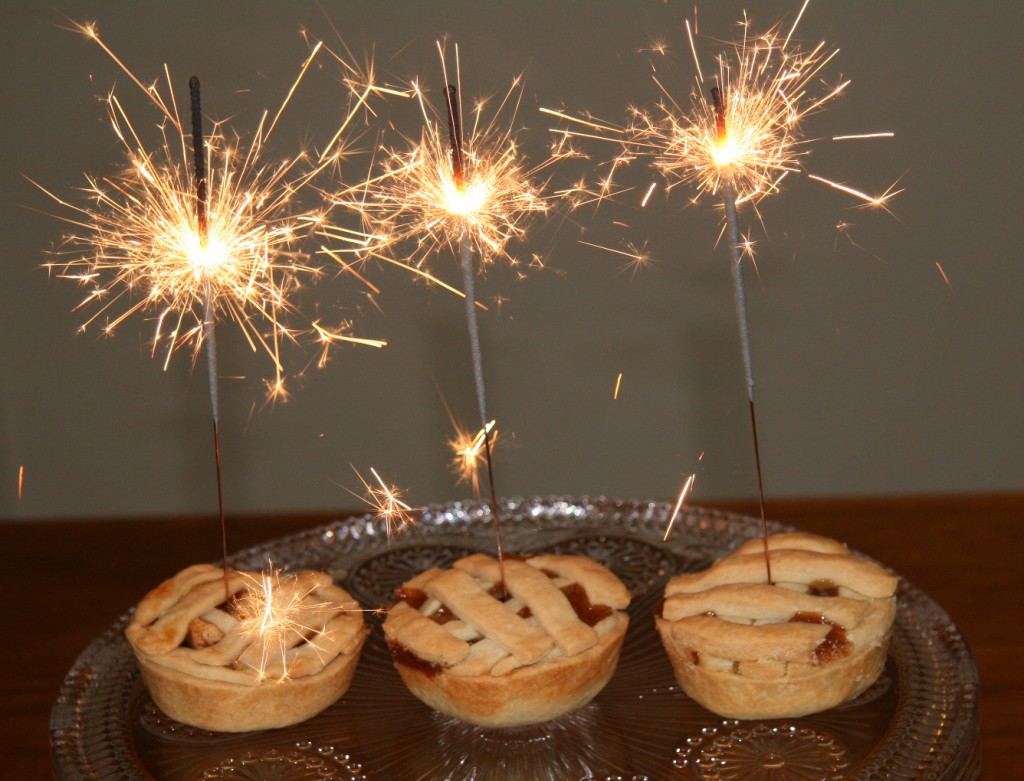
Want to add a little sparkle to your cakes? These sparklers worked great!

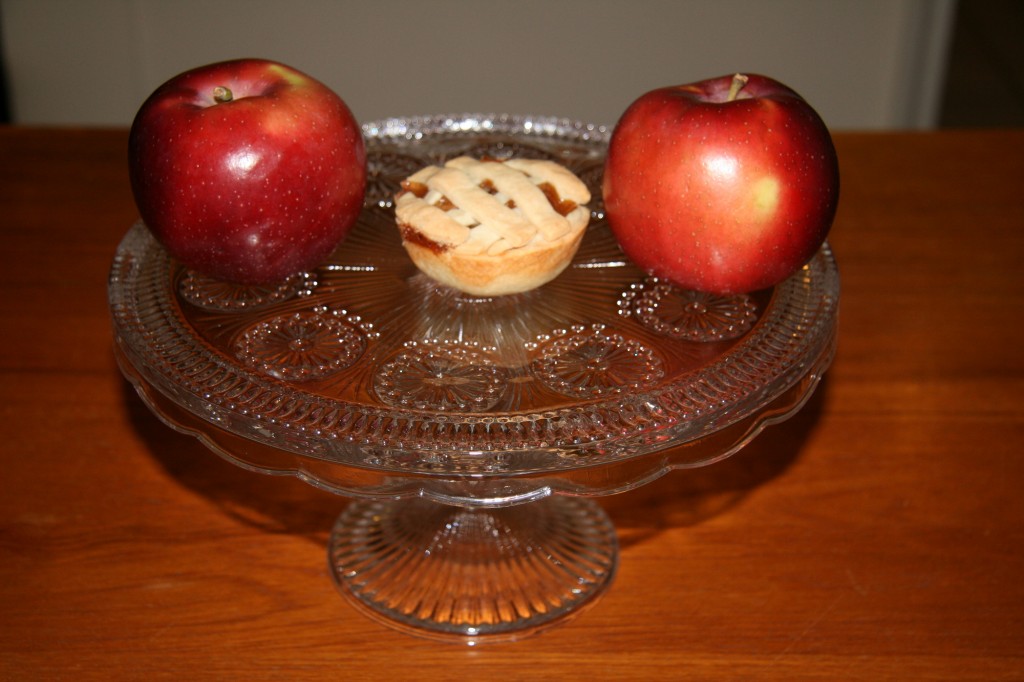
We visited some friends in Maryland for Presidents’ Day weekend and I knew I wanted to bring some sort of treat for everyone. And since it was Presidents’ Day, it had to be something patriotic. I figured what is more American than apple pie? I found a recipe for mini apple pies on Citronlimette.com, a new cooking blog blog I came across. Overall, they came out great. I just made a few changes to the recipe for future use (such as using less water and salt in the dough).

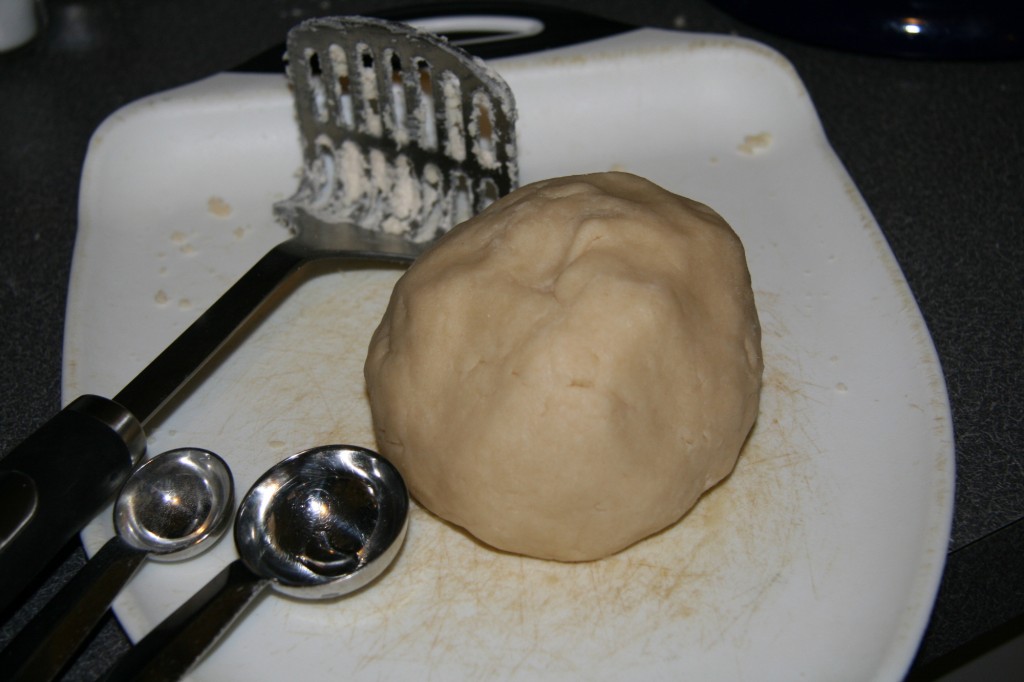
I doubled the amount of dough for the same amount of filling because really the crust is the best part of the pie. I wanted to be sure I had enough to make a nice and thick crust. When making the dough, I found the best way to mash the cold butter into the flour was to use a potato masher.

Mini-apple-pie2

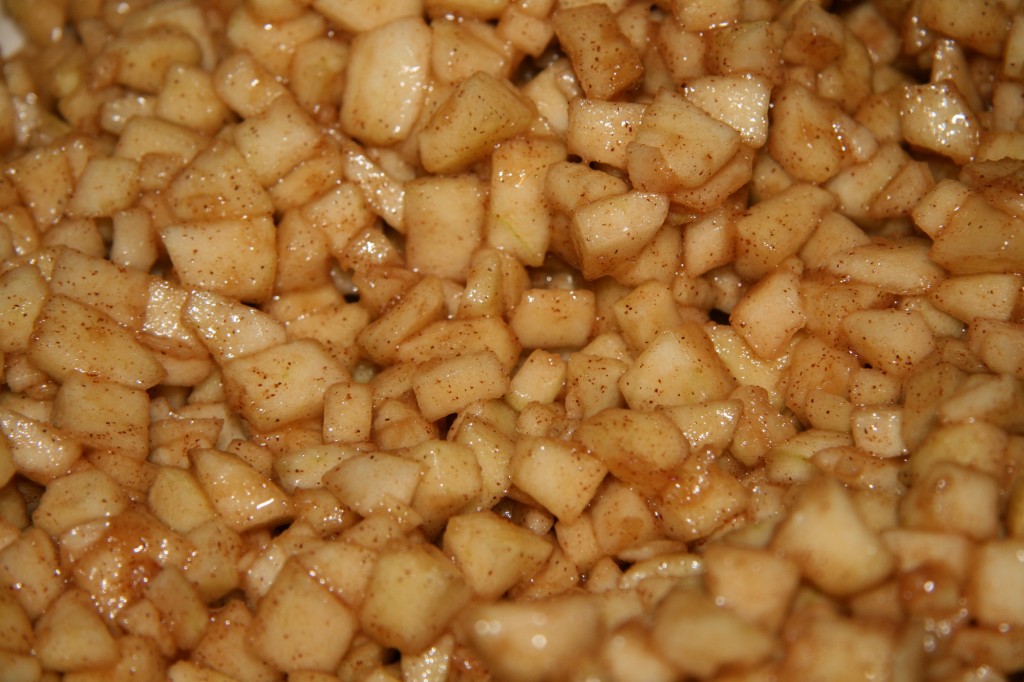
The apple filling was perfect. After letting it sit a bit I noticed there was a lot of juice on the bottom of the bowl. After I filled each crust with the apples, I spooned some of the juice on top.

Mini-apple-pie3

Mini-apple-pie4

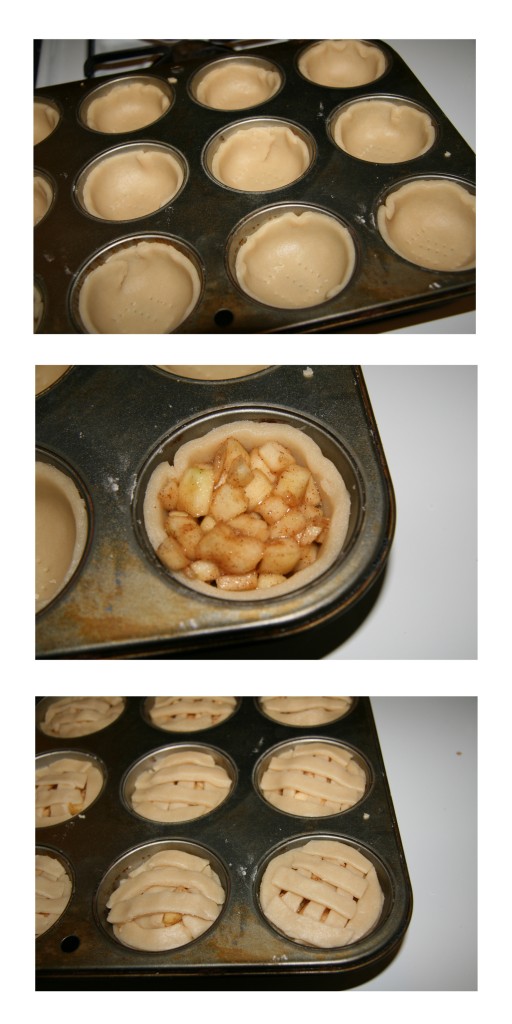
To fill a cupcake tin with 2-inch wells, I cut circles of dough 3.5 inches in diameter.

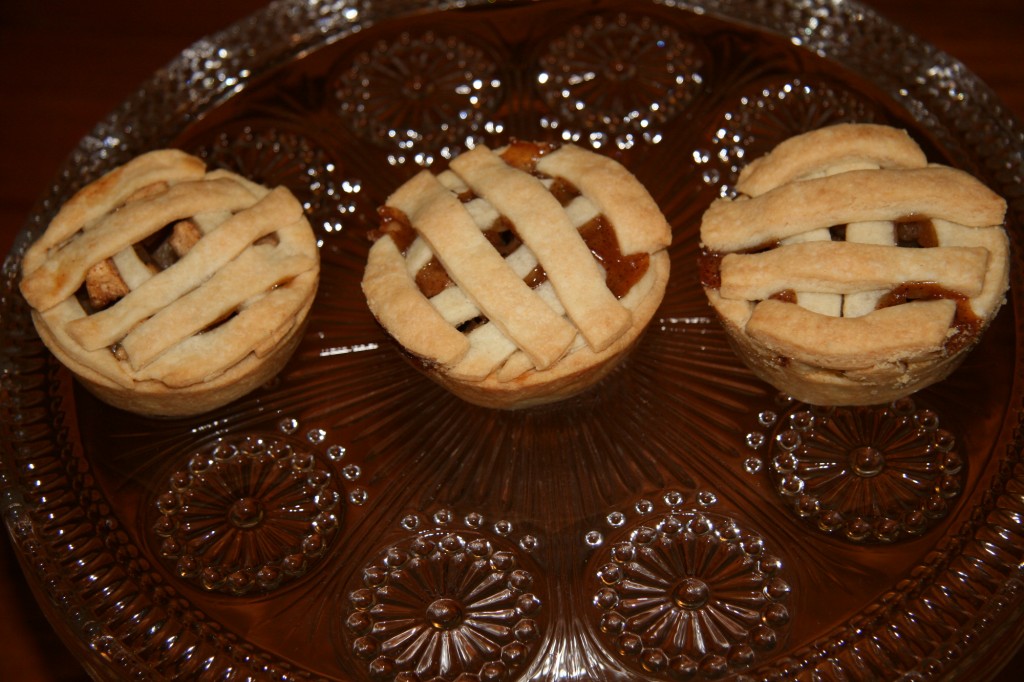
The finished product was really cute, and the perfect bite-sized snack.

Mini-apple-pie5

Mini-apple-pie6

Mini Apple Pies (modified from citronlimette.com)
Makes 12 mini pies
Ingredients
  • For the dough
  • 2 cups of flour
  • 12 TBSP butter, cold and cut into cubes
  • 2 TBSP ice water
  • 1 tsp salt
  • 2 tsp white sugar
  • For the filling
  • 4 apples
  • 1/4 cup white sugar
  • 1/4 cup brown sugar
  • 1 tsp cinnamon
  • pinch of salt
  • 1 TBSP flour
  • 1 tsp vanilla
Instructions
  1. Mash the butter into the dough using a potato masher until completely combined.
  2. Using an electric mixer, add the salt and sugar and then the water until a dough begins to form. Knead the dough until it is completely smooth. Wrap in plastic wrap and refrigerate for at least 30 minutes.
  3. Peel and core the apples and cut them into very small pieces. Then combine the white sugar, brown sugar, cinnamon, salt, flour, and vanilla into a large bowl. Add the apples to the mixture and stir until completely combined.
  4. Take 3/4 of the dough and roll it out on a floured surface. Cut 3.5-inch circles with a cookie cutter and place inside cupcake tins lightly sprayed with Pam. Poke holes at the bottom of the dough with a fork.
  5. Fill each crust with a few spoonfuls of apple filling and spoon some of the juice on top.
  6. Roll out the remaining dough and cut 3-inch circles of dough using a cookie cutter. Then cut strips from these circles and place them on top of the pies in a lattice pattern.
  7. Bake at 375 degrees for 35-40 minutes. Let cool completely before removing from cupcake tin.


Posted in Other Desserts | 1 Comment

Fun with fondant–a practice edition

Practice1

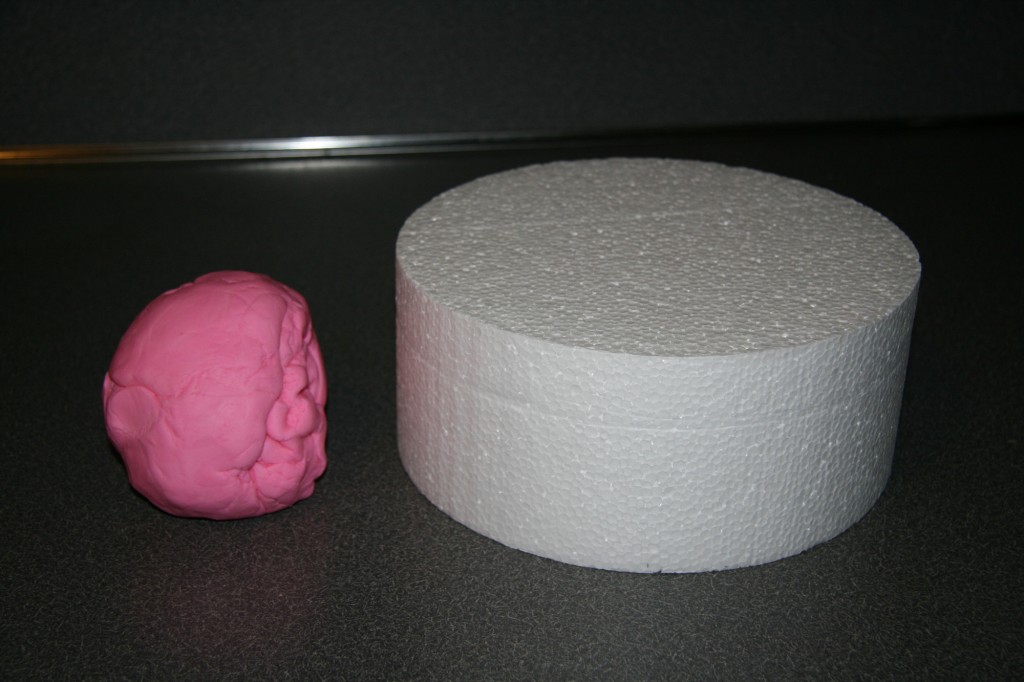
I’ve been working with fondant for about a year now, but since my use of it is sporadic, I still haven’t perfected getting it onto a cake without any tears or folds. You can’t really experiment or practice with fondant when the cake is for a paying customer. Family events aren’t any better…so I decided to take an afternoon and just practice using fondant where there was no risk of ruining a cake. So I made a batch of unflavored fondant and got myself a 9″ round Styrofoam cake dummy.

I had a suspicion that my main problem was that I was rolling out my fondant too thin, and this not only caused it to tear but also the excess fondant made it easier to get folds instead of a smooth, taut finish. But every time I make a cake, I have a crippling fear that I’ll roll out my fondant to be too short, and it won’t cover the entire cake. Depending on the humidity in the air, sometimes it is impossible to the the fondant off and try again because the frosting will stick to it.

So this was my main goal: to see exactly how much fondant I need to roll out for a 9″ round cake that is 4″ high.

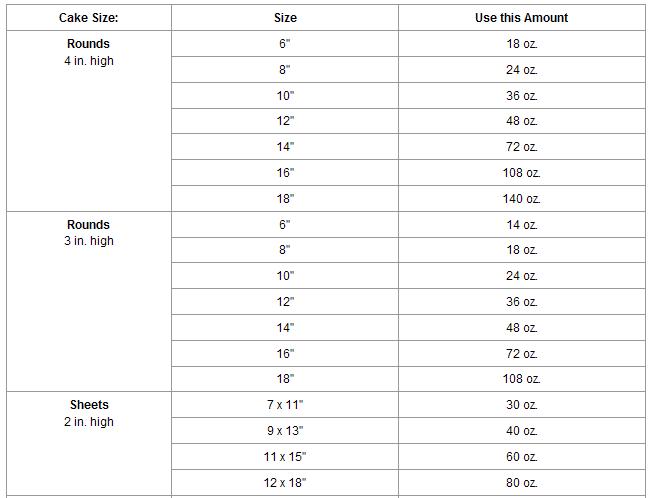
I always start by referring to this chart to see how much fondant to make:
amount1

So for a 9″ cake, I made 30 oz of fondant, or just under 2 lbs. This recipe for marshmallow fondant makes 1.5 lbs, or 24 oz.

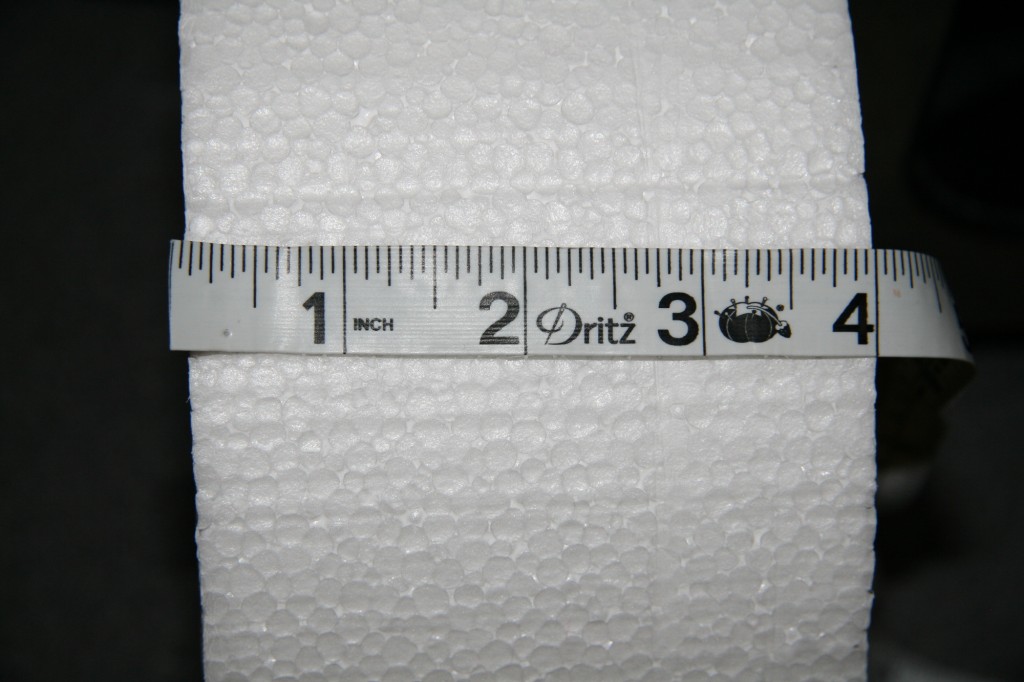
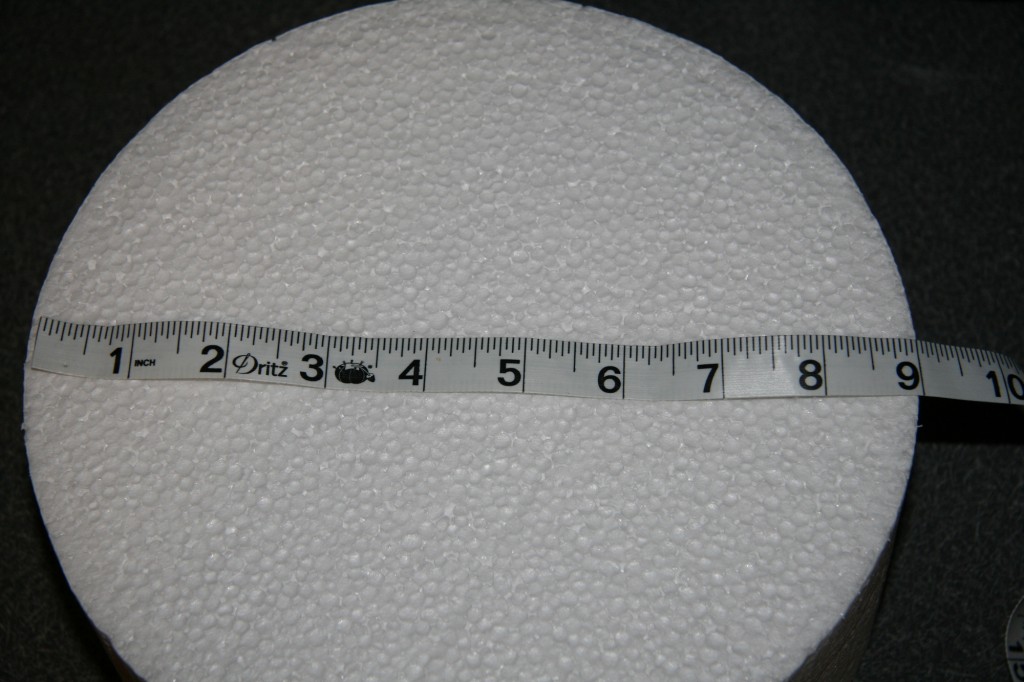
To get a rough idea of how big to roll out your fondant, add the width of the cake to 2x the height.

Width= 9 inches:
Practice2

Height = 4 inches

Practice3

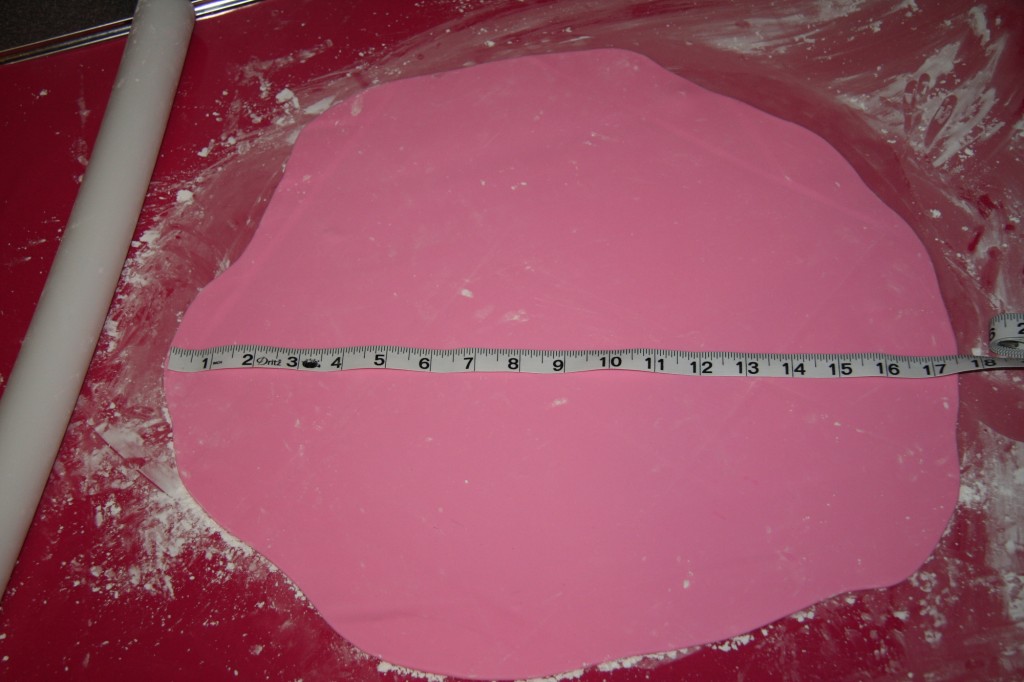
So 9+4+4= 17 inches total.

In my practicing, I learned that the more you keep the fondant in a circle shape, the better. Less risk of having a section that is shorter than what you need.

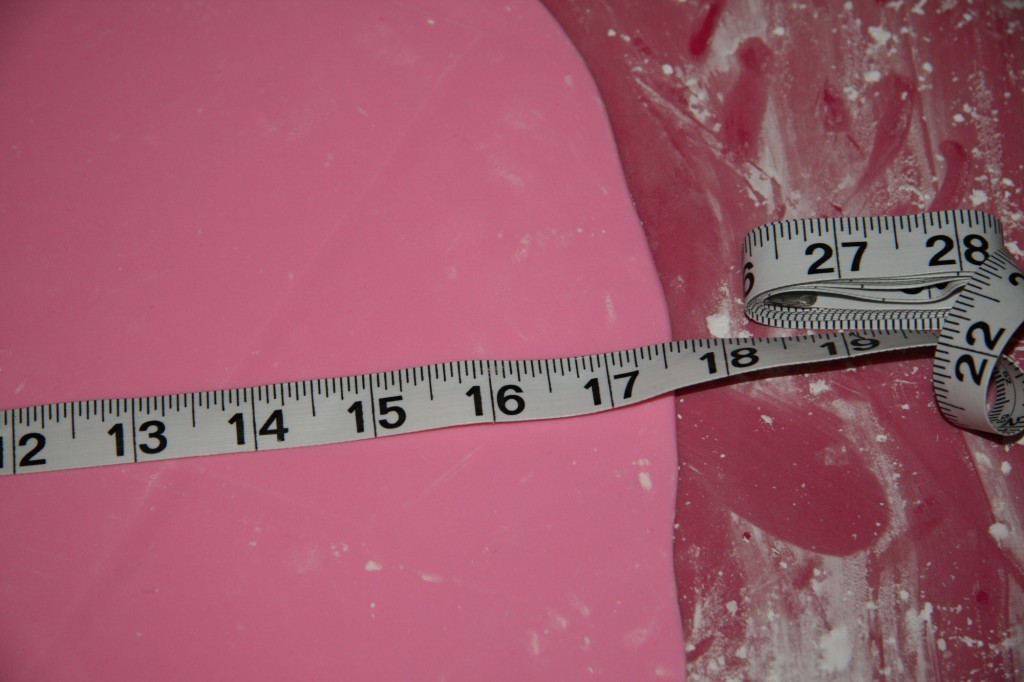
I usually try to do 1-2 inches more than what I calculate but this time I just did 17.5 inches when I needed 17.
Practice4

Practice5

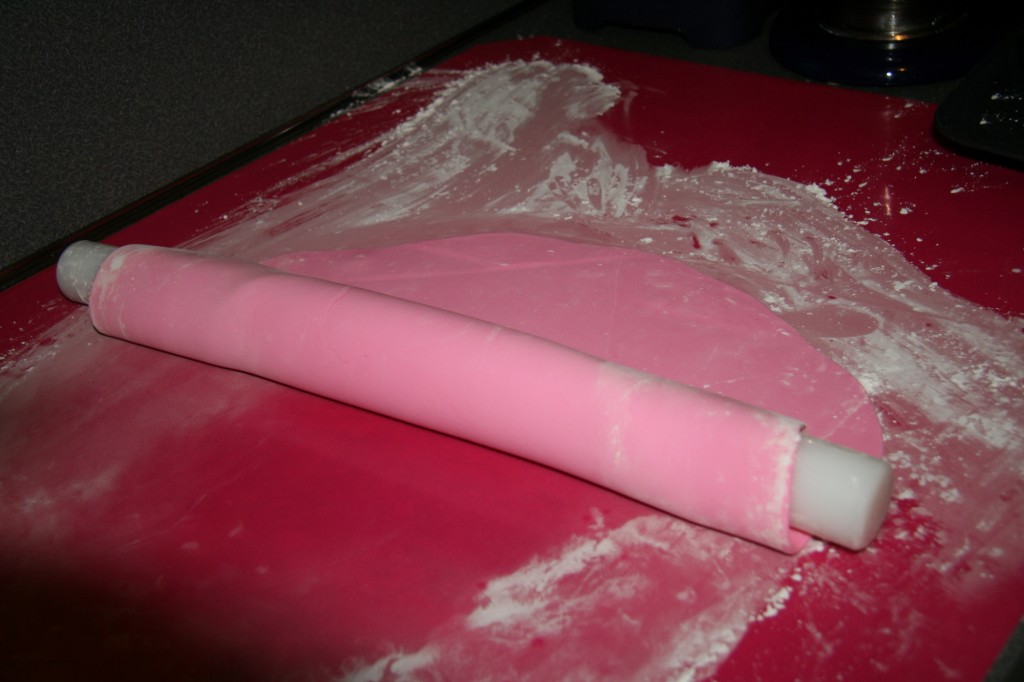
I made sure to use plenty of cornstarch so that the fondant didn’t stick to the mat. Doing this ensured that there was no tearing when I picked it up. Rolling it onto the rolling pin is the easiest way to transfer the fondant to the cake. Just make sure that when you place it on the cake that you make sure it is centered.
Practice6

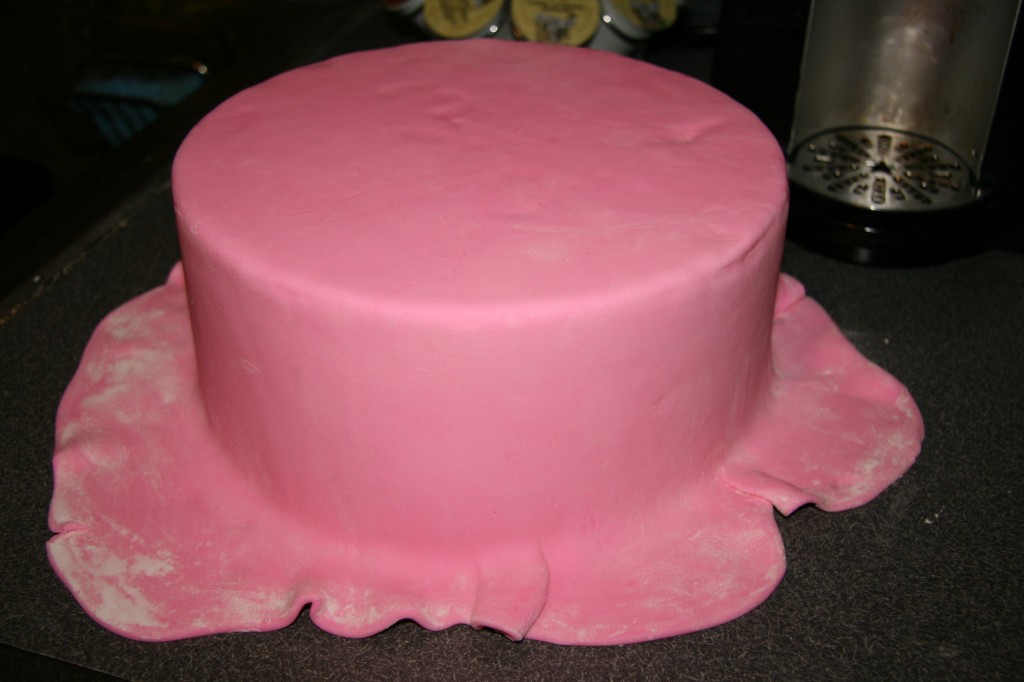
As you can see in the next picture, even just a 1/2 inch extra leaves you plenty of fondant on the sides. I think this is because  once you put the fondant on the cake, gravity causes it to drop down even further.
Practice7

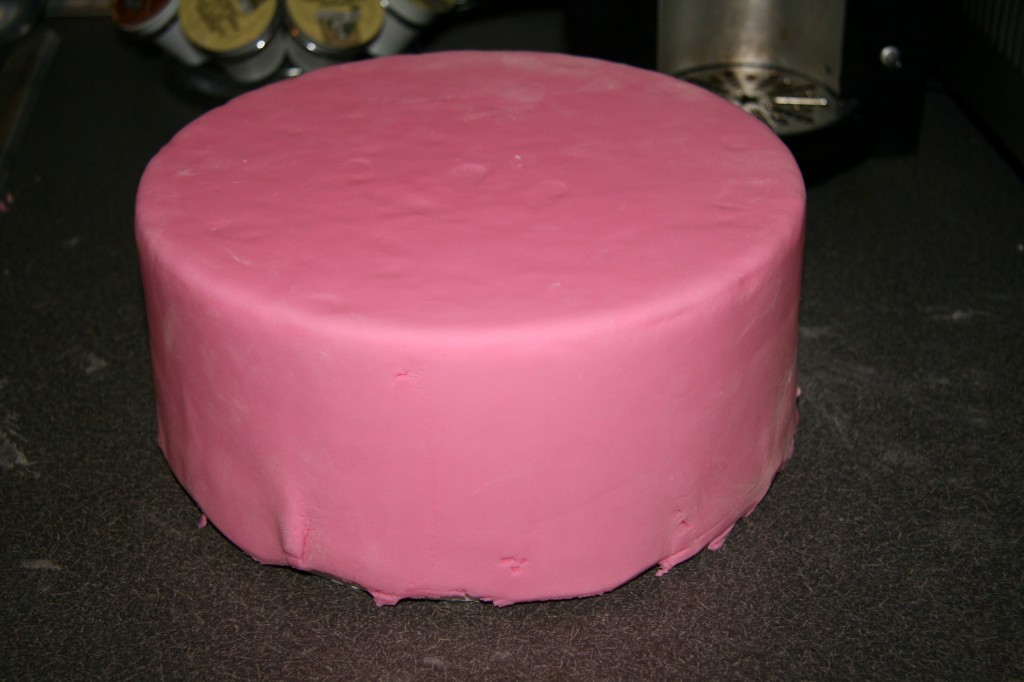
I tried a second time, making a circle of fondant 16.5 inches, and I still had plenty of fondant that I had to cut away. To get it nice and taut, I started at the top and smoothed it out. Then for the sides I took a section of fondant at the bottom and held it out. Next I started at the top of the cake and worked my way down to the bottom, smoothing the fondant along the side as I went. Then I rotated the cake and did this all the way around. Holding the bottom of the fondant out helped a lot towards preventing folds.

Of course if this were a real cake, I would tuck the fondant under the cake to make a nice smooth edge.
Practice8

While the cake dummy was an extremely useful tool in practicing, I did notice that it was slippery. If you try practicing with one, I would suggest gluing it to a round cake board so it doesn’t slide around on your counter. The Styrofoam texture is not sticky like cake, so it is a little more difficult getting fondant to stick. But the beauty is that you can use the fondant over and over again until you get completely comfortable rolling the fondant out and placing it on a cake.

Happy Practicing!

Posted in Tutorials | Comments Off on Fun with fondant–a practice edition

Roulette 30th Birthday Cake

Roulette1

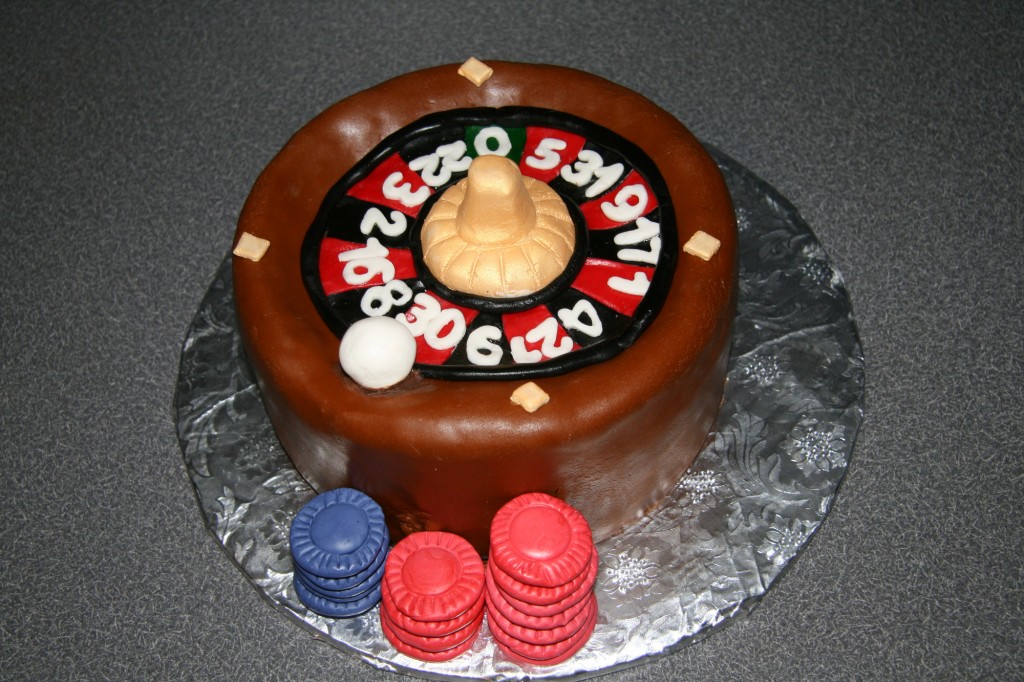
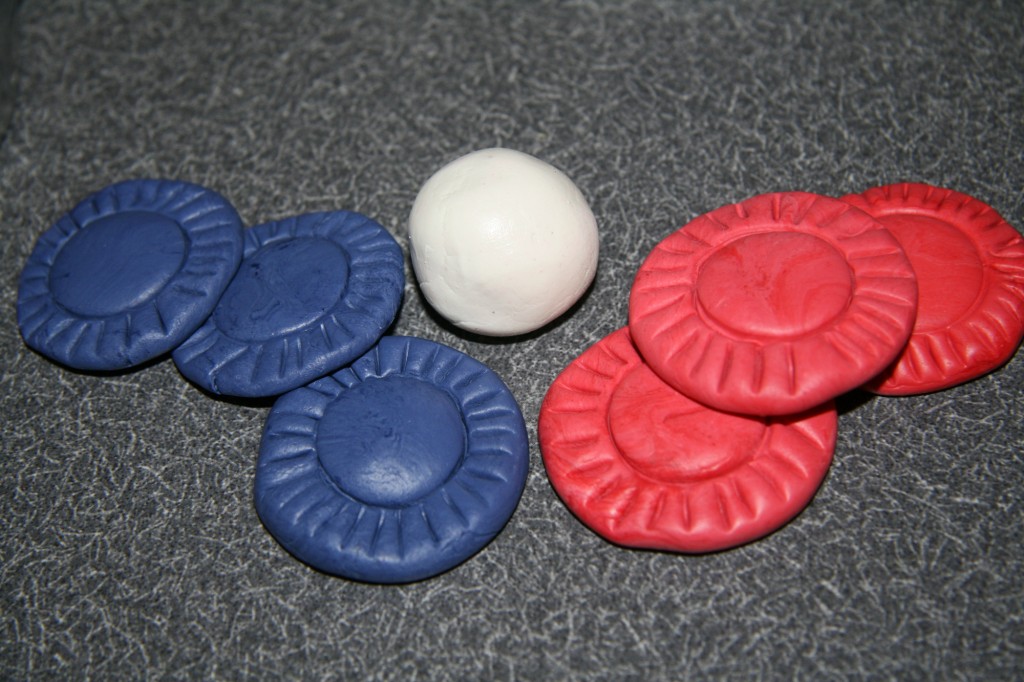
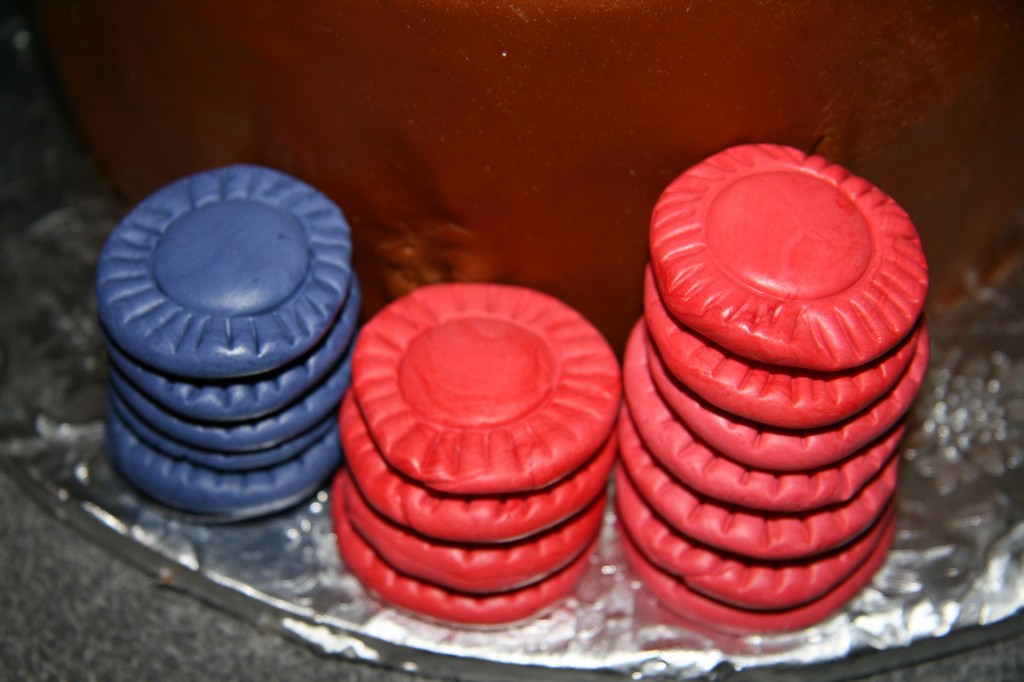
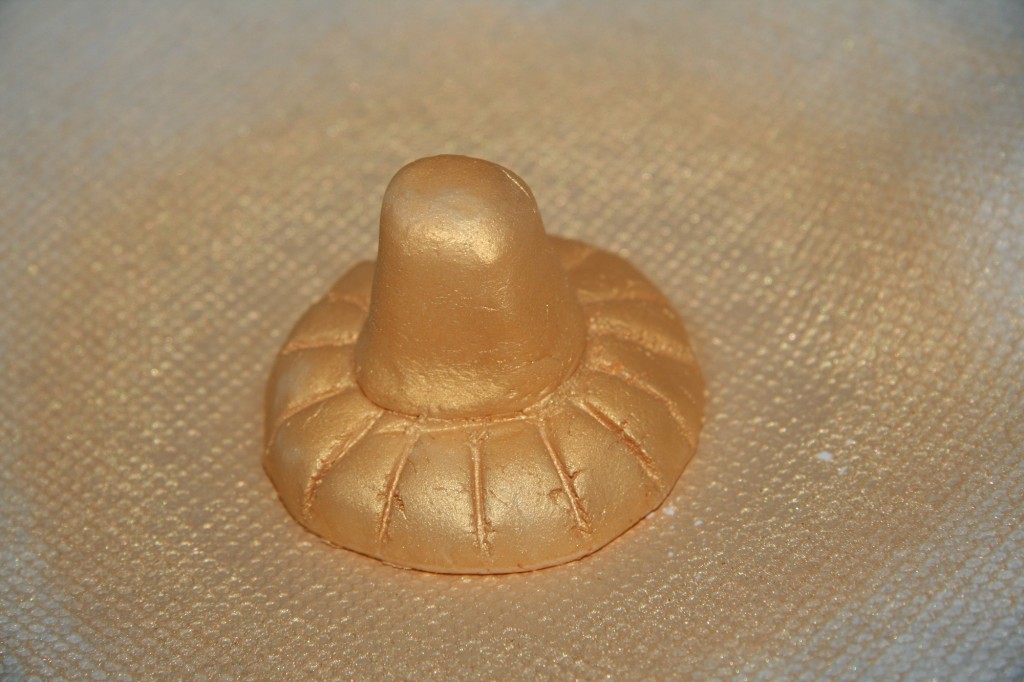
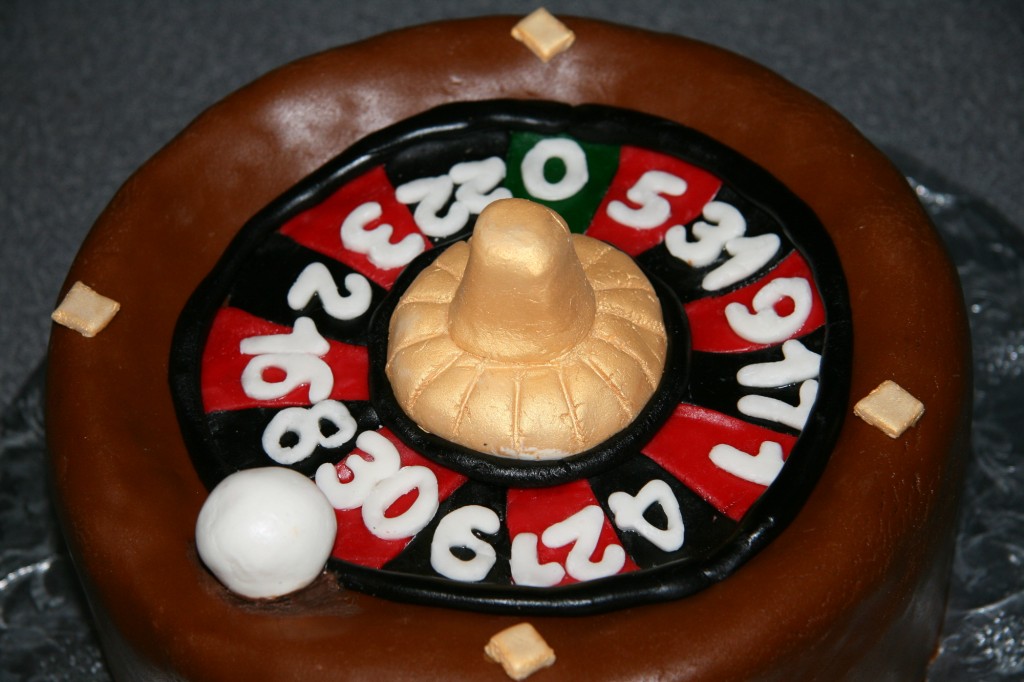
My sister-in-law (who is absolutely wonderful and gets me a lot of cake jobs) hired me this past weekend to make a Vegas-themed cake for her friend.  Since I planned to make an 8-inch cake to feed 10-12 people, my first thought was to make it into a roulette wheel. I never turn down an excuse to use modeling chocolate, so I made a batch to form the handle, ball, and chips. I colored the chips with Wilton gel coloring, and I sprayed the handle with Wilton Color Mist.

Roulette2

Roulette3

Roulette4

This was my first time using the Wilton Color Mist; I usually use Chefmaster brand. Overall, I found the Wilton mist to be a pretty good (and inexpensive) alternative to the Chefmaster spray. But, if you want a very realistic gold color, I would go with Chefmaster. The gold Wilton mist was a bit cheesy (which totally works for a Vegas themed cake).

Since it was a 30th birthday cake, my sister-in-law asked me to place the ball in the #30 pocket, which I thought was a cute touch.

Roulette5

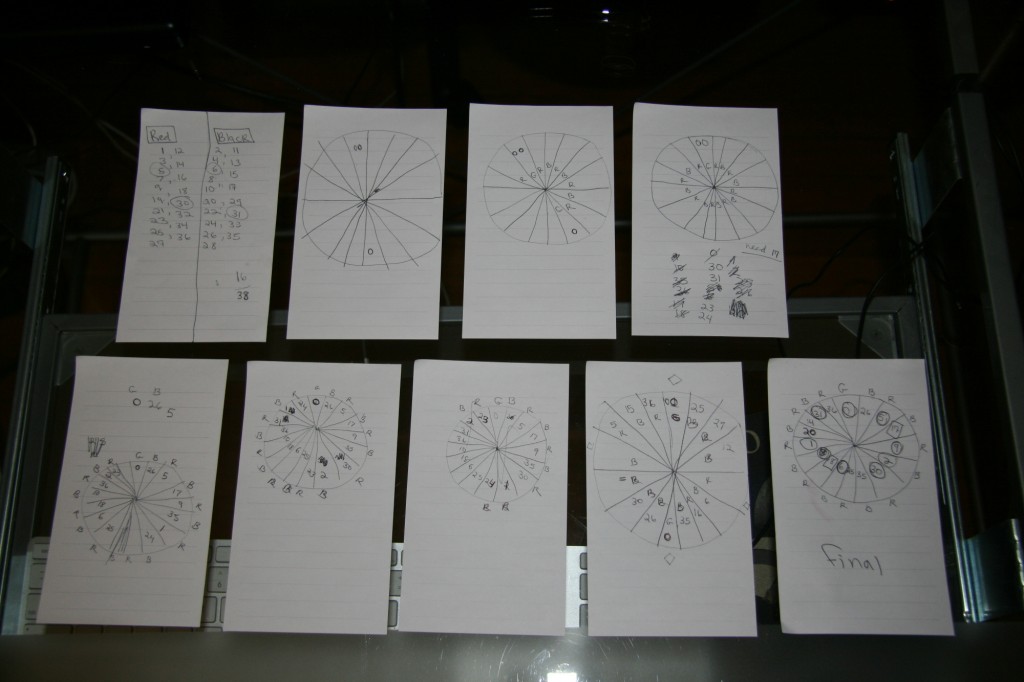
Which brings me to the numbering on the cake…perhaps the most difficult part of the whole process.  American roulette has 38 numbered pockets in a very specific order that most casinos follow.  Certain numbers are red, and others are black. Since my cake was only 8-inches in diameter, I could only make 15 pockets. But I did follow the rules for which numbers are red and which are black. It took me several (okay, eight) tries to get it correct on paper before I attempted to do it on the actual cake.

Roulette6

This was a fun cake to make, and I learned a lot about roulette. If I ever make it to Vegas, I may not have the guts to play, but I will definitely appreciate the game a little more.

Posted in Cakes | Comments Off on Roulette 30th Birthday Cake