Popovers–another family recipe

Popovers1

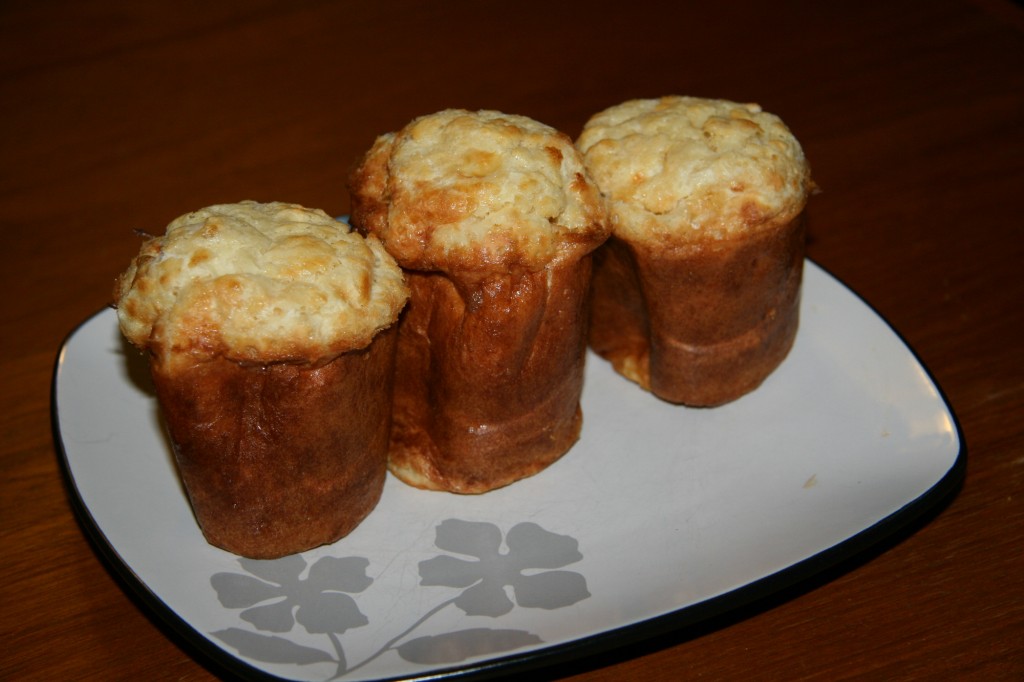
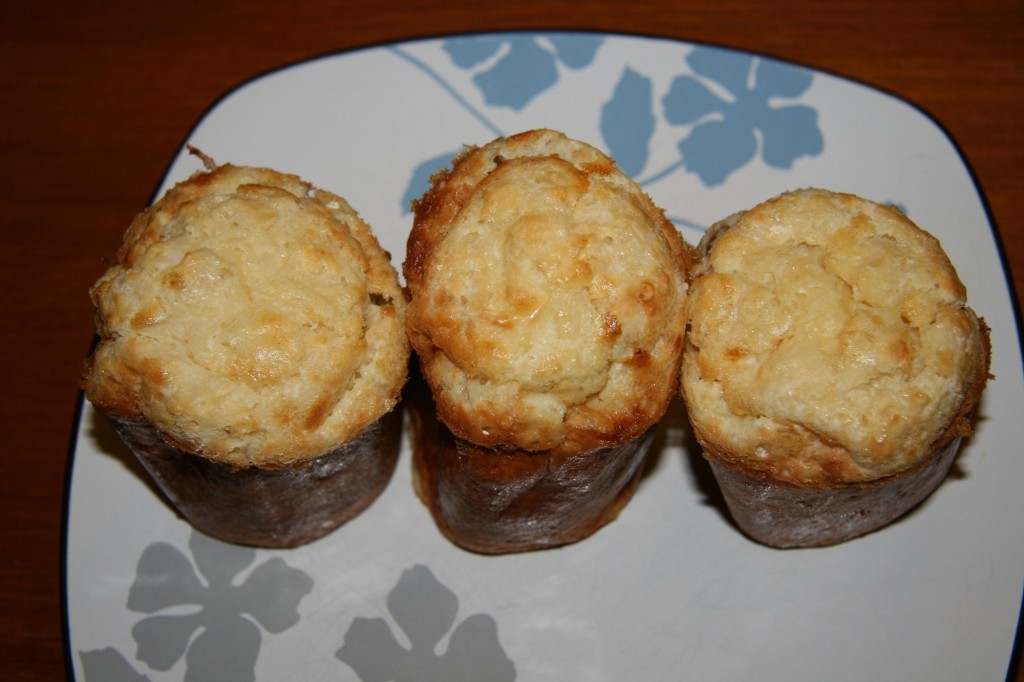
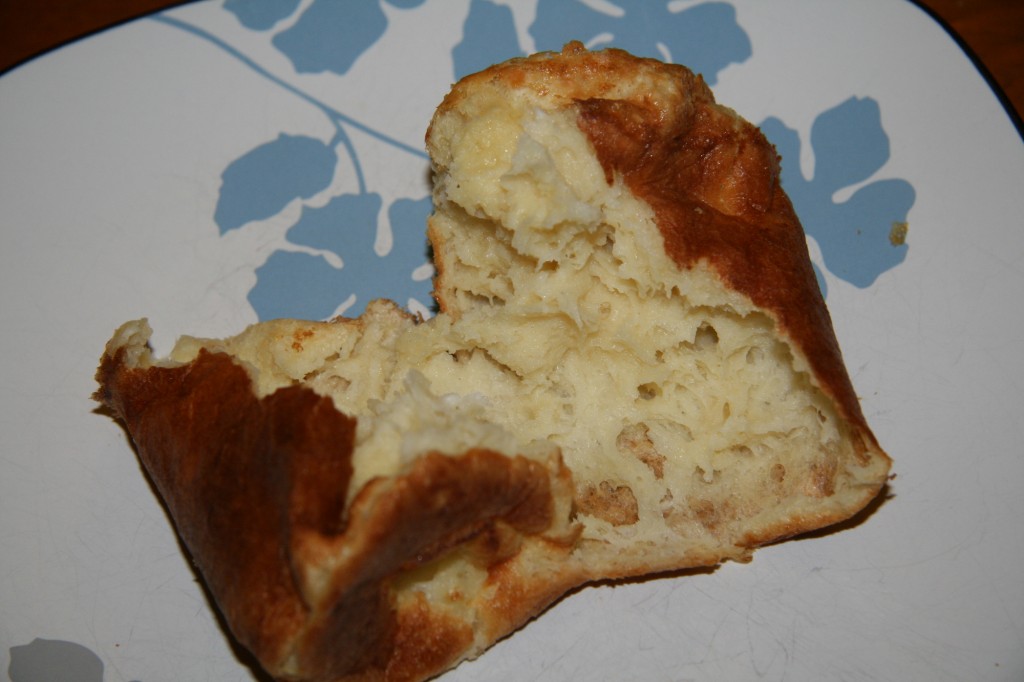
Last week, I posted a recipes for Tarales, a savory bread that is a favorite among my husband’s family. Now, it’s time for a recipe from my family.  Popovers are a hollow roll that are crispy and flaky on the outside, and doughy on the inside. My mom didn’t come up with this recipe herself, but I always enjoyed when she made them.  I love them even more now that I’ve moved away because I can enjoy a little bit of New England wherever I am.

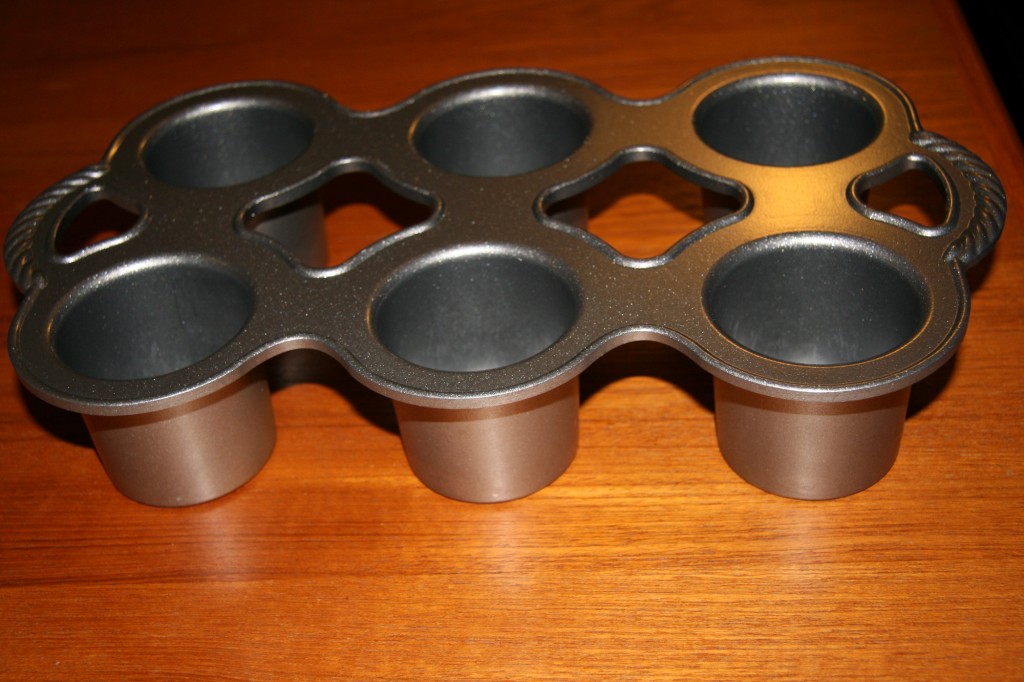
Popovers are the American version of Yorkshire Pudding. They are baked in a special muffin pan that has very deep wells. They rise quickly and spill over the top of the pan, hence the name “popover”. This is the pan that I have and it is also the pan that my mom uses.

Popovers2

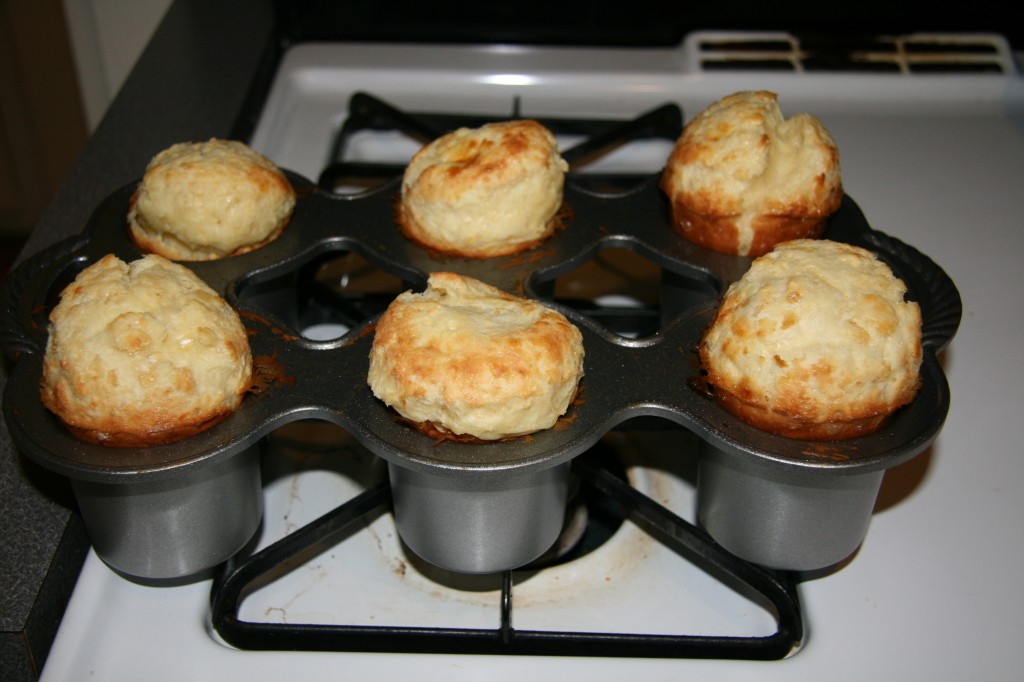
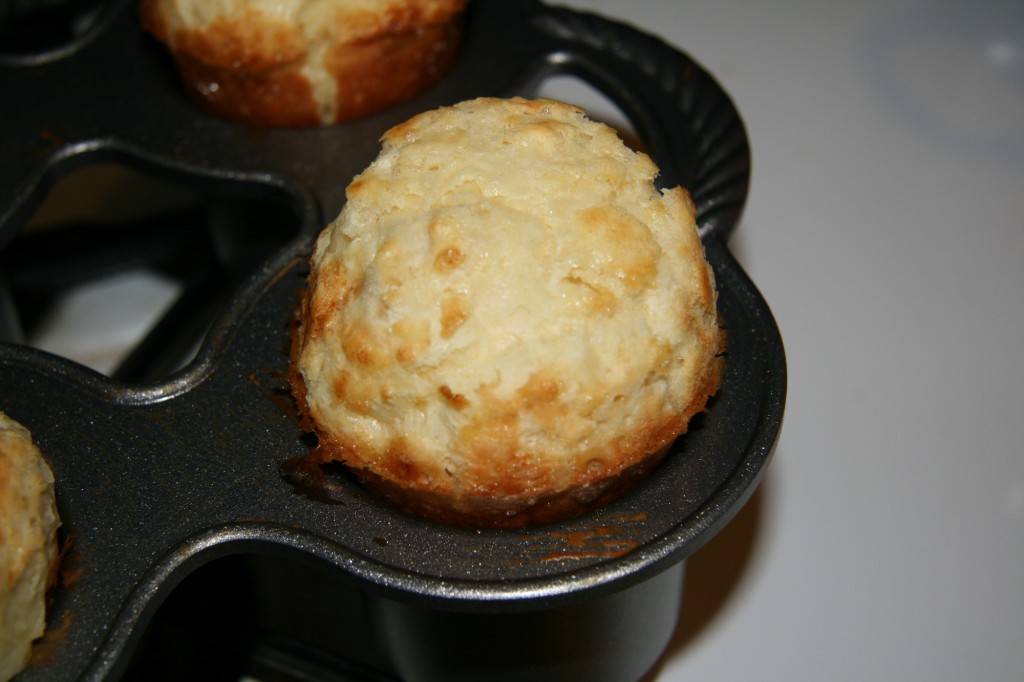
Popovers are first cooked at high temperature to make them rise quickly, and then at a lower temperature so that they brown. They are best when served piping hot.

Popovers3

Popovers4

I like mine plain, but you can tear yours open and serve with butter. While they are light, popovers go very well with heartier meals, such as meats and stews.

Popovers5

Popovers6

Popovers (recipe modified from Nordic Ware)

Ingredients
  • 3 eggs
  • 1 1/2 cups of all–purpose flour
  • 1 1/2 cups of milk
  • 1 1/2 TBSP melted butter
  • 3/4 tsp salt
Instructions
  1. Preheat the oven to 450 degrees.
  2. Lightly grease the popover pan with Pam spray
  3. Beat the eggs. Add the other ingredients and beat. Batter will be lumpy.
  4. Pour the batter evenly into the 6 wells.
  5. Bake at 450 degrees for 20 minutes.
  6. Turn down the oven to 350 degrees and bake another 20 minutes, or until the popovers are nicely browned.
  7. To remove, gently slide a knife around the base of the popover to loosen it from the pan.
  8. Serve immediately.


Posted in Breads | Comments Off on Popovers–another family recipe

Taralles–a family recipe

Taralles1

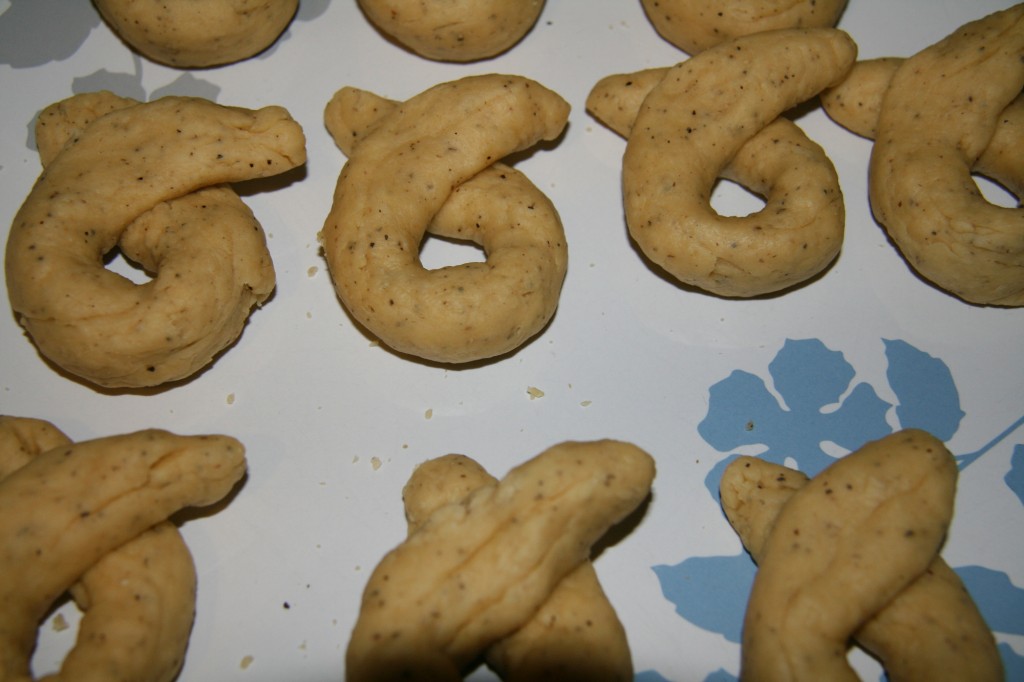
It’s the dead of winter, and while it hasn’t been all that cold here in NYC, it is still the season for comfort food. Breads are especially nice and one of my favorites comes from my husband’s Italian family. It is called a Taralle, though the term is confusing because its meaning differs based on region. Some regions of Italy consider the Taralle a Christmas cookie, filled with chocolate and currants. Other regions consider it an Italian bagel or biscuit that is heavily peppered. To make matters even more confusing, the differences of opinion on what a Taralle is can occur within a single family, as the case is with ours. My husband’s maternal family (who lived nearby Naples) are of the Italian bagel camp, whereas my husband’s paternal family (who lived in Orsogna, a town more North and on the Eastern coast) is of the Christmas cookie camp. I’ve had both types and my favorite is the bagel, as I love savory breads and any excuse to use a lot of pepper.

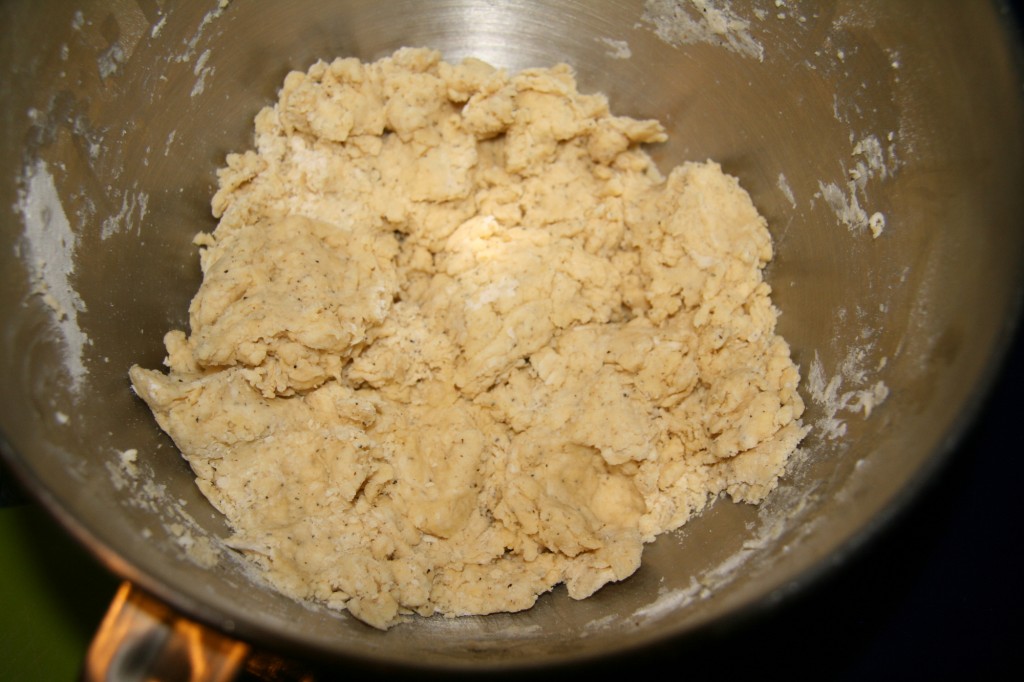
I’ll go through the steps first, and then post the recipe. Taralles are fairly simple to make–there aren’t a lot of ingredients. You just need to make sure that the dough is the right consistency: wet enough to stick together and not crumble, but not so wet that the dough is slippery. You can add more flour or water as needed.

Taralles2

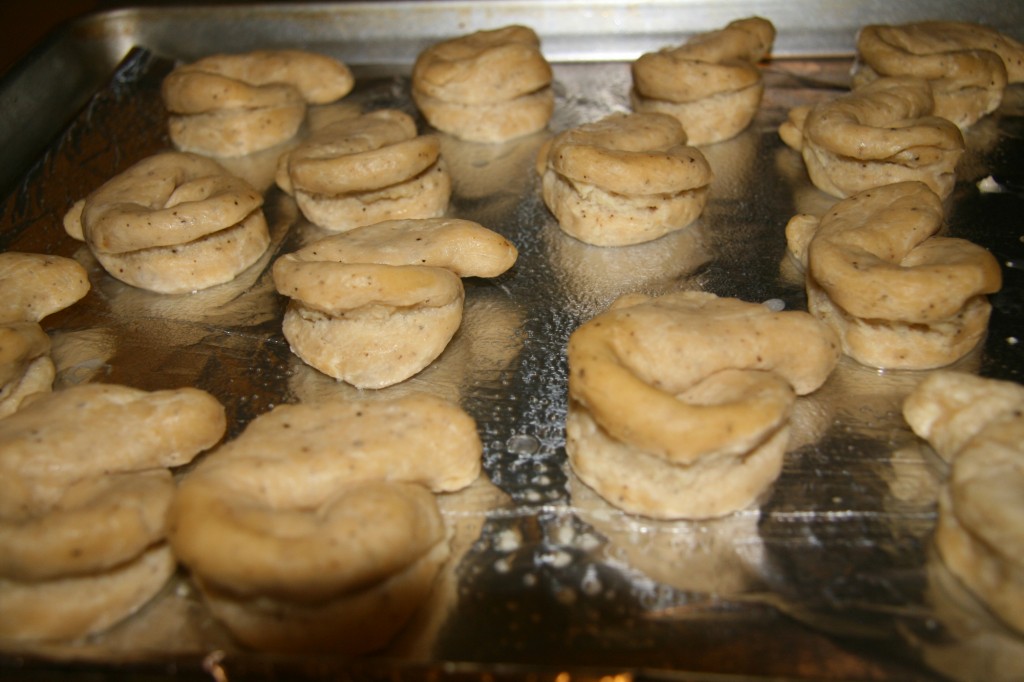
The main work is in getting the shape correct. I start by dividing up my dough into about 20 balls. Then take each ball and roll between your hands to make a snake about 5-6 inches long. Then cross the ends to make a bagel shape.

Taralles3

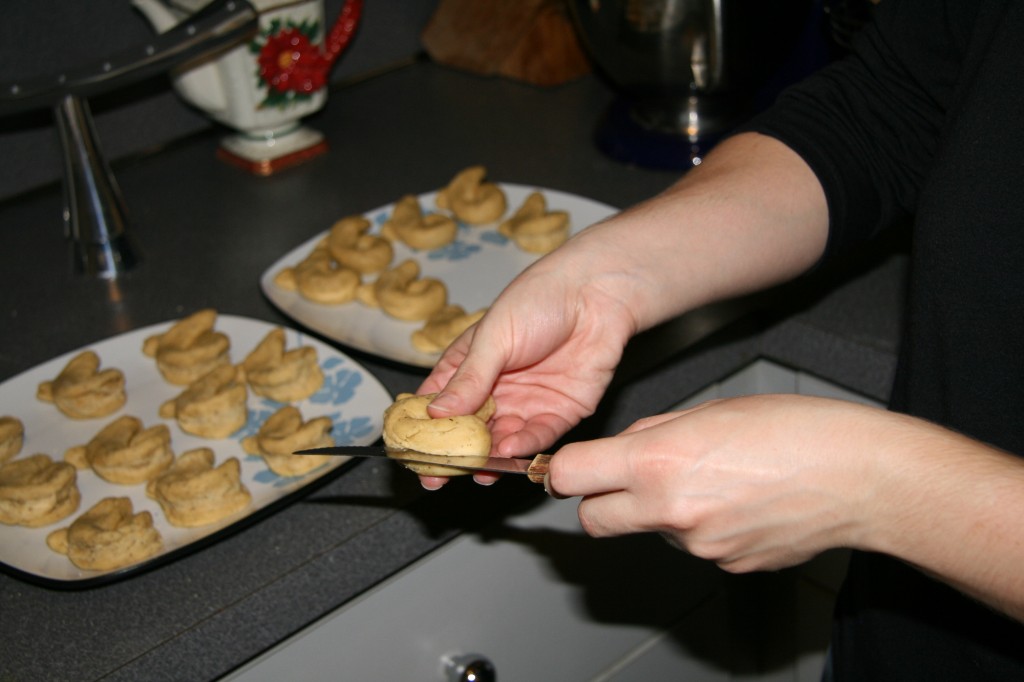
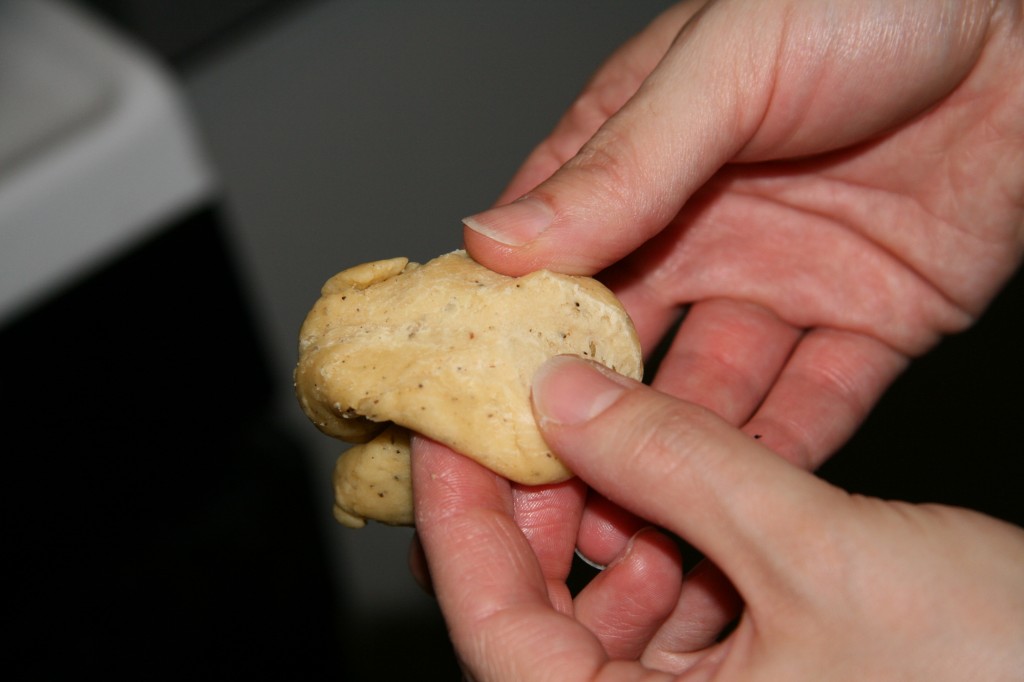
Then slit the bottom, curved portion of the bagel with a serrated knife and split the edges apart. This will help to dry out the Taralle when baking so that it becomes crispy inside.

Taralles4

Taralles5

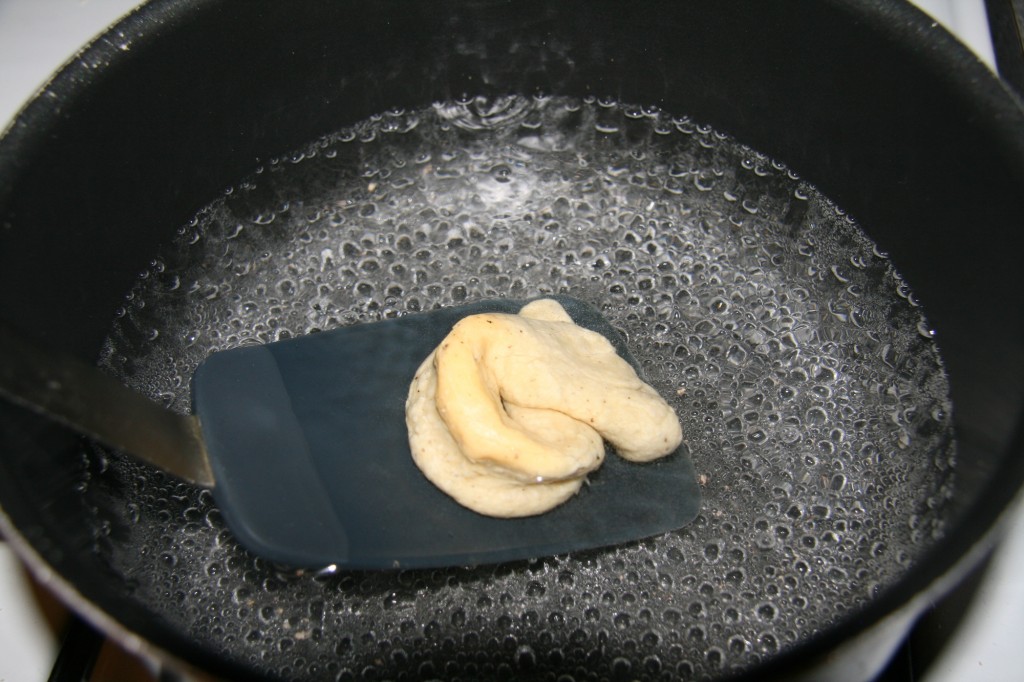
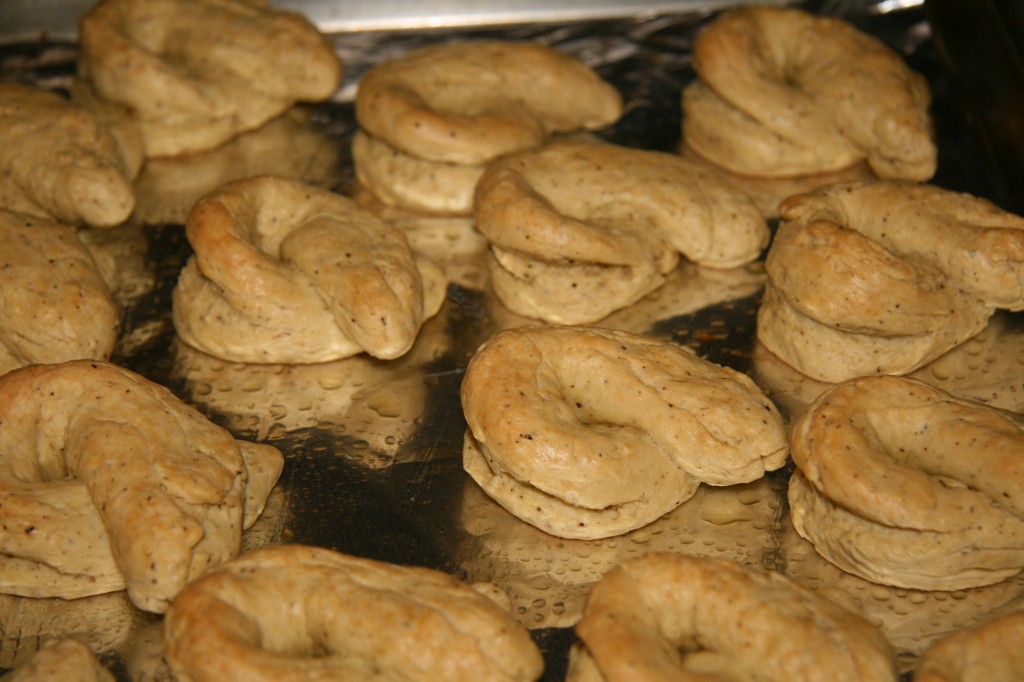
Next you put each Taralle in boiling water (similar to making pretzels) for 4 seconds. This helps form the bagel crust. I boil each one separately, and keep it on a spatula so that it does not lose its shape.

Taralles6

Taralles7

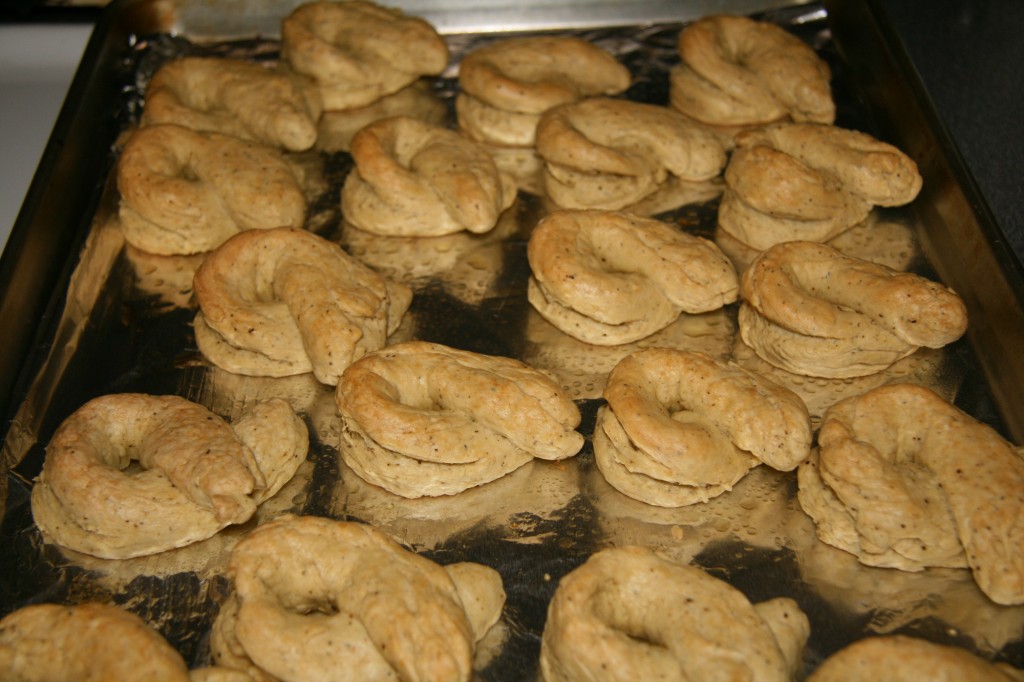
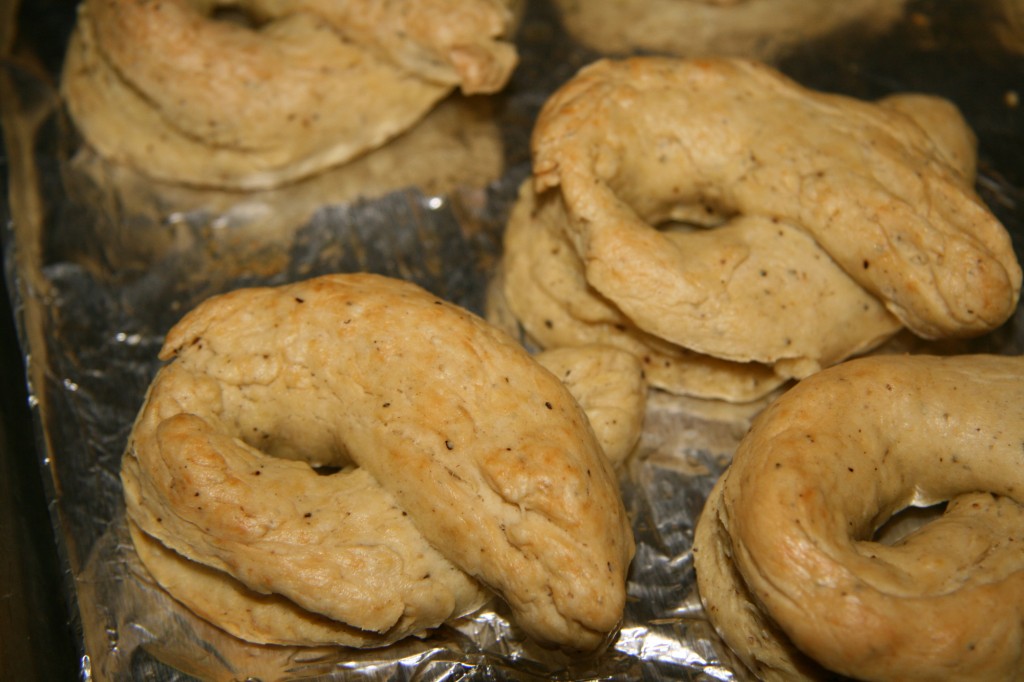
Then bake for 3o minutes until they are nice and browned, and you have Taralles!

Taralles8

Taralles9

Taralles (Cleri family recipe)

Ingredients
  • 7 TBSP butter, melted
  • 3 eggs
  • 3 1/2 cups flour
  • 2 heaping TBSP + 1/2 tsp baking powder
  • 2 tsp ground black pepper
  • 1/4 cup water, to moisten dough
Instructions
  1. Preheat the oven to 350 degrees. Line a cookie sheet with aluminum foil and spray with Pam.
  2. Mix the flour, baking powder, and pepper into the bowl of an electric mixer.
  3. Break the eggs into the flour mixture
  4. Add the melted butter and mix on medium speed using the dough hook attachment.
  5. Add the water and mix thoroughly.
  6. If the mix is loose, add more flour. If it is dry, add more water.
  7. Knead the dough until it is elastic in consistency.
  8. Roll the dough 1 finger thick and shape into circles.
  9. Split the Taralle around the edge with a knife and lift the edges all the way around.
  10. Place each Taralle in boiling water for 4 seconds, making sure to keep the Taralle on a spatula so it does not lose its shape.
  11. Bake on the foil-covered cookie sheet for 30 minutes, or until golden brown.


Posted in Breads | Comments Off on Taralles–a family recipe

A Refreshing Birthday Cake!

Lemon_cake1

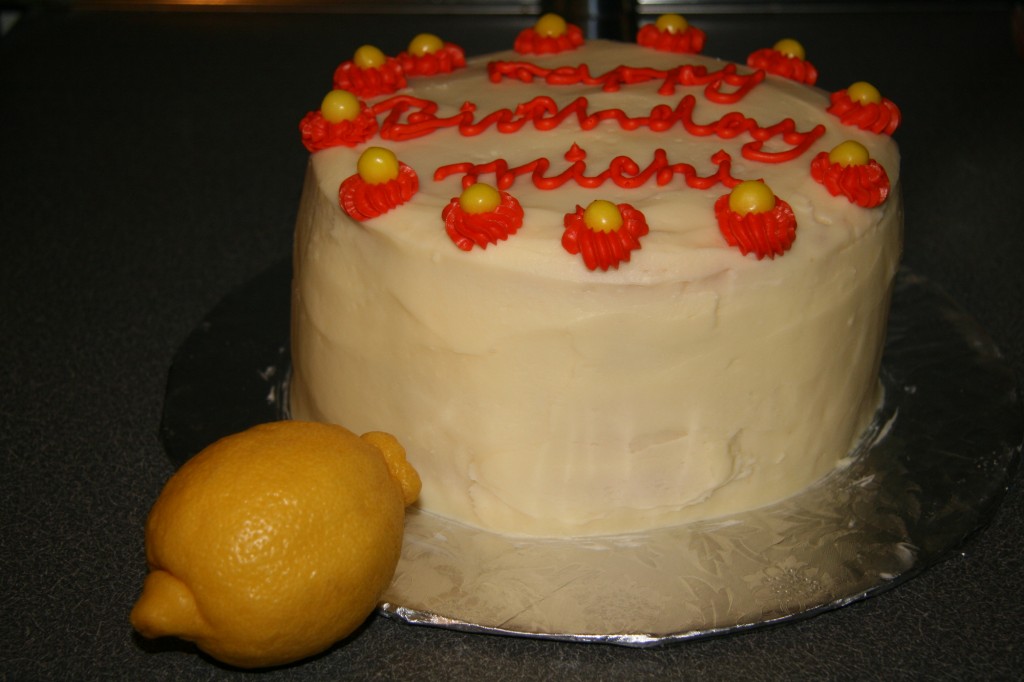
Most birthday cakes are sweet and decadent, just the way I like it. But sometimes I like to switch it up a bit…I wanted a refreshing cake for my sister-in-law’s birthday since we were going to be at a Brazilian restaurant, which basically serves various meats sliced off a huge skewer. This Meyer Lemon and Olive Oil Chiffon Cake with Lemon Poppyseed Curd from
Love and Olive Oil was the perfect combination of soft, not too sweet cake and a burst of lemon flavor. Topped off with Lemonheads candy, the cake looked as good as it tasted.

Lemon_cake2

Lemon_cake3

Just a few notes:

I couldn’t find Meyer lemons, so I used whatever large lemons my supermarket carried. Meyer lemons are actually sweeter than other lemons, because they are a cross between lemons and oranges, as I learned from Wikipedia . So if you want your cake a bit sweeter, try to find Meyer lemons.

I found that a large lemon yielded about 1 tablespoon of zest and about 3-4 tablespoons of juice.

Meyer Lemon and Olive Oil Chiffon Cake (from Love and Olive Oil)

Ingredients
  • For the cake:
  • 8 large eggs, separated
  • 2/3 cup olive oil
  • 2 TBSP Meyer lemon juice
  • 1 TBSP Meyer lemon zest
  • 2 TBSP water
  • 1/2 tsp cream of tartar
  • 1 1/2 cups sugar
  • 2 cups cake flour
  • 1/4 tsp baking soda
  • 1/4 tsp salt
  • For the lemon curd:
  • 1/2 tsp unflavored gelatin (I used lemon flavored)
  • 1/3 cup plus 1 TBSP Meyer lemon juice
  • 3 eggs
  • 2 egg yolks
  • 1/2 cup sugar
  • 1 tsp Meyer lemon zest
  • 4 TBSP butter, cut into pieces
  • 1 tsp poppyseeds
  • For the frosting:
  • 4 sticks unsalted butter at room temperature
  • 3 3/4 cup confectioner sugar
  • 1/4 cup heavy cream
Instructions
To make the cake:
  1. Preheat oven to 350 degrees. Prepare three 9-inch pans with Wilton Cake Release (I used two 8-inch pans).
  2. In a medium bowl, whisk together the egg yolks, olive oil, lemon juice, lemon zest, and water.
  3. In an electric mixer, mix together the egg whites with the cream of tartar on medium speed until it is frothy. Slowly add 1/4 cup of the sugar (leaving 1 1/4 cups aside) and mix until soft peaks form. This may take up to 10 minutes.
  4. In a large bowl, sift together the cake flour, remaining sugar, baking soda, and salt.
  5. Make a well in the center of these dry ingredients and add the egg yolk and olive oil mixture. Mix until it is smooth. It should be the consistency of a paste.
  6. Fold in 1/4 of the egg whites to lighten the batter. Then fold in the remaining egg whites until they are well incorporated. The batter should be nice and fluffy.
  7. Divide the batter evenly among the pans and bake for 15 minutes, or until a knife inserted in the center comes out clean. If using only 2 pans, it may take longer–about 25 minutes.
To make the curd:
  1. Place 1 TBSP lemon juice in a bowl and sprinkle with the gelatin. Let sit 5 minutes until the gelatin dissolves.
  2. Whisk together the whole eggs, egg yolks, sugar, 1/3 cup lemon juice and lemon zest in a metal saucepan. Cook over low to medium heat, whisking continuously until the curd thickens enough to coat the back of a spoon. Do not let it reach a boil. This should take 5-7 minutes. Then whisk in the gelatin mixture and cook for 1 more minute.
  3. Remove from heat and strain through a fine mesh sieve into a bowl. Cover the bowl with plastic wrap and let it cool in the refrigerator for at least 3 hours.
To Make the frosting:
  1. Beat the butter in an electric mixer until creamy. Slowly add the confectioners sugar until well incorporated. Add 1/4 cup of the lemon curd and mix until the frosting is smooth. Add the heavy cream and beat until the frosting is a fluffy consistency.
  2. Add the poppyseeds to the remaining curd, which will be layered with the cakes.
To assemble
  1. Torte each cake so you have either 4 or 6 layers, depending on whether you baked 2 or 3 cakes. Place one cake down on a cake board and spread 1/4 cup of curd on the top. Place the next cake on top and repeat. Since curd can be slippery, you can pipe a wall of frosting around the top edge of each cake (surrounding the curd) so that they layers stay in place. Once assembled, frost with the buttercream frosting and enjoy!


Posted in Cakes | Comments Off on A Refreshing Birthday Cake!

Sock Monkey Cake Pops

Sock_monkey1

My sister-in-law hired me to make cake pops for her friend’s baby shower a few months ago. The mom-to-be loves all things sock monkey, so my sister-in-law sent me this picture from Sewell Photography for inspiration:

sockmonkeycakepopThis project was a ton of fun, because I LOVE using candy to decorate baked goods. I always have Merckins melts on hand, and I thought this was a great idea for the muzzle and hat. I also loved the Raisinets for the ears, because I think sock monkey ears should be lumpy and goofy looking. The main change I made from the inspiration picture was that I used Twizzlers Bites for the pom pom on top of the hat. I sliced off a thick piece and glued it on using melted chocolate. The eyes and smile were royal icing.

Sock_monkey2

Sock_monkey3

Since these were party favors, I placed them in bags and wrapped them with red ribbon. I found this great ribbon that had white stitching on the edges and matched the sock monkey theme really well.

Sock_monkey4

Sock_monkey5

The reason why I’m posting this almost two months after making them is because the baby shower happened only a few days ago! First it was canceled due to Hurricane Sandy when people couldn’t get enough gas to make it to the shower. Then, mom had the baby 3 weeks early! They finally had the shower, now with two guests of honor, which makes it even more special. Amazingly, the cake pops held up great in the freezer in a Tupperware container.

Congratulations to Jen and Craig, and welcome to Baby Faith!!


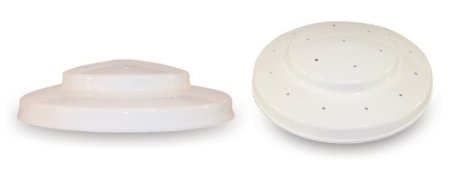
*** Wanted to add that I found these great cake pop holders that really make it easy for the pops to dry. Originally I was using Styrofoam blocks, but after a while they fall apart and I was getting Styrofoam everywhere. These are plastic, washable, and hold 19 pops.


Cake_pop_stand

Posted in Cake Pops | Comments Off on Sock Monkey Cake Pops

Merry Belated Christmas!

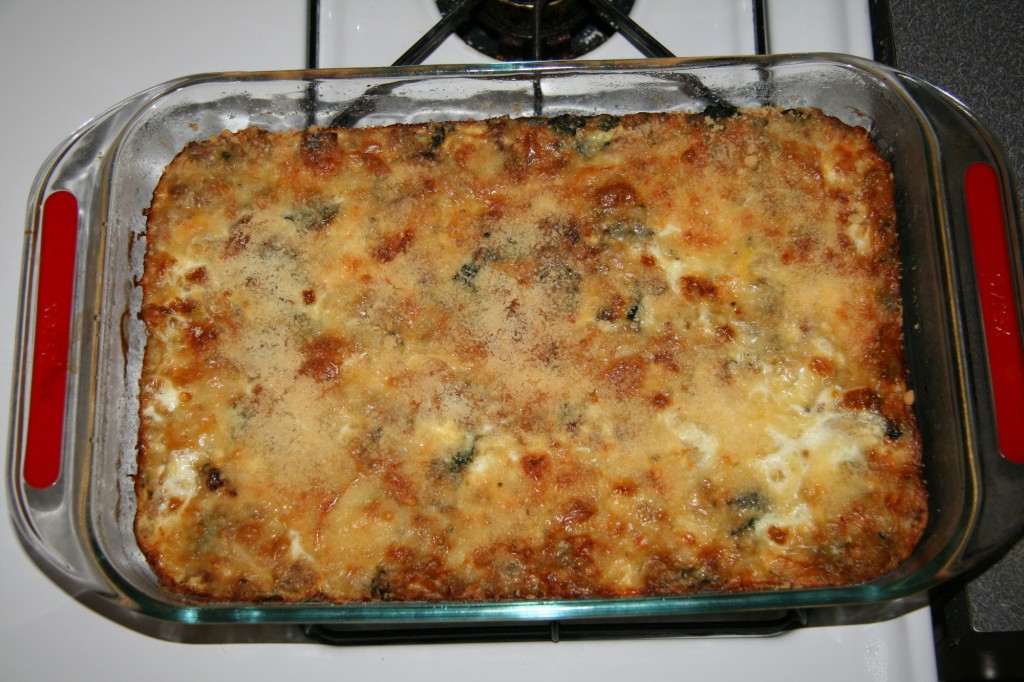
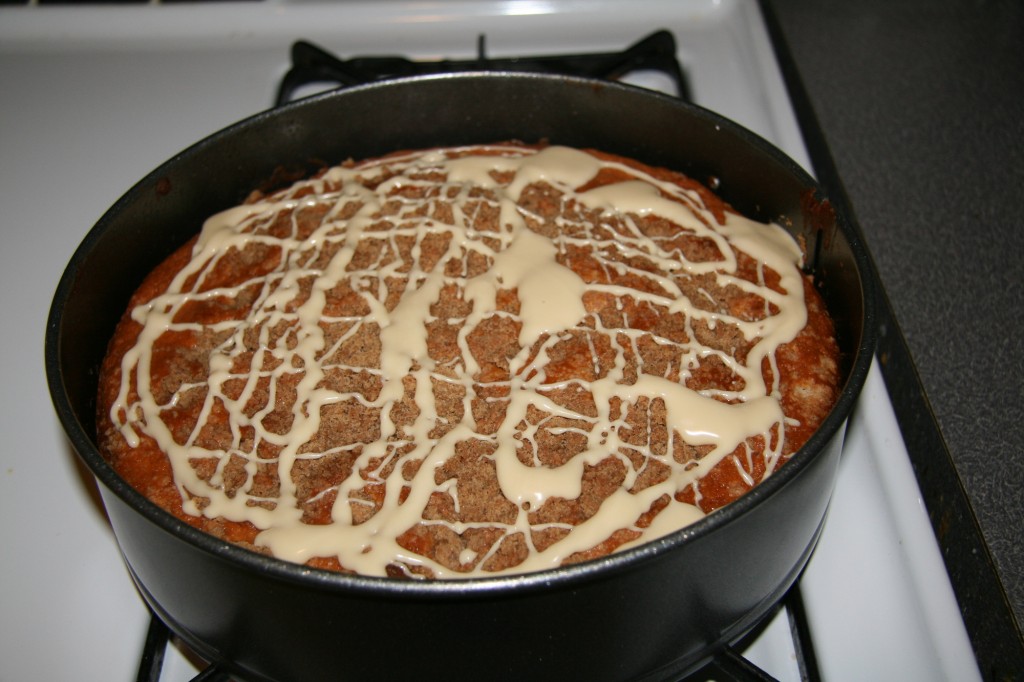
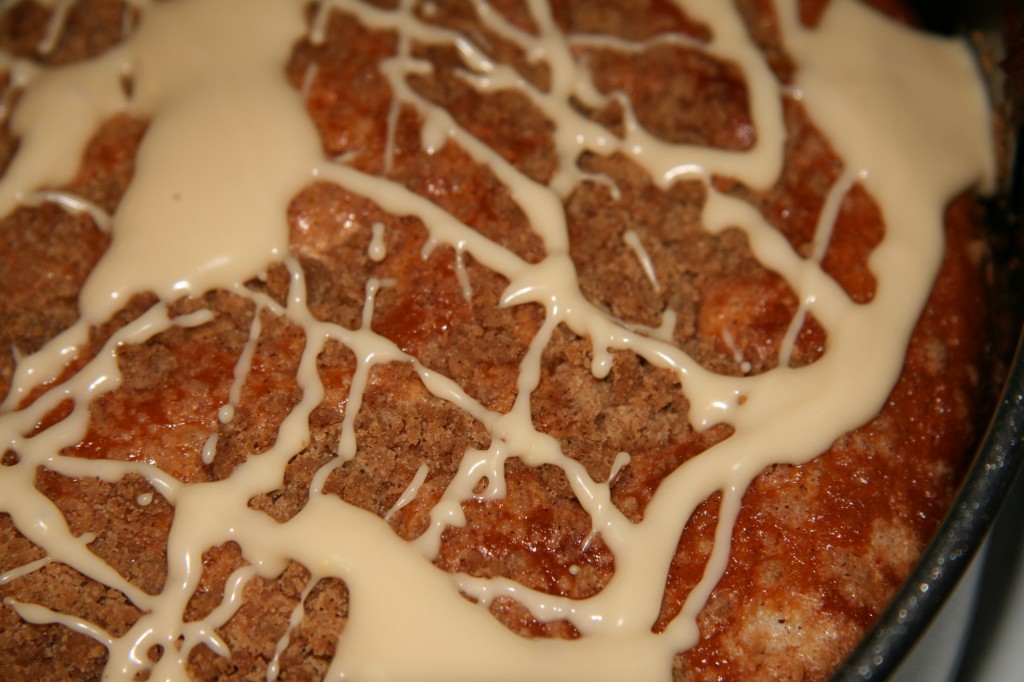
Whatever you celebrate, I hope everyone had a nice holiday! We started off Christmas with a nice and relaxing breakfast at my in-laws’ house. I made a cheesy breakfast casserole with sausage, herb stuffing, and spinach and a sour cream coffee cake, both from Brown Eyed Baker . They were really, really good. Everyone LOVED the casserole. It was the perfect winter breakfast food. So if you are looking for some comfort brunch food, check out these recipes!

Casserole

Coffee_cake1

Coffee_cake2

What was the best thing that you cooked or baked this holiday season?

Posted in Miscellaneous | Comments Off on Merry Belated Christmas!