Pumpkin Pie Cupcakes

Pumpkin_pie_cupcakes1

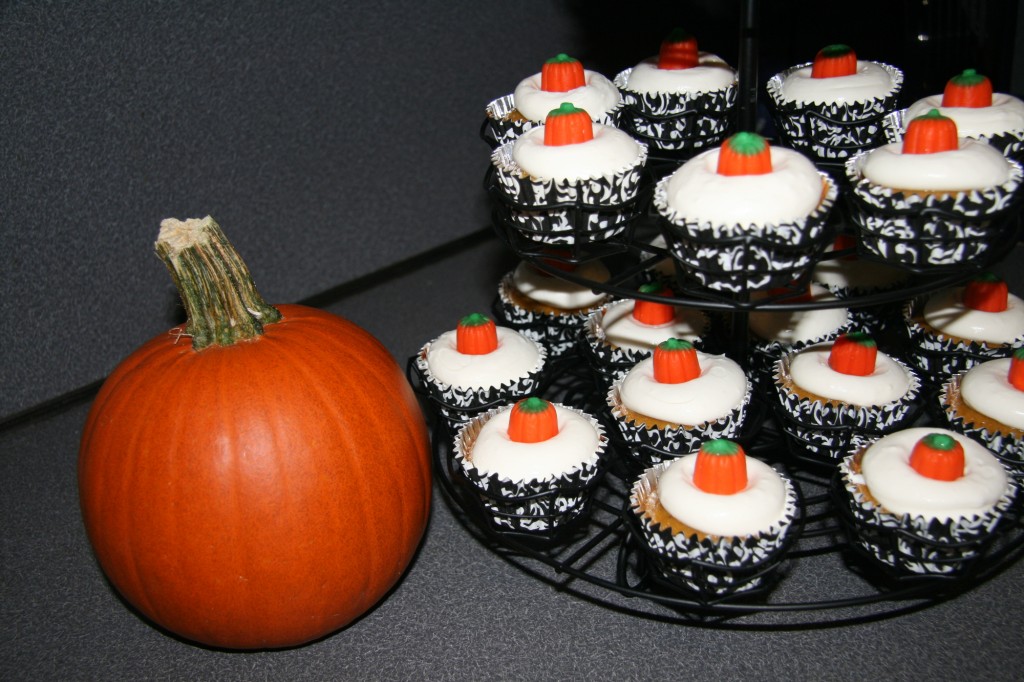
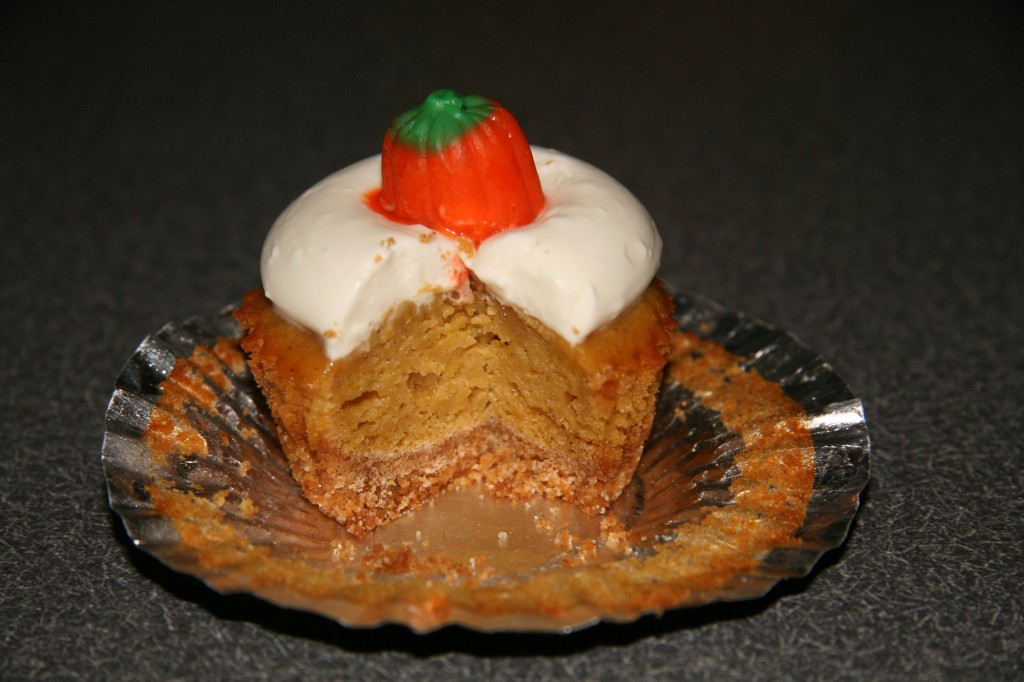
After years of collecting pumpkin recipes, I wanted to try something different this year…I wanted to come up with my own recipe. I definitely want to push my limits and improve as a cake decorator. But I also want to improve as a baker and become more experimental. So I decided to take the plunge and come up with a pumpkin cupcake that hasn’t been done before (at least to my knowledge). There are some recipes floating around for pumpkin pie cupcakes, but this one uses elements from my favorite vanilla cupcakes and my favorite pumpkin pie filling. I also added a graham cracker crust and a whipped cream frosting so that every bite tastes like a piece of pumpkin pie. You can use canned pumpkin, but I prefer fresh. Check out my tutorial on how to work with fresh pumpkin.

Pumpkin Pie Cupcakes
Makes 24 cupcakes
Ingredients
  • For the Crust
  • 1 1/2 cups graham cracker crumbs
  • 6 TBSP butter, melted
  • 1/3 cup sugar
  • For the Cupcakes
  • 1 1/2 cups flour
  • 1/4 tsp baking powder
  • 1/4 tsp baking soda
  • 1/4 tsp salt
  • 1/2 tsp cinnamon
  • 1/2 tsp ginger
  • 1/2 tsp nutmeg
  • 2 eggs
  • 1 egg yolk
  • 1/4 cup white sugar
  • 3/4 cup brown sugar
  • 2 cups pumpkin puree
  • 1 can sweetened condensed milk
  • 2 tsp vanilla extract
  • For the Frosting
  • 1 8-oz package of cream cheese
  • 3/4 cup white sugar
  • 2 tsp vanilla extract
  • 2 cups heavy cream
Instructions
To Make the Crust
  1. Preheat the oven to 350 degrees. Line cupcake pans with 24 cupcake liners. This recipe is a little gooey and I recommend the Reynolds cupcake wrappers because the inside is like nonstick foil.
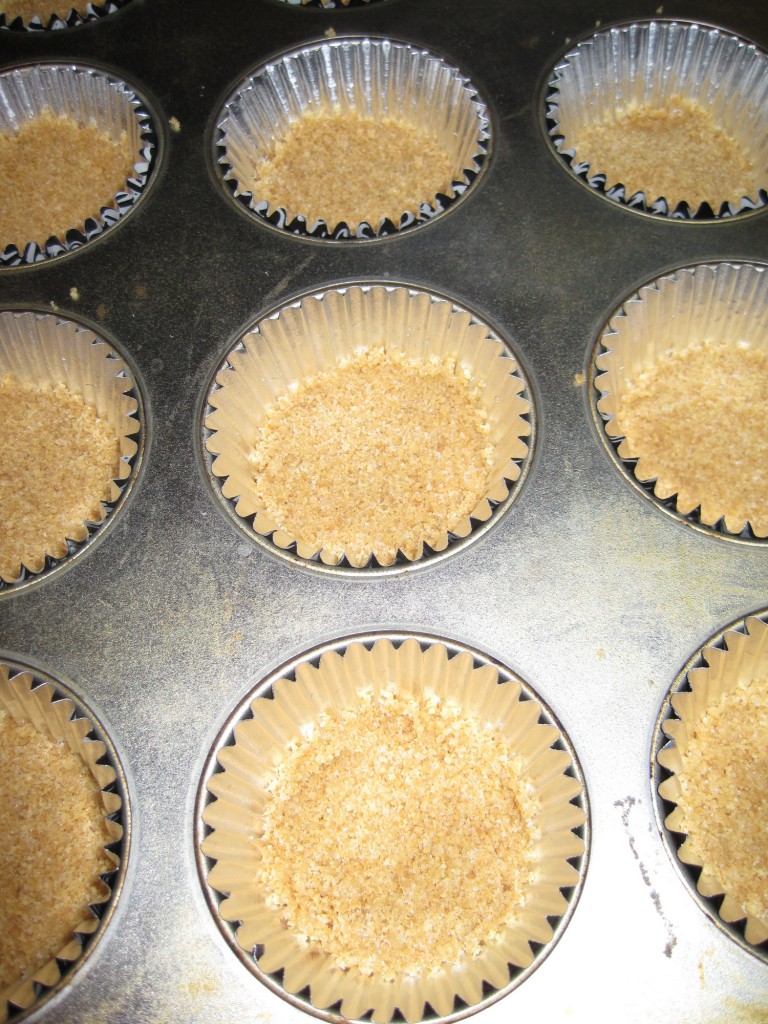
  2. Break up the graham crackers and pulse in a food processor until you have 1 1/2 cups of fine crumbs. Mix the crumbs with the butter and sugar until it is well blended. Add the mixture to the bottom of each cupcake liner and press down with the back of a spoon. Bake for 5 minutes.
To Make the Cupcakes
  1. Sift together the flour, baking powder, baking soda, salt, cinnamon, ginger, and nutmeg into a medium bowl. In a Kitchenaid mixer, beat together the eggs, white sugar, and brown sugar until they are blended. Add the pumpkin puree and sweetened condensed milk. Then add the vanilla.
  2. Gradually add the dry ingredients until the batter is completely uniform. Add the batter to the cupcake liners and bake for 18-22 minutes, until a toothpick inserted in the center of the cupcake comes out clean. Let the cupcakes cool completely before frosting.
To Make the Frosting
  1. Place the mixing bowl and beaters in the refrigerator for at least 30 minutes. You want them nice and cold.
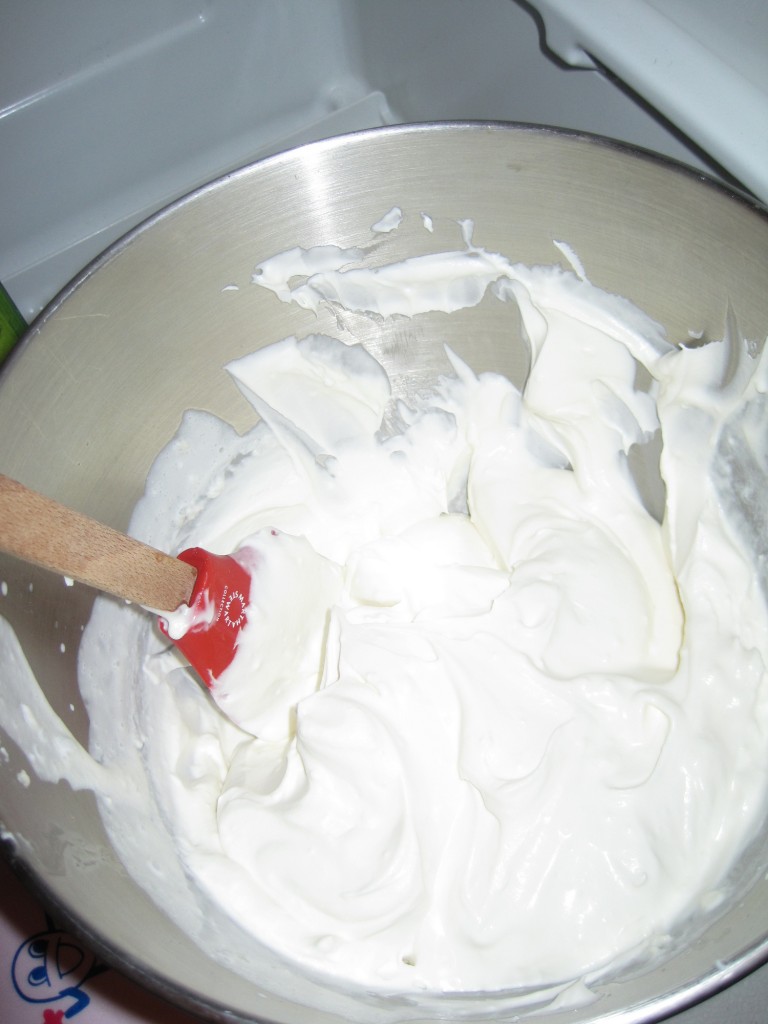
  2. Beat together the cream cheese, sugar, and vanilla on medium speed until they are smooth. While it is still beating, slowly add the heavy cream in a continuous stream. Once the cream is added, scrape the sides of the bowl and continue mixing until the frosting holds stiff peaks. This can take a few minutes.
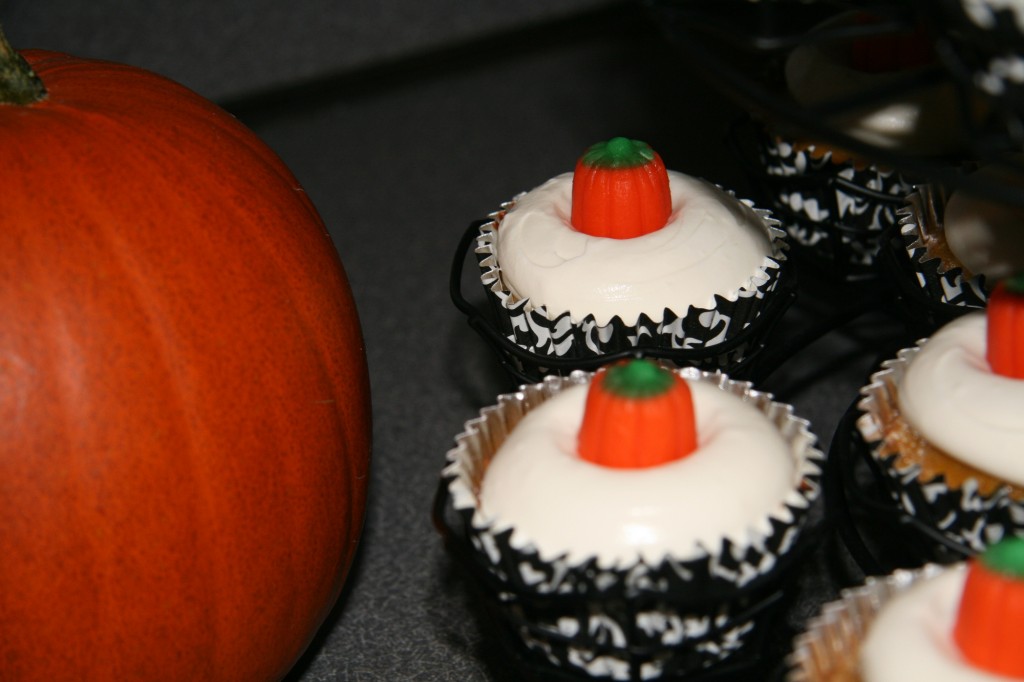
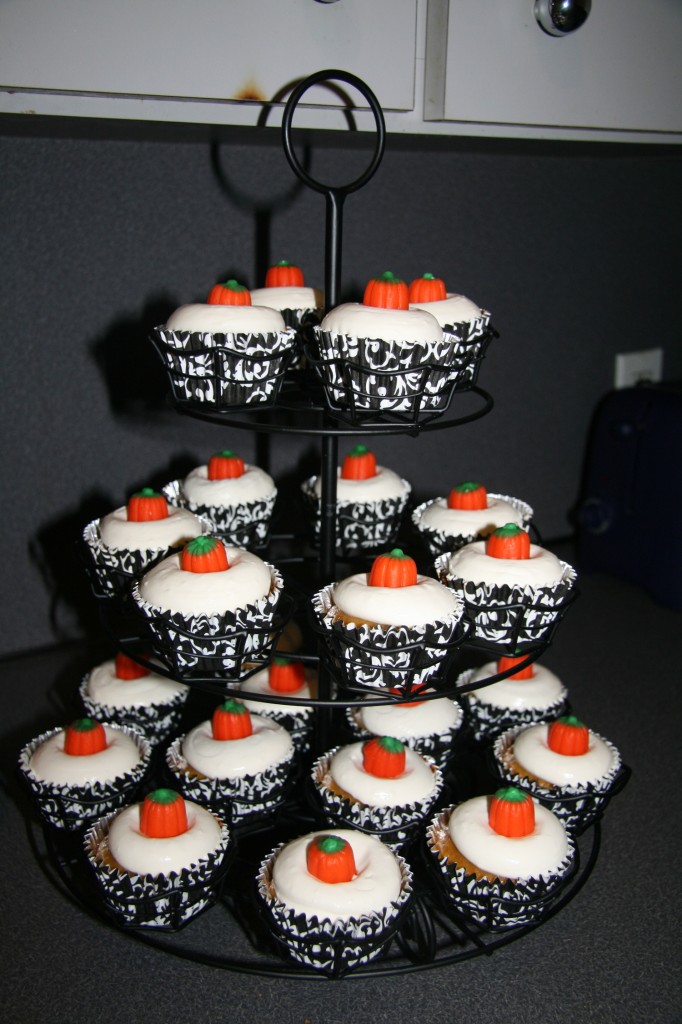
  3. To get a perfect dollop of cream on each cupcake, pipe the frosting with a fairly large round tip. Begin in the center and just let the frosting fill the top of the cupcake.

 

Pumpkin_pie_cupcakes2

Pumpkin_pie_cupcakes3

Pumpkin_pie_cupcakes4

Pumpkin_pie_cupcakes5

Pumpkin_pie_cupcakes6

Posted in Cupcakes | 1 Comment

Working with fresh pumpkin: a tutorial

I LOVE baking and cooking with fresh pumpkin! Every October, I have to make a least one or two pumpkin recipes. Along with decorating, visiting haunted houses, and eating way too much candy, this is one of  the ways that I celebrate Halloween (and Halloween is a month-long holiday in my household). Many people shy away from pumpkin, but it is really easy to work with. Over the years I’ve figured out the easiest way to get the meat from the pumpkin and turn it into a perfect puree that can be used for pie, breads, cupcakes, and my personal favorite…chili!

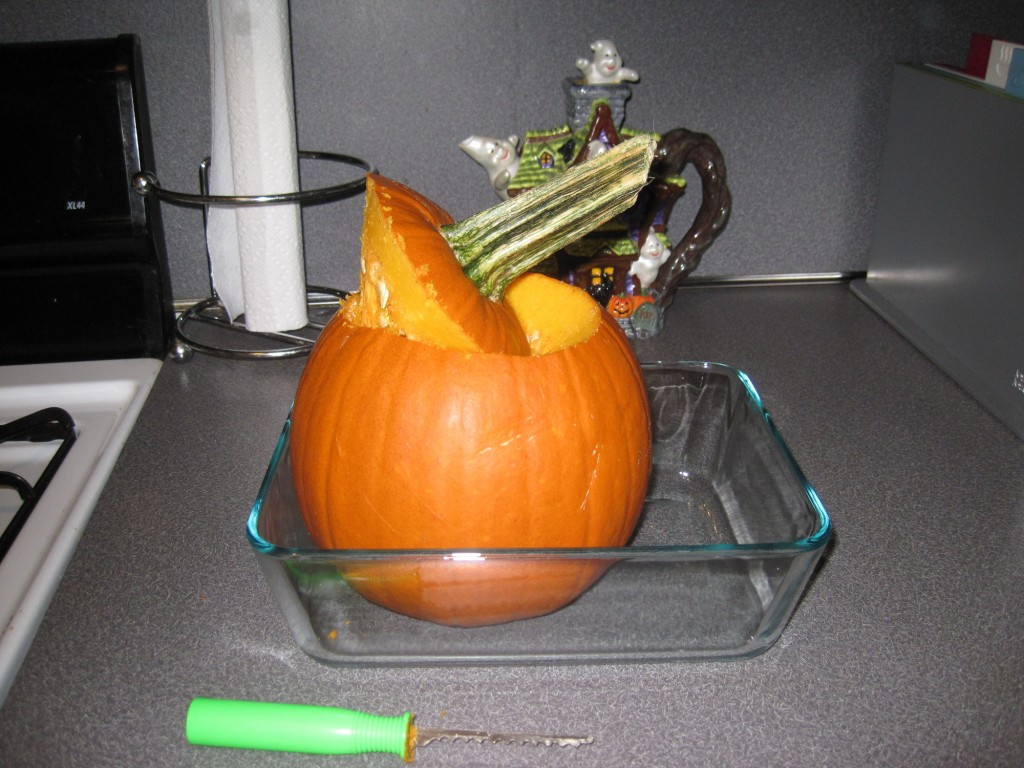
All you need is a standard jack-o-lantern carving kit. As you may have read in my other posts, I love using these tools year-round to carve 3D cakes. Start by carving around the stem of the pumpkin like you would if you were making a jack-o-lantern.

Pumpkin_tutorial1

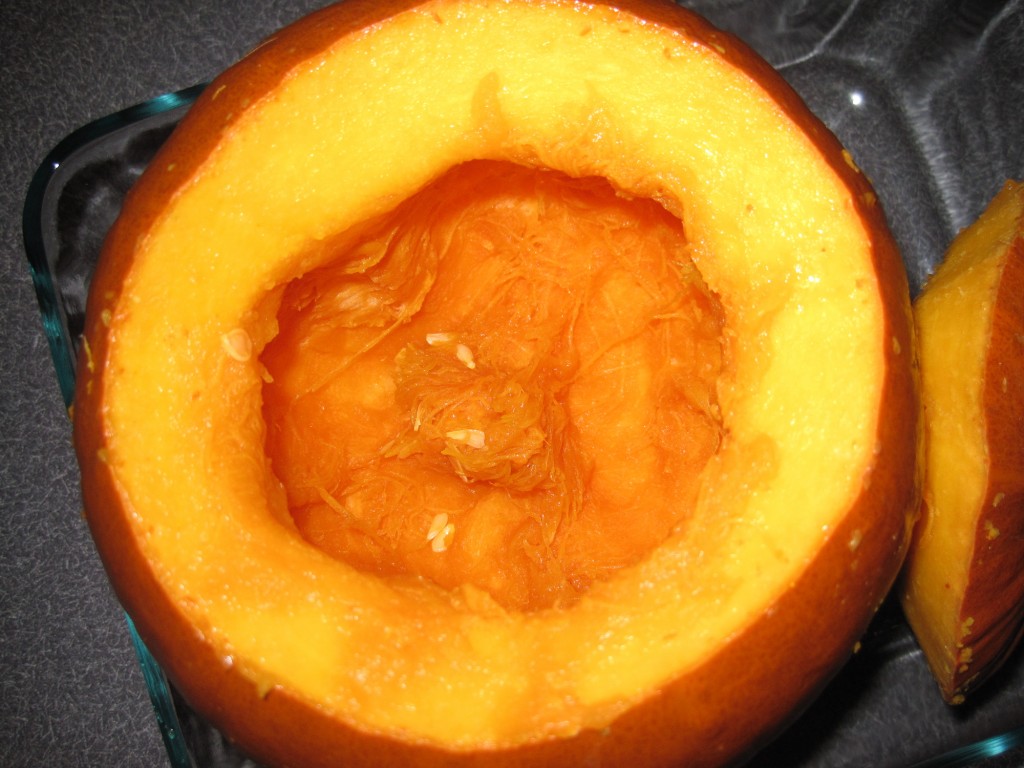
Next, scoop out all of the seeds and strings from the pumpkin. Don’t be afraid to get messy, it’s going to happen no matter what. Also, don’t do this right after cleaning your kitchen…the seeds are slippery little suckers, and they WILL get on the floor! The pumpkin should be hollow except for the meat which lines the inside of the pumpkin.

Pumpkin_tutorial2

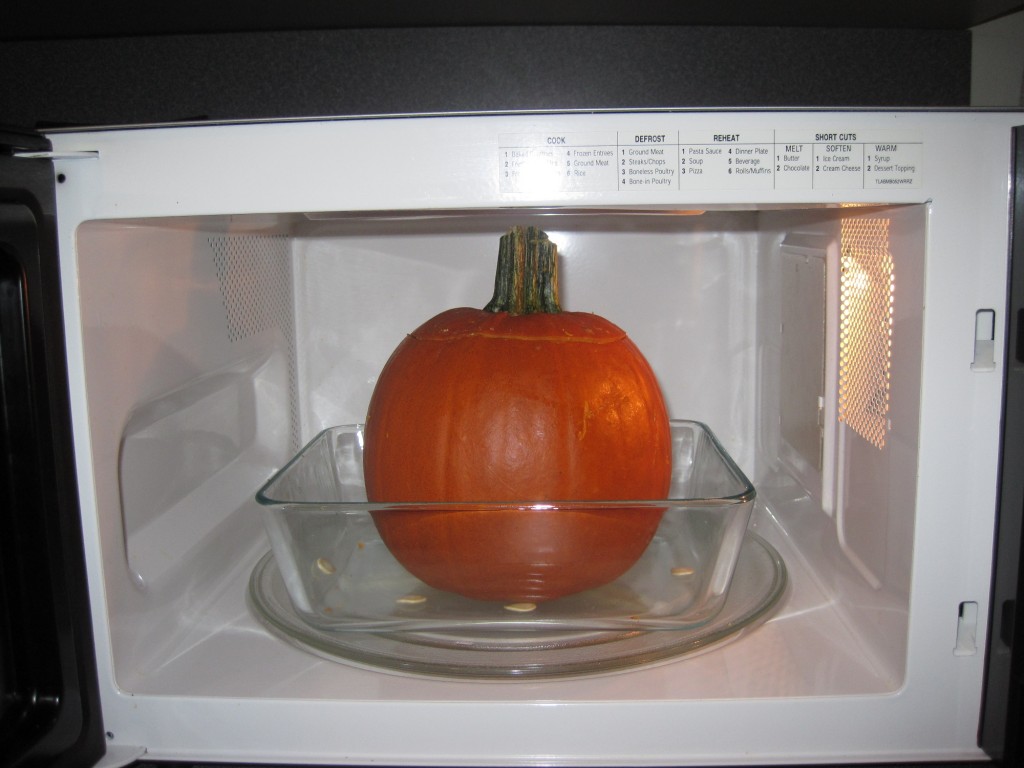
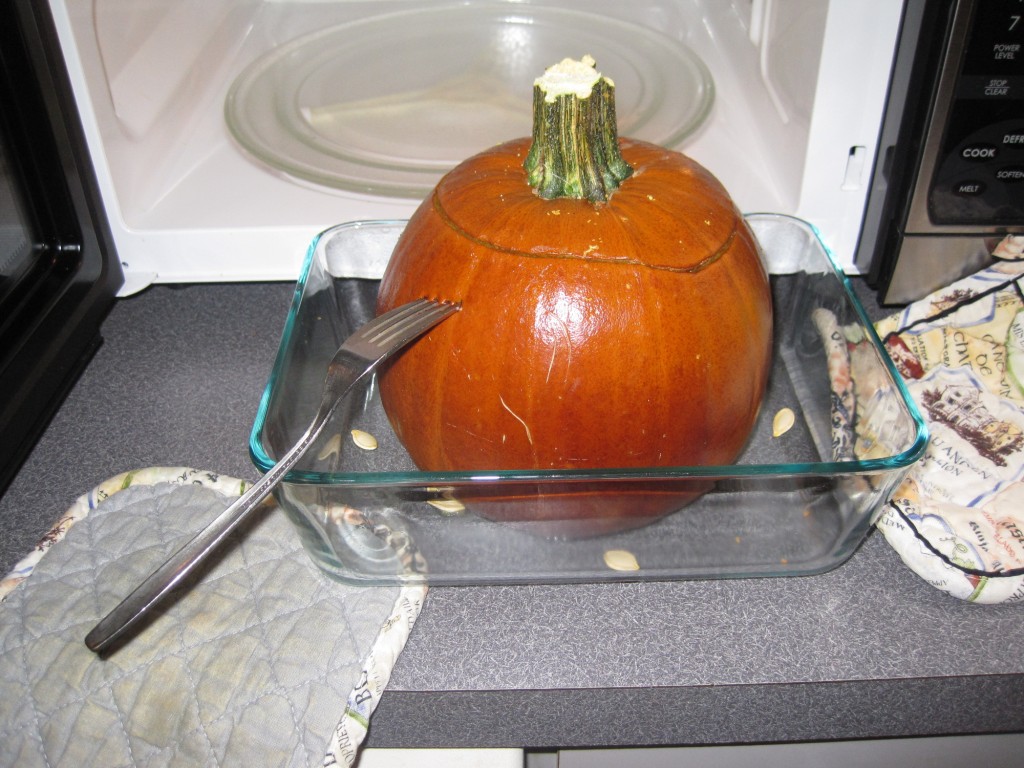
Then place the pumpkin in a large Pyrex container and microwave at 5-minute intervals until it is nice and soft. For this pumpkin, I microwaved it at full power for 18 minutes.  It is really important that the top of the pumpkin is on, so that it steams while it is cooking. If the stem is too tall for the pumpkin to fit in the microwave, carefully saw it down with the jack-o-lantern tool.

Pumpkin_tutorial3

How do you know when the pumpkin is ready? Well, ever hear of the saying, “Stick a fork in me, I’m done.”? This actually applies here! If you can stick a fork in the skin of the pumpkin, then it is ready.

Pumpkin_tutorial4

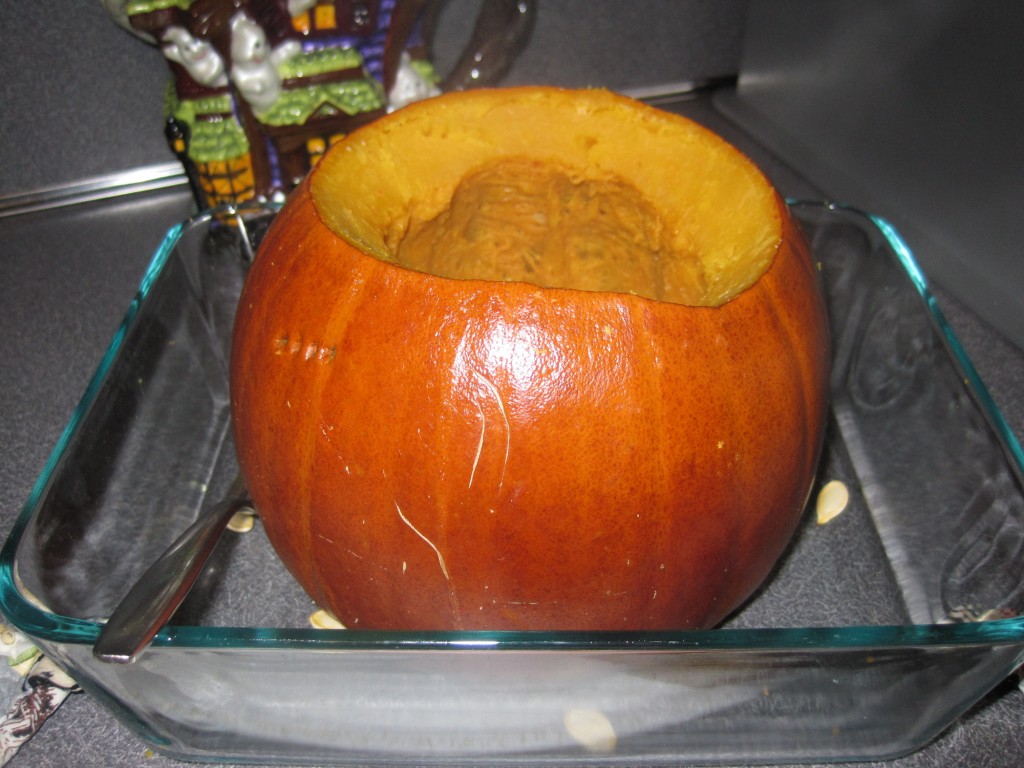
The pumpkin should go from a bright orange to a dark, burnt orange and the meat inside should be very soft.

Pumpkin_tutorial5

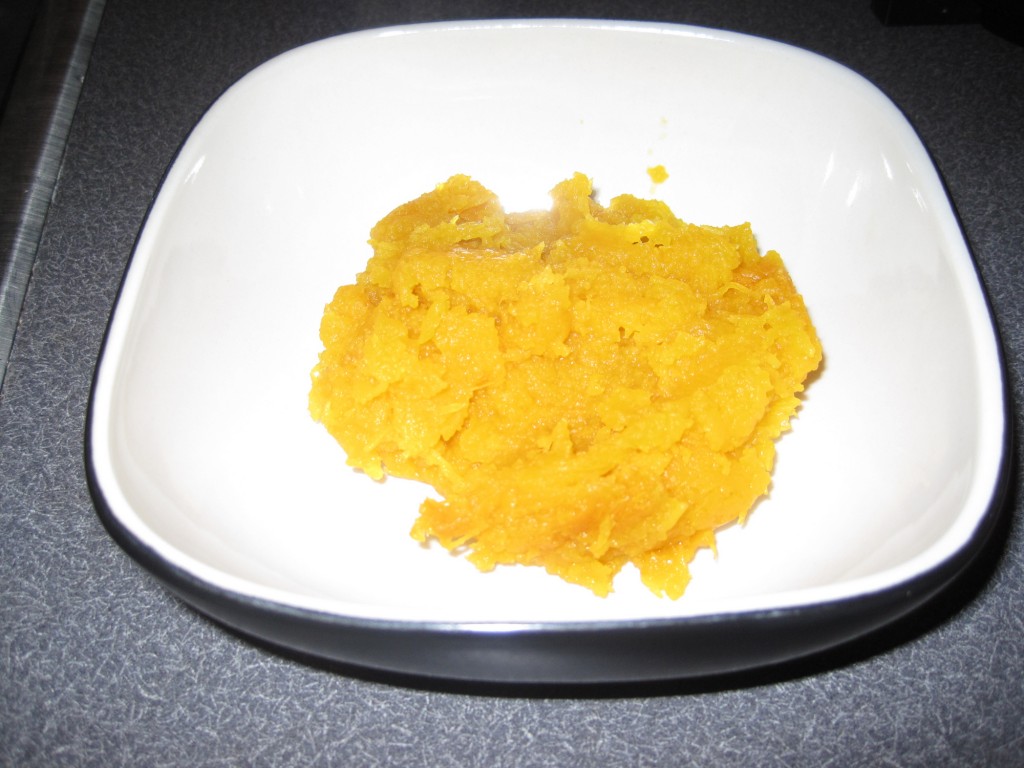
Cut the pumpkin into sections, and remove the meat with a fork. Place in a bowl and mash with a potato masher.

Pumpkin_tutorial6

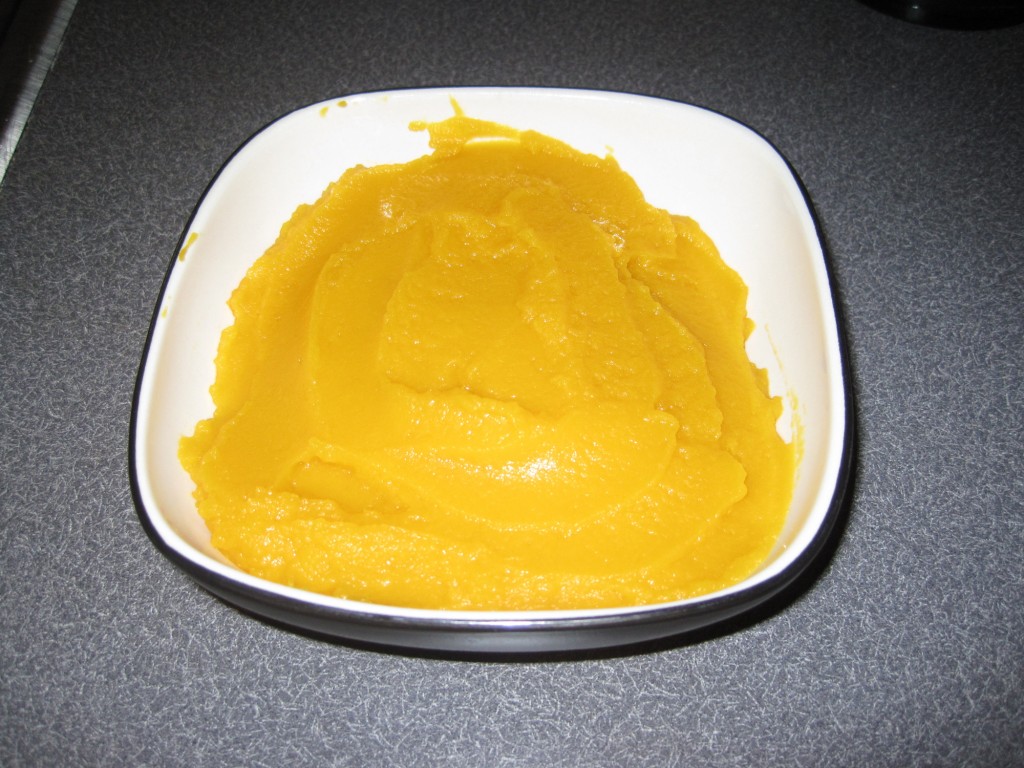
If you are making chili (my favorite recipe is turkey pumpkin chili from Whole Foods), then you are done at this step. Having the pumpkin texture is nice for a hearty chili. However, if you are baking with the pumpkin, then I would make the puree a little smoother. Just add it to a food processor and pulse until it is completely smooth.

Pumpkin_tutorial7

Then you are all set! You can use 2 cups of this puree whenever the recipe calls for canned pumpkin. Stay tuned to see what I’ve been making with pumpkin this month!

Posted in Tutorials | Comments Off on Working with fresh pumpkin: a tutorial

Happy October, Everyone!

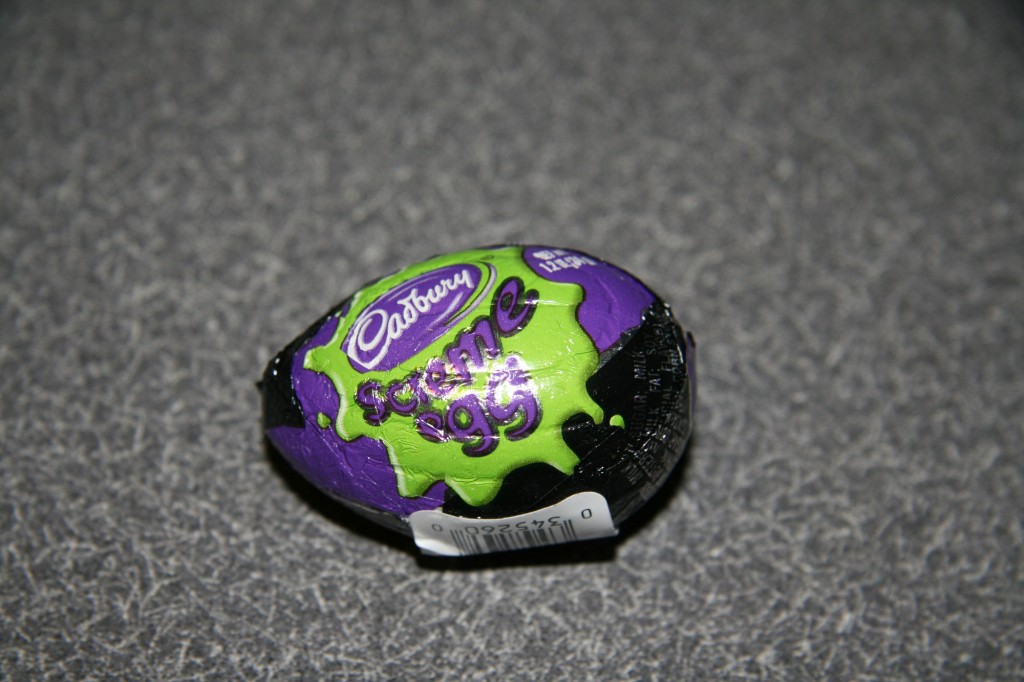
So I was in the Halloween section of Walgreens today (buying some candy for an upcoming baking project) and look what I came across…Cadbury Screme Eggs!!

Screme_egg1

I have never seen them before, and I’m a huge fan of Cadbury Creme Eggs. I hate that they are only sold during early spring, and then if you want them the rest of the year you have to buy a bunch and save them (which isn’t easy to do since they are so yummy). I was so excited to see this! I had to try one and blog about it (and there is no caloric guilt if it’s for the sake of the blog, right?).

Screme_egg2

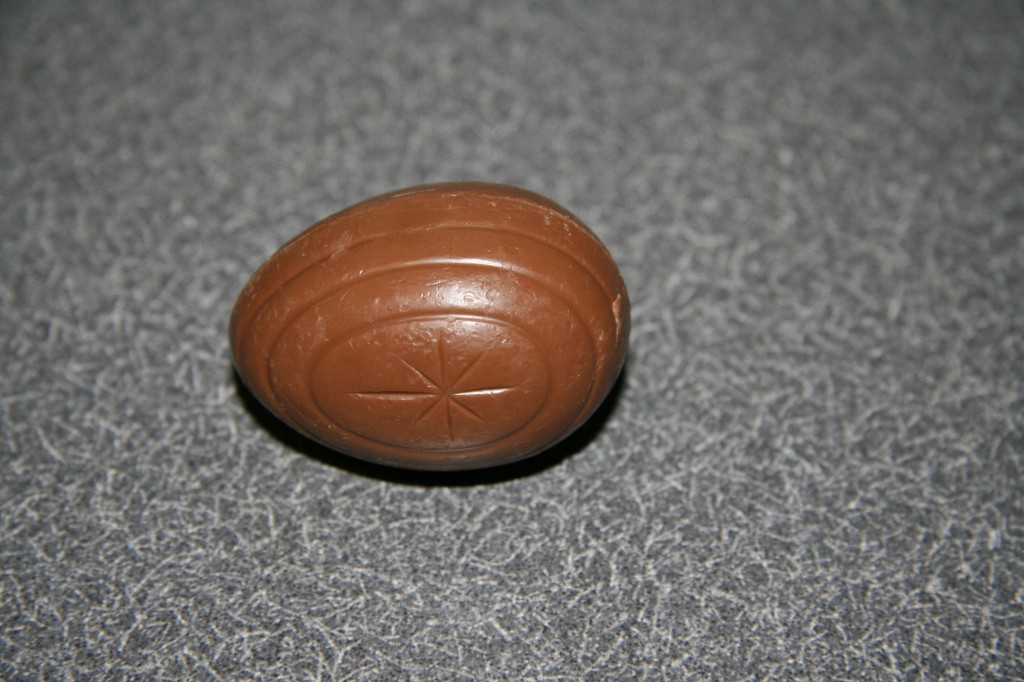
It looks like a regular Cadbury Creme Egg on the outside…

Screme_egg3

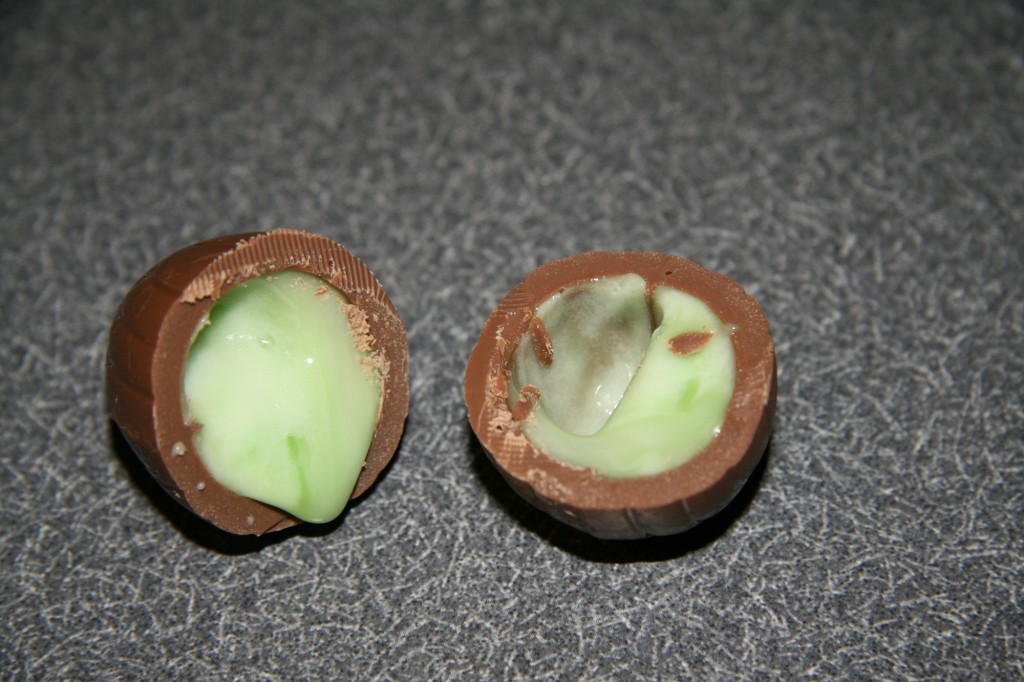
But on the inside there is oozy green slime! It still tastes just like a Cadbury Creme Egg, but it has a little bit of Halloween spirit to it. So get them while you can, and enjoy!!

Posted in Miscellaneous | Comments Off on Happy October, Everyone!

Bachelorette Party Cake

Pixelated_200

My sister-in-law is a bridesmaid in her friend’s wedding, and she hired me to make a cake for the bachelorette party. Since this is a family-friendly blog, let’s just say the cake was in the shape of the male anatomy, and that it was VERY realistic. While I can’t show you the details of the actual cake, there are still some things about the cake that I want to share with you.

My new cake pans:

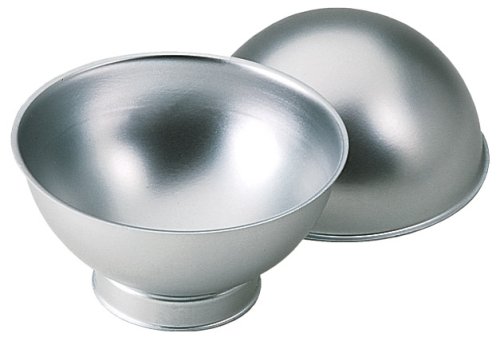
To make the er, back end of the cake…I needed a circular pan. I have my Betty Crocker bake ‘n fill pan, but that one is too big, especially since the cake only needed to feed 20 people! So I finally invested in the Wilton Sports Ball Pan Set, which makes two half spheres, that can be put together to make a 6-inch sphere.

A lot of cake designs require spherical shapes, so I figured this would be a great investment. I already have some ideas for cakes to make with my new pans. Stay tuned!!

The filling: 

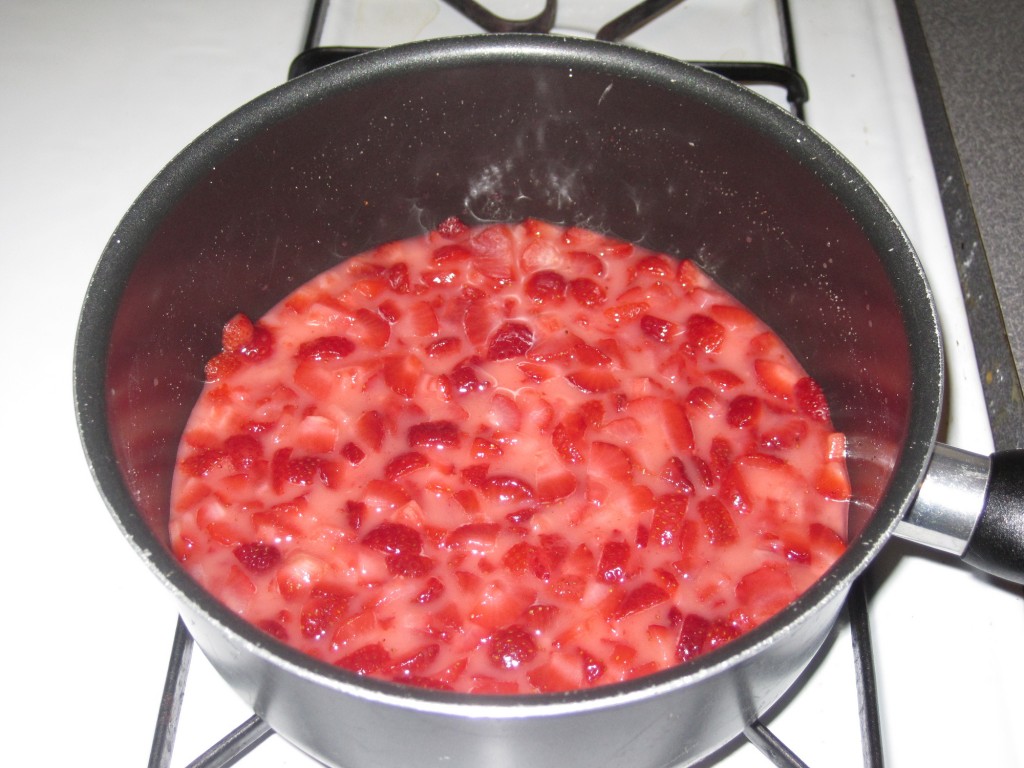
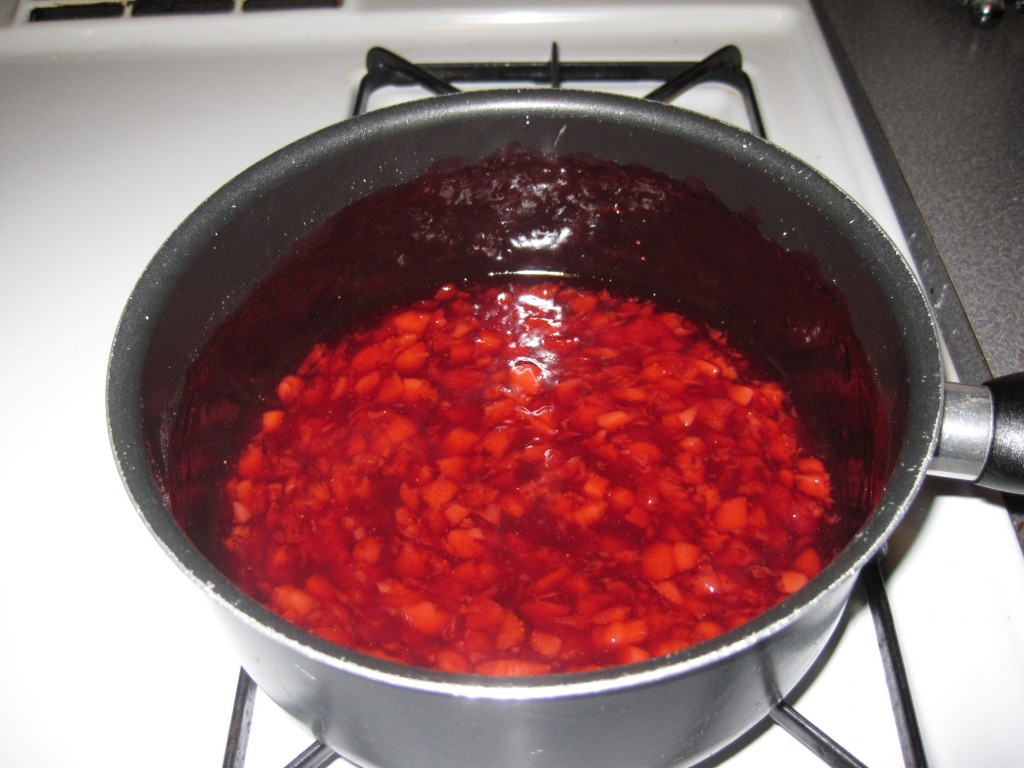
The bride’s favorite cake filling is strawberry, so I found a recipe to make homemade filling. It was delicious and very easy to make. It starts out very liquid on the stove top, but after 10 minutes of cooking becomes a nice, thick gel.

Before cooking:

Strawberry_filling1

 
After cooking:

Strawberry_filling2

The recipe calls for frozen strawberries, and I think this works best. Freezing fruit breaks down the bonds in the cell walls, and makes for a smoother fruit filling.

Strawberry Cake Filling (from Allrecipes.com)

Makes 2-3 cups of filling
Ingredients
  • 1 cup water
  • 3 TBSP cornstarch
  • 2 1/2 cups frozen strawberries, cut into small pieces
  • 3/4 cup white sugar
Instructions
  1. In a large saucepan, whisk together the water and cornstarch. Add the strawberries and sugar to the water.
  2. Cook over medium heat for about 10 minutes, stirring constantly, until the mixture is thick and transparent.
  3. Allow to cool to room temperature before spreading onto cake.
Notes

Just a tip for filling cakes: make a wall of buttercream frosting along the edges of the cake by piping frosting using a fairly large tip. Then spoon the filling inside the walls. This way, the filling will not leak out the sides.


The cake board: 

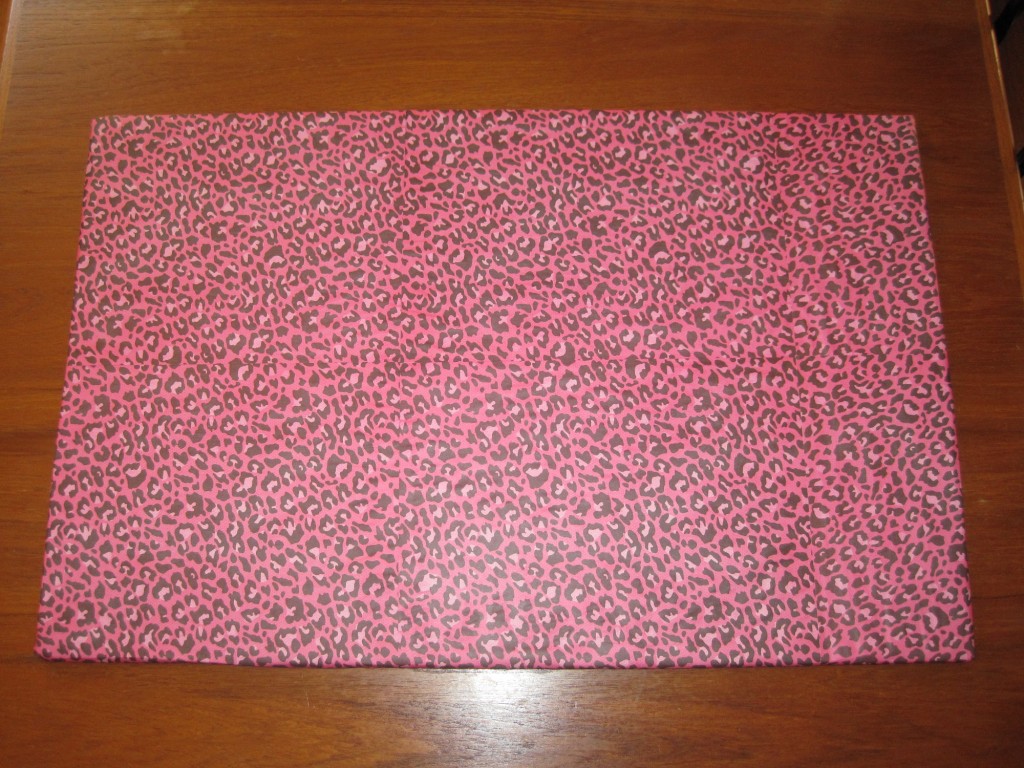
After joining Cake Central, an online cake decorating community, I’ve learned that covering your cake boards can actually add to the design of the cake. If you do it the right way, you can also prevent grease from staining the board. For this cake, I covered the board with scrapbook paper in a pink leopard print, and then covered the whole board with a food safe cellophane. This worked out great, because it complimented the cake perfectly, and I was able to wipe away any stray frosting. So the board looked perfect after I was done decorating.

I glued together two  18″x26″ cake boards to make one thick board. Then I glued on the paper and left some overhang that I wrapped around the edge of the board. Finally, I wrapped the board in the cellophane and taped it to the back of the board. For the corners, I wrapped the paper and cellophane similar to how I would wrap a gift.

Leopard_board1

Leopard_board2

Posted in Cakes | Comments Off on Bachelorette Party Cake

My baking confessions…

Everyone has baking secrets. Some are good, like a special ingredients they use in a family recipe. Some are less good, like mistakes that get covered up with buttercream. Either way, you never know all that goes into a cake, unless you are the one that baked it.

Everyone has skeletons in their cupboard…so here are mine:

 1.  I don’t always sift my flour 

I know, with cakes it is generally suggested that you always sift your flour. But sometimes I am too lazy to do it. Sifting is actually my least favorite part of baking. The only thing I sift with regularity is confectioners sugar for marshmallow fondant, because the consequences of bad fondant are too horrible to even contemplate.

2.  I’m not always prepared in the kitchen

I usually shop before a baking project, but about 90% of the time I usually forget something or run out of an ingredient because I didn’t calculate correctly. Many a time I have gone on an emergency baking run to the store. Luckily I have a pretty good store a block away from me. They get a lot of my business.
  

3.  Even after years of baking, I am still scared taking cakes out of the pan

I found the perfect non-stick product (Wilton cake release), I gently release the cake from the pan using a flat spatula, and I carefully place a plate on top of the pan and flip. Yet, in the few seconds before I hear the cake hit the plate and I know my cake is safe, my heart skips a bet.  EVERY TIME.

4. I almost always lose some of my dry ingredients as I pour them into my mixing bowl.

I’m a messy baker. My kitchen always looks like a war zone when I’m done. The only thing that saves me is that I clean after each batch.  But what really gets me is that I take the time to carefully measure out my ingredients, and then they end up on my kitchen counter as I pour them into my mixer. It doesn’t ever affect the recipe, but it still bugs me. Someday I’ll get it right.


5.  I’m not actually a huge sweets person.

You would think with all the baking I do that I would be a huge fan of desserts. Sure, I like cake and cookies, and I’ll never turn down a cupcake. But my true love is salty and savory snacks: breads, pretzels, chips, fries. At a restaurant, I am much more likely to order an appetizer than a dessert. In fact, after a day in the kitchen baking all day, I want nothing to do with sweets. Just tasting a spoonful of frosting, or a slither of cake that is leftover from leveling it is enough for me.  

Now you know a little more about what goes on in my kitchen. What are your baking confessions?
 

Posted in Miscellaneous | Comments Off on My baking confessions…