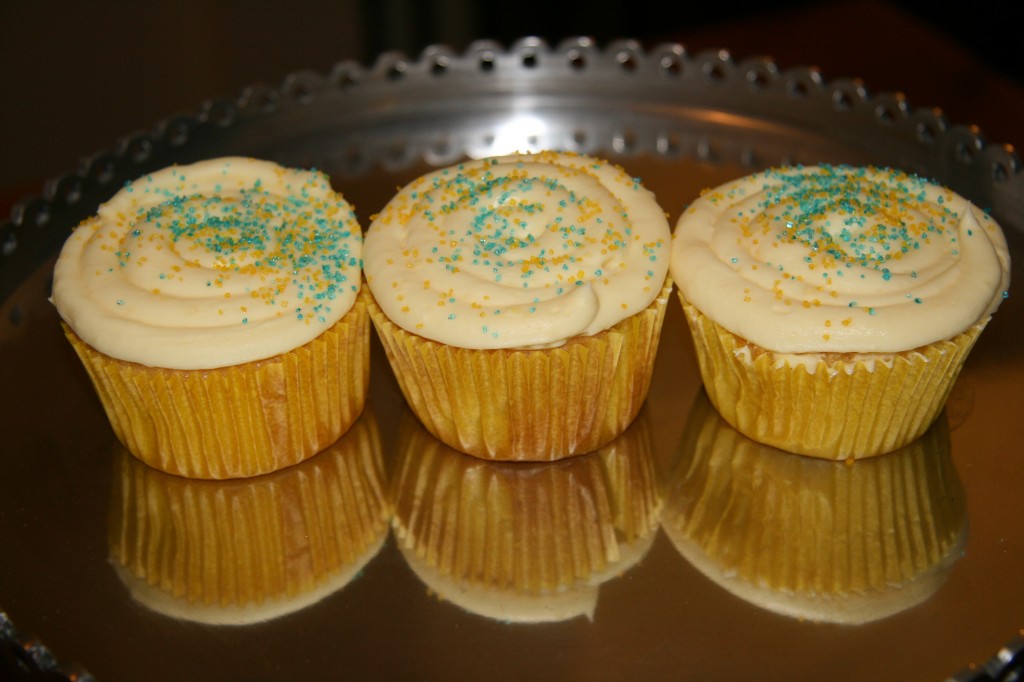
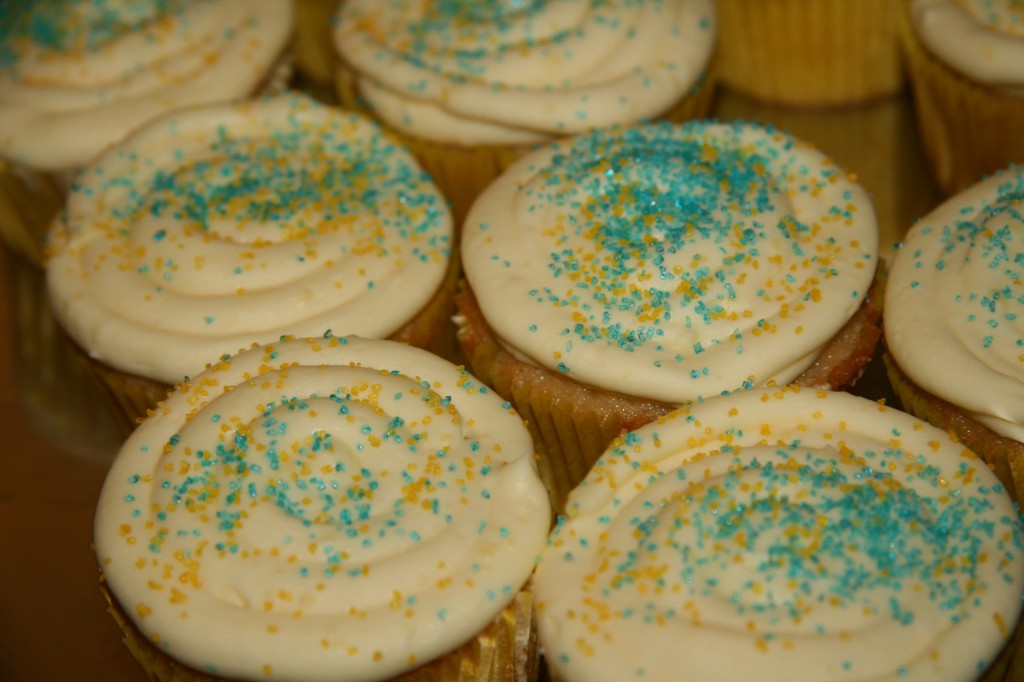
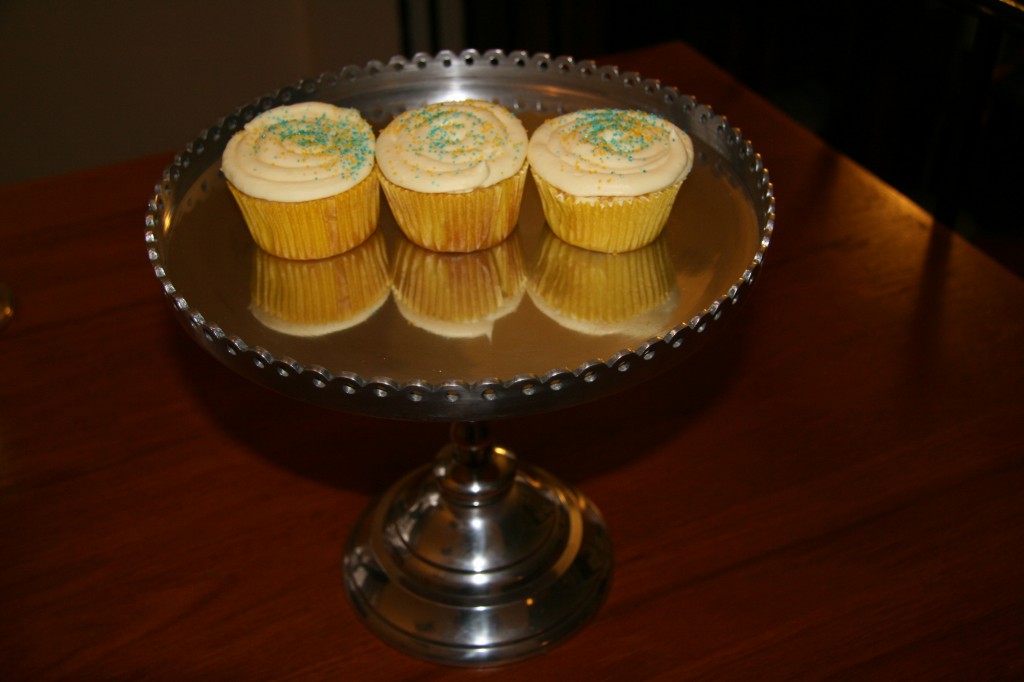
Vanilla Buttermilk Cupcakes

Buttermilk_cupcakes1

Base recipes are really important. They should stand alone, but also be the perfect base to add whatever flavors you want. I’m really loving the show Cupcake Wars, and now I’m inspired to experiment and come up with my own creations. But, I realized that while I have the perfect red velvet, chocolate, pound, and butter cake recipes, I don’t have a vanilla cupcake recipe that I love. The pound cake is a little too heavy for a cupcake, and the butter cake is a little too light. So I figured I would try a new recipe out.

The main problem I had with my current vanilla cupcake recipe is that it’s a bit dense in texture and I wanted a slightly fluffier recipe. When I think fluffy, I think of buttermilk. My favorite pancake recipe uses a homemade buttermilk, and they are the fluffiest pancakes I have ever had.  I decided I would look for a recipe that contained buttermilk, and I would make it from scratch. The best thing about making it from scratch is that you make just what you need, and then you don’t have a bottle of buttermilk in your fridge for weeks, wondering what to do with the rest of it.

This recipe from Mel’s Kitchen Cafe has been floating around the internet as a highly recommended recipe, and I cannot disagree. The cupcakes had the perfect flavor and texture. They are great as vanilla cupcakes, but I also hope to use this as a base to make pumpkin pie cupcakes next month. The possibilities are endless if you have a great vanilla cupcake to start with.

Vanilla Buttermilk Cupcakes (adapted from Mel’s Kitchen Cafe)

Makes 18 cupcakes
Ingredients
  • 1/2 cup milk
  • 1 TBSP white vinegar
  • 1 1/2 cups all-purpose flour
  • 1 1/4 tsp baking powder
  • 1/4 tsp baking soda
  • 1/4 tsp salt
  • 12 TBSP butter, softened at room temperature
  • 1 cup white sugar
  • 2 large eggs
  • 1 large egg yolk
  • 2 tsp vanilla extract
Instructions
  1. Preheat the oven to 350 degrees, and place 18 cupcake liners in the pans.
  2. Combine the white vinegar with the milk and set aside for it to sour.
  3. Combine the flour, baking powder, baking soda, and salt into a medium bowl. In a Kitchenaid mixer, cream together the sugar and butter until light and fluffy. Add the eggs and yolk, one at a time to the butter and sugar mixture. Then add the vanilla.
  4. Add 1/3 of the flour mixture to the wet ingredients and mix until incorporated. Next add 1/2 of the buttermilk and mix. Add another 1/3 of the flour mixture and the other 1/2 of the buttermilk, mixing after each addition. Add the final 1/3 of the flour mixture and beat until everything is combined.
  5. Spoon the batter into the cupcake liners, filling only halfway. Bake for 14-18 minutes, until a toothpick inserted in the center comes out clean, or with just a little bit of crumbs.
  6. Let cool, and frost with your favorite frosting. Any flavor would go well with these cupcakes.


Buttermilk_cupcakes2

Buttermilk_cupcakes3

Posted in Cupcakes | Comments Off on Vanilla Buttermilk Cupcakes

Halloween is next month!! My great find from HomeGoods!

Halloween is my absolute favorite holiday.  Each year, I add to my growing decoration collection. One of the best places to shop for Halloween decor is HomeGoods. But beware, you have to shop early to get the good stuff.  I went kayaking this morning, and happened to see the Port Washington HomeGoods in the distance as I paddled by. So after we returned our kayaks and had lunch, I had to stop in to see what they had.

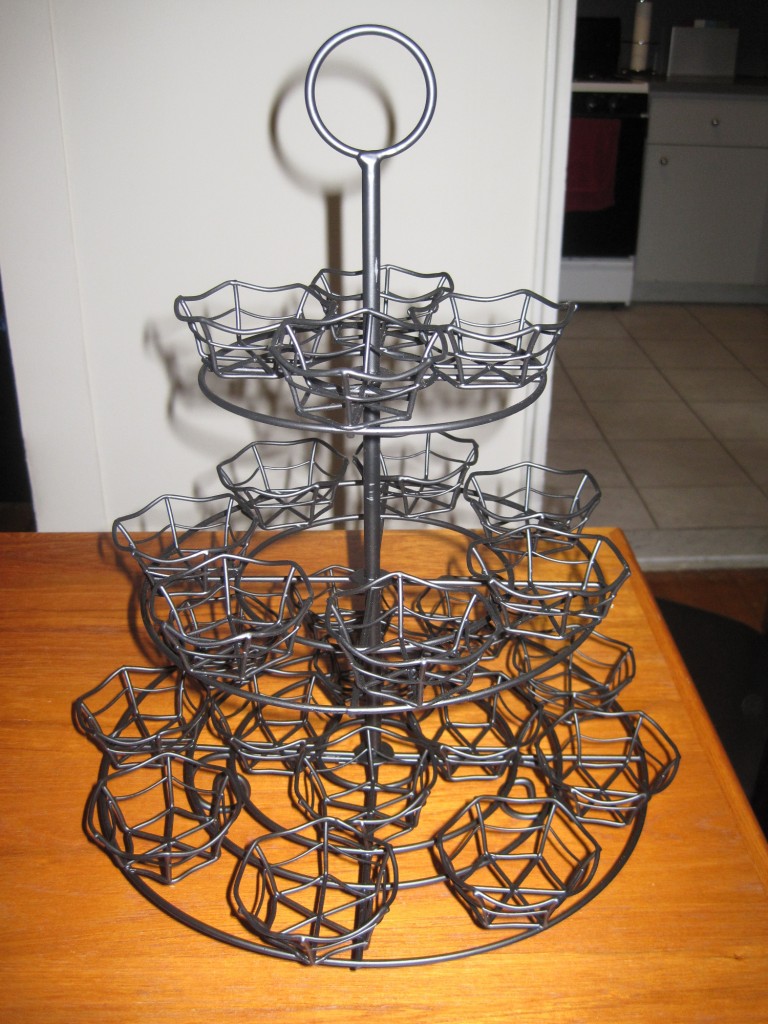
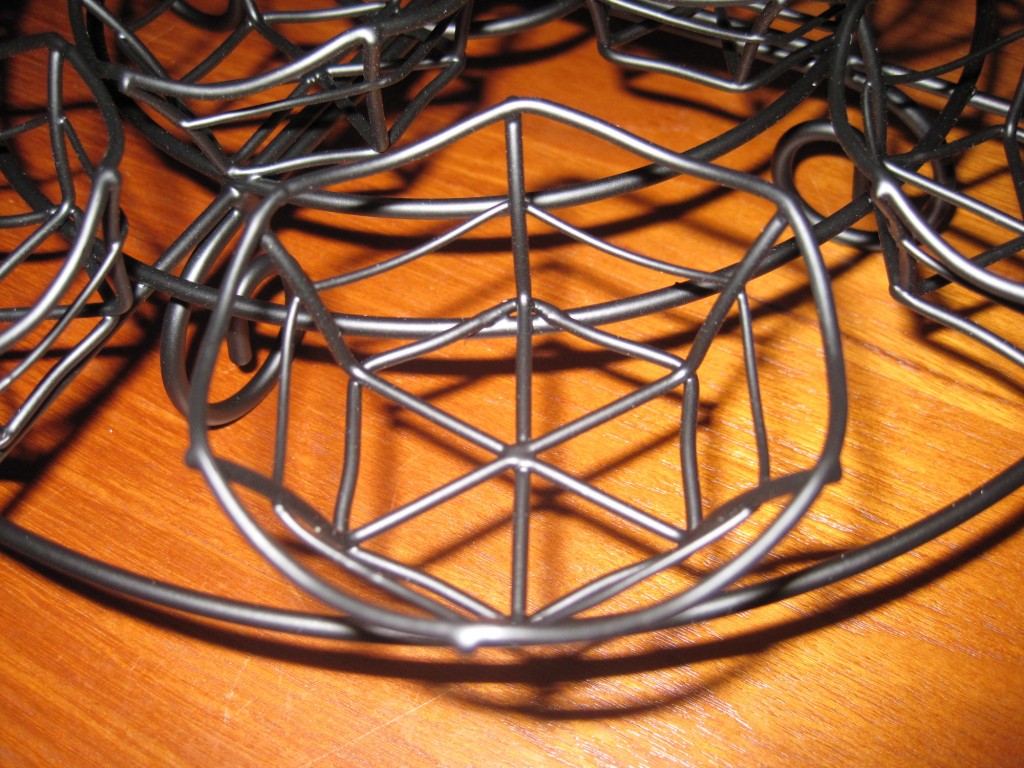
I scored this spiderweb cupcake holder!

Halloween_cupcake_tree1

Each holder is shaped as a spider web, and it holds 24 cupcakes (unlike the Wilton ones, which only hold 23).

Halloween_cupcake_tree2

I usually make pumpkin pie and bread for the Halloween season, but now I’m excited to find some pumpkin cupcake recipes!!

Posted in Kitchen Equipment | 1 Comment

30th Birthday Gym Cake

Weightlifting1

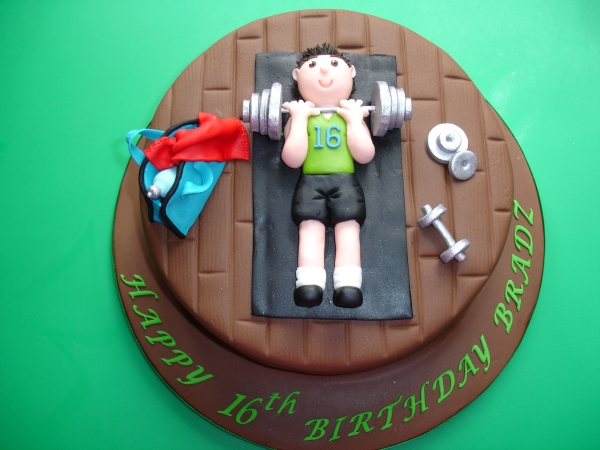
A few weeks ago, a friend of the family hired me to make a 30th birthday cake for her boyfriend. He likes to work out, so she wanted a gym-themed cake. I can’t take credit for the design. She sent me this picture as inspiration (made by Donna1914, a member of Cake Central–an online cake-decorating community):

Weightlifting_inspiration

The cake:

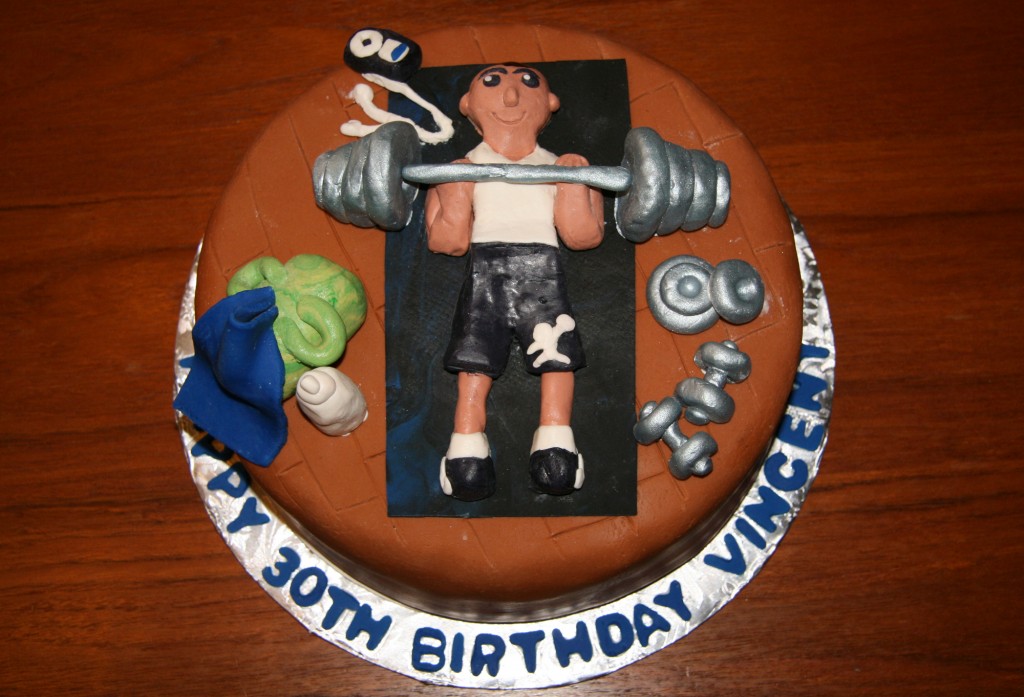
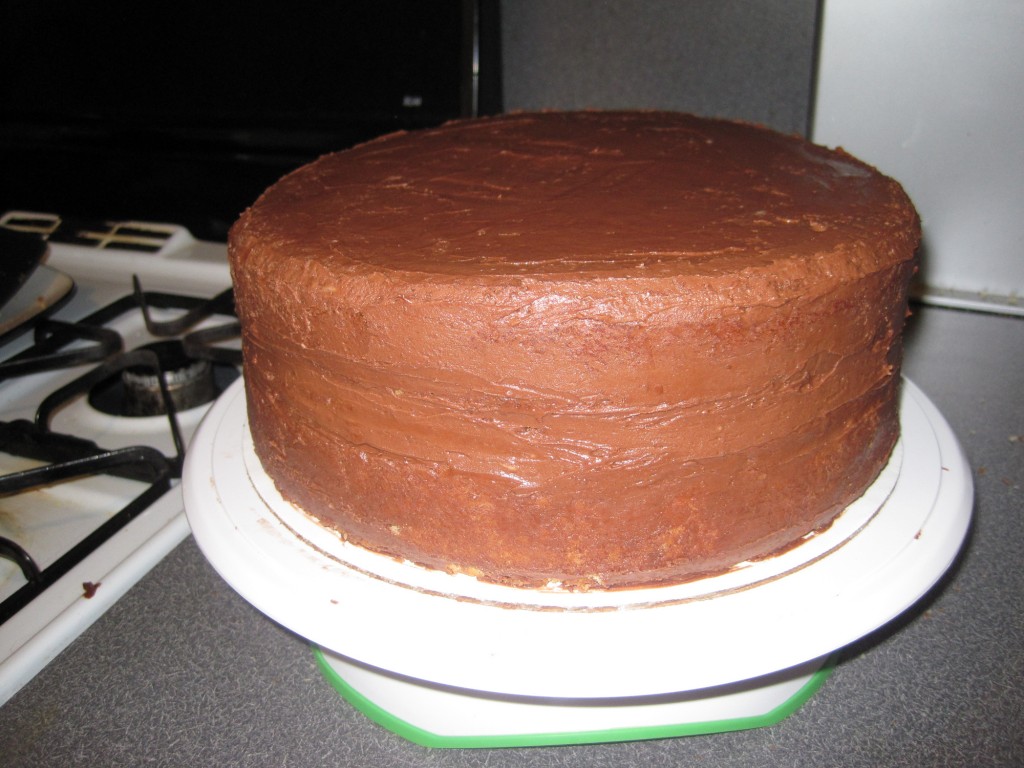
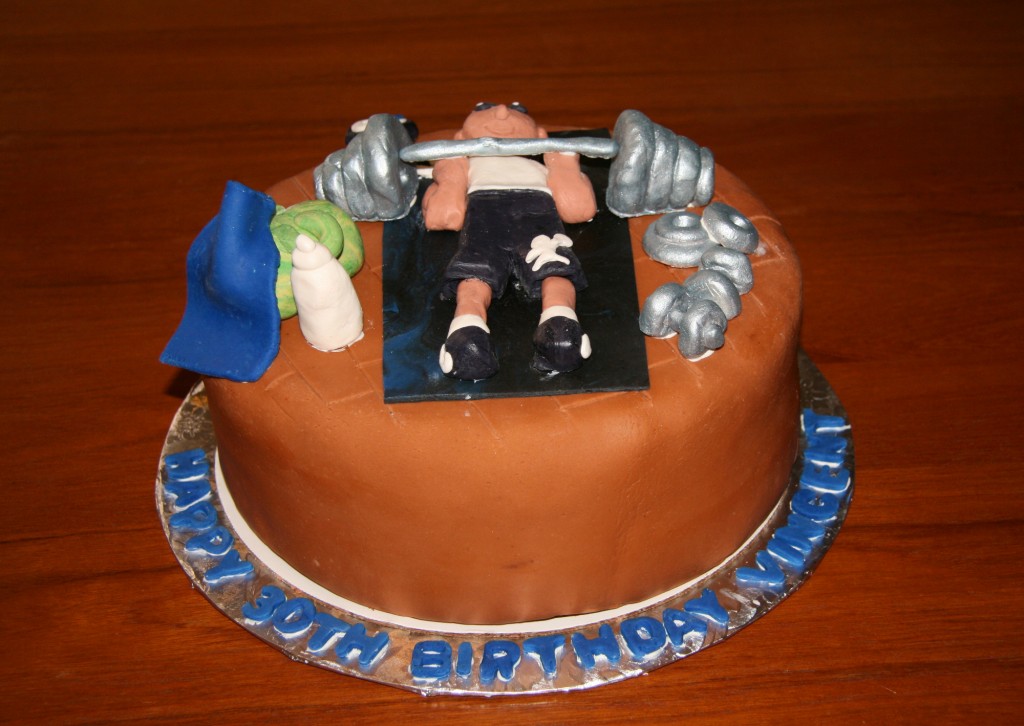
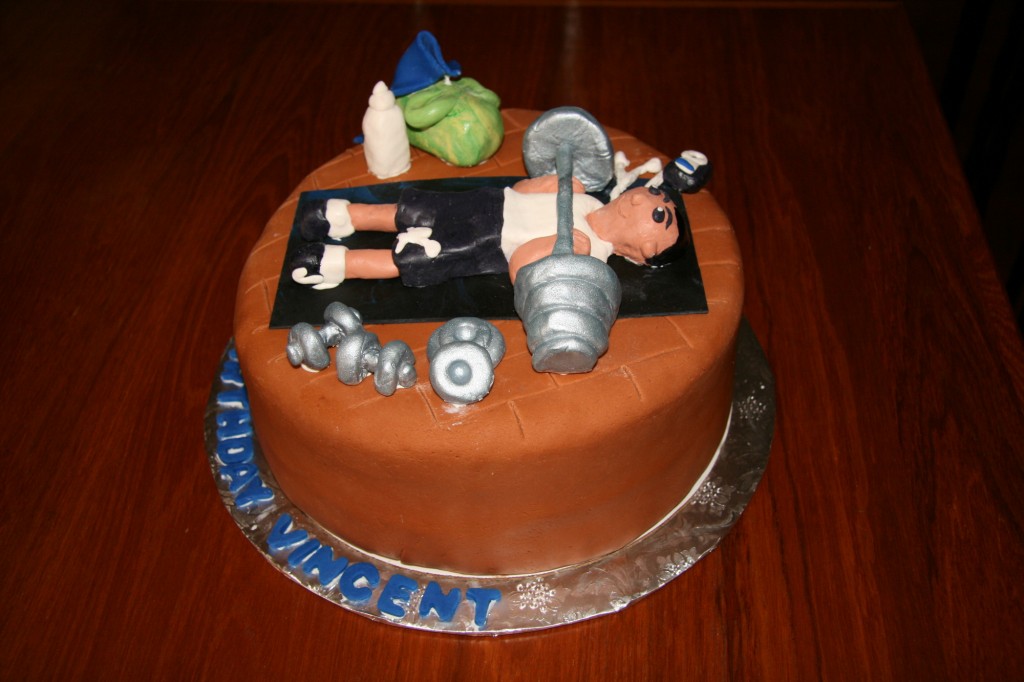
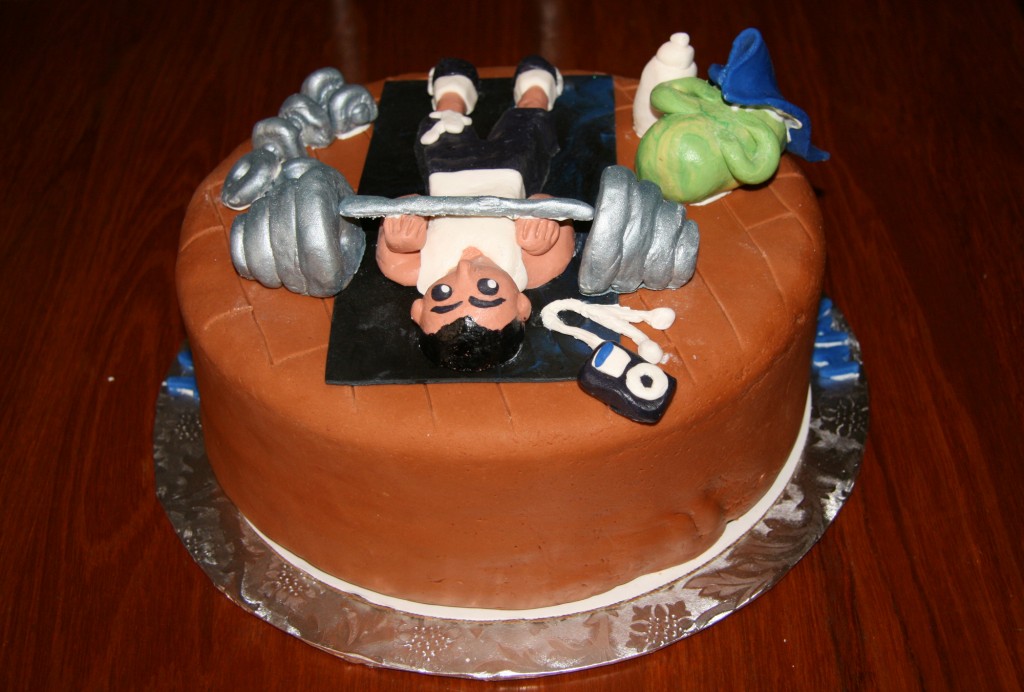
I made a 10-inch, 2 layer yellow cake, filled and frosted with chocolate buttercream frosting, and covered with brown marshmallow fondant . All of the figures on top were made from either modeling chocolate or fondant. A soft cake was requested, so I decided to go with a different recipe from my go-to pound cake. I normally don’t use this cake, because it is too soft to sculpt.  However, it is absolutely DELICIOUS, and I figured it would be perfect for this cake since there was no carving involved. I just made 2 cakes, and put them on top of one another with a thick layer of chocolate buttercream between them.

All-Occasion Downy Yellow Butter Cake (from the Cake Bible)

Makes two 9-inch cakes (1.5 inches high). For this cake, I used two batches to fill two 10-inch cake pans (2 inches high). However, DO not use all the batter. The pans should be a little under 1/2 full. If they are too full they will overflow. So pour most of the batter in, but DON’T scrape down the sides to get every last bit of batter in.
Ingredients
  • 6 large egg yolks
  • 1 cup milk
  • 2 1/4 tsp of vanilla
  • 3 cups sifted cake flour
  • 1 1/2 cups sugar
  • 1 TBSP+1 tsp baking powder
  • 3/4 tsp salt
  • 12 TBSP unsalted butter, softened
Instructions
  1. Preheat oven to 350 degrees F. Grease two pans with Wilton Cake Release.
  2. In a medium bowl, combine the egg yolks, 1/4 cup of the milk, and vanilla.
  3. In a large mixing bowl combine the flour, sugar, baking powder, and salt. Add the butter and the remaining 3/4 cup of milk to the dry ingredients and mix on low speed until just moistened. Increase the speed to medium, and beat for 1 1/2 minutes to aerate the batter and develop the cake’s fluffy structure.
  4. Scrape down the batter from the bowl, and add the egg mixture in 3 batches, mixing for about 20 seconds after each addition. Pour the batter into the pans, and smooth the top with a spatula.
  5. Bake for 25-35 minutes, or until a knife inserted in the center of the cake comes out clean. Let cool for 20 minutes before removing from the pans.


 The figures:

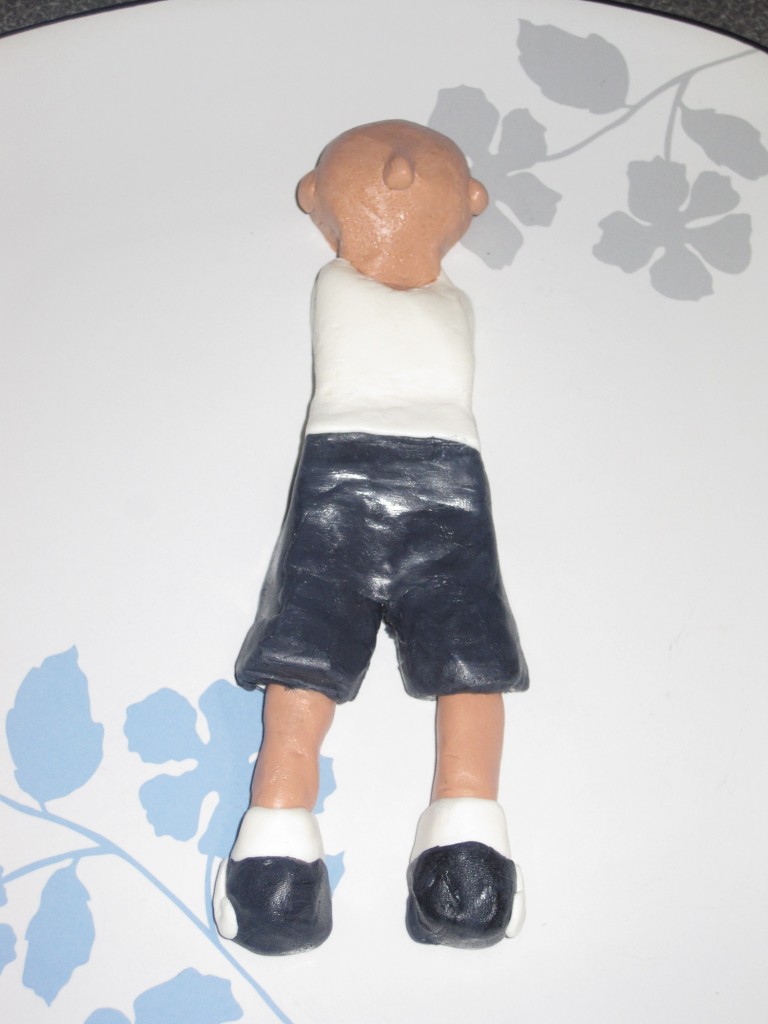
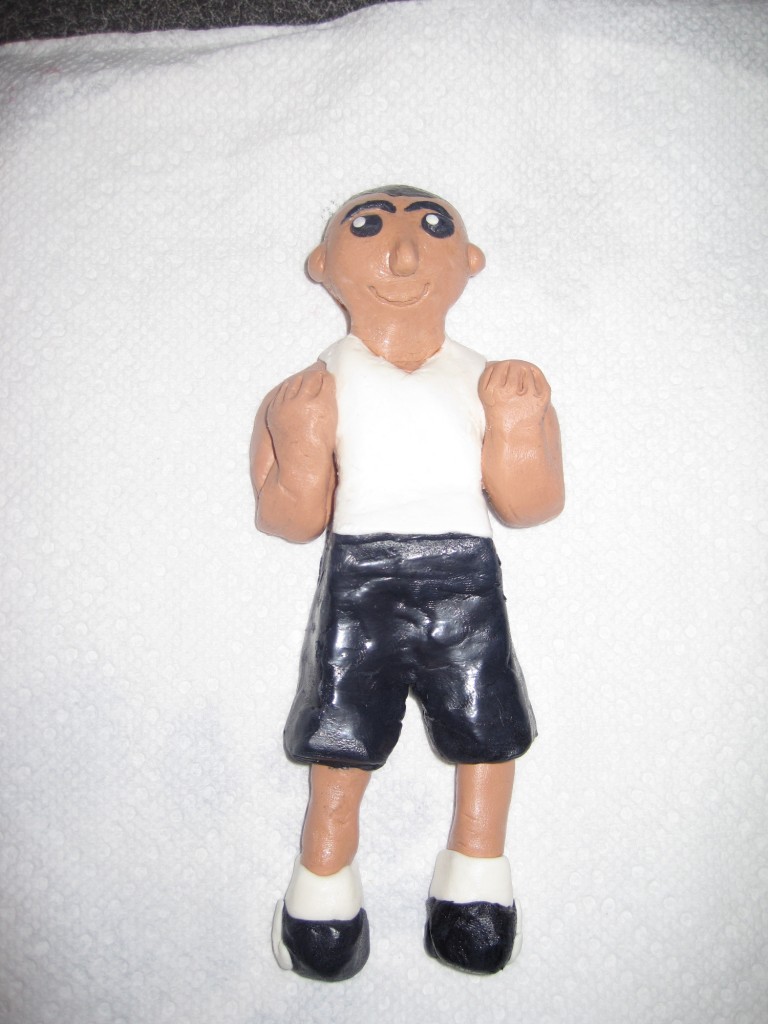
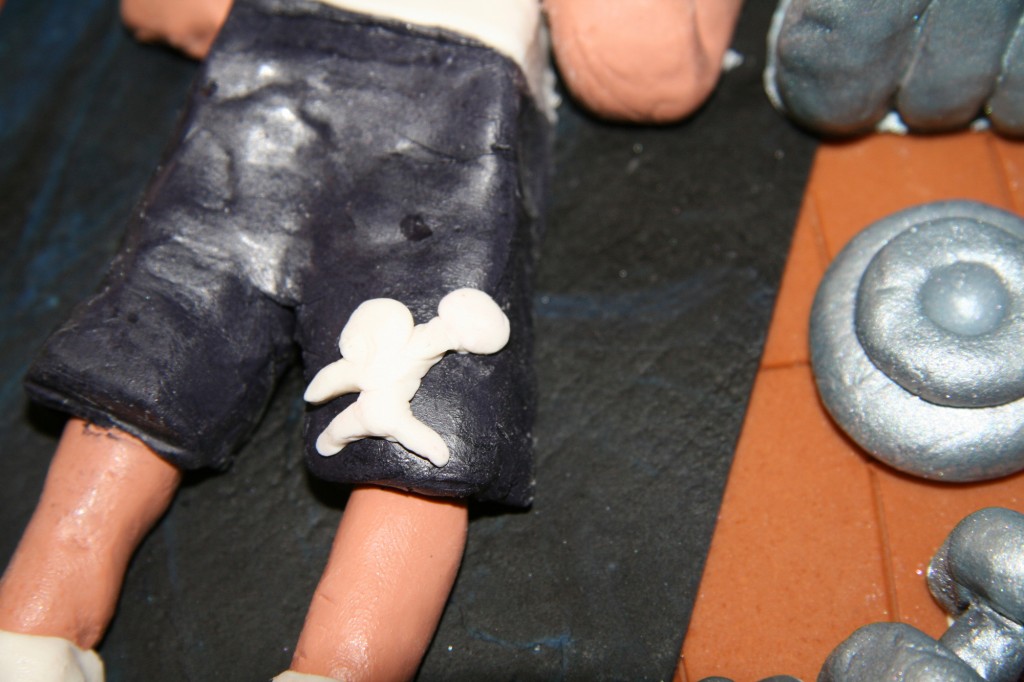
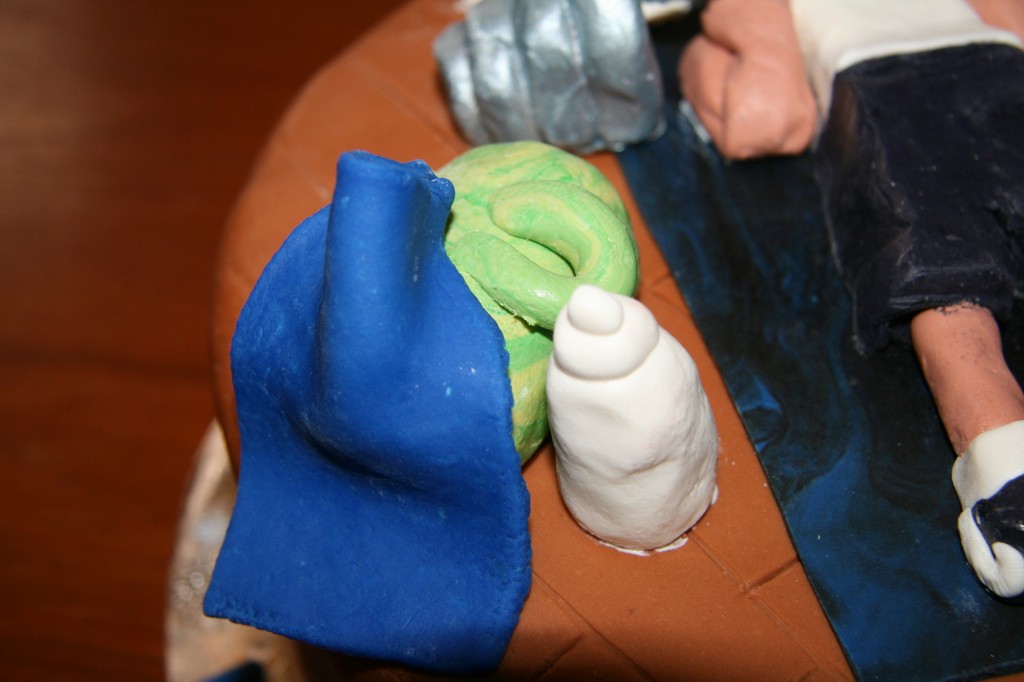
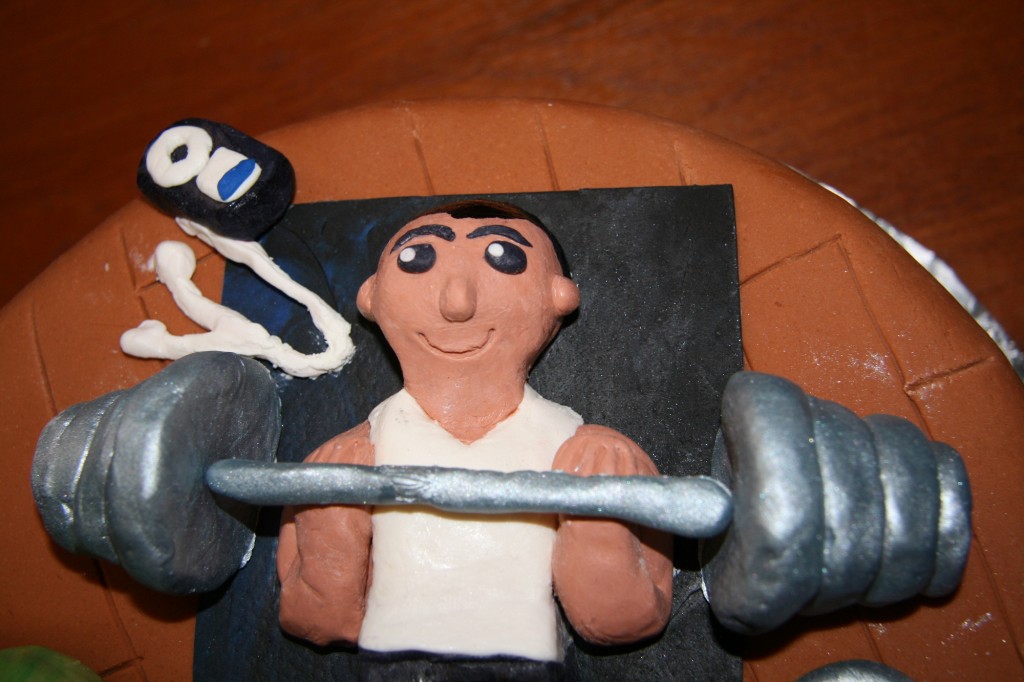
I made the figures a few days before making the cake, so that I could take as much time as I needed to get everything to look right. I made gym guy to look like the birthday boy as best as I could, including his workout attire (she requested black Nikes and Jordan shorts).

I made the head, chest, shorts, arms, and legs all separately, and attached them just using additional pieces of modeling chocolate. Since the chocolate is sticky, it tends to stick to itself fairly well.

Weightlifting2

The eyes and nose were also made of modeling chocolate. I painted the hair on with Wilton gel color, since he has a buzz cut.

Weightlifting3

Weightlifting4

Weightlifting5

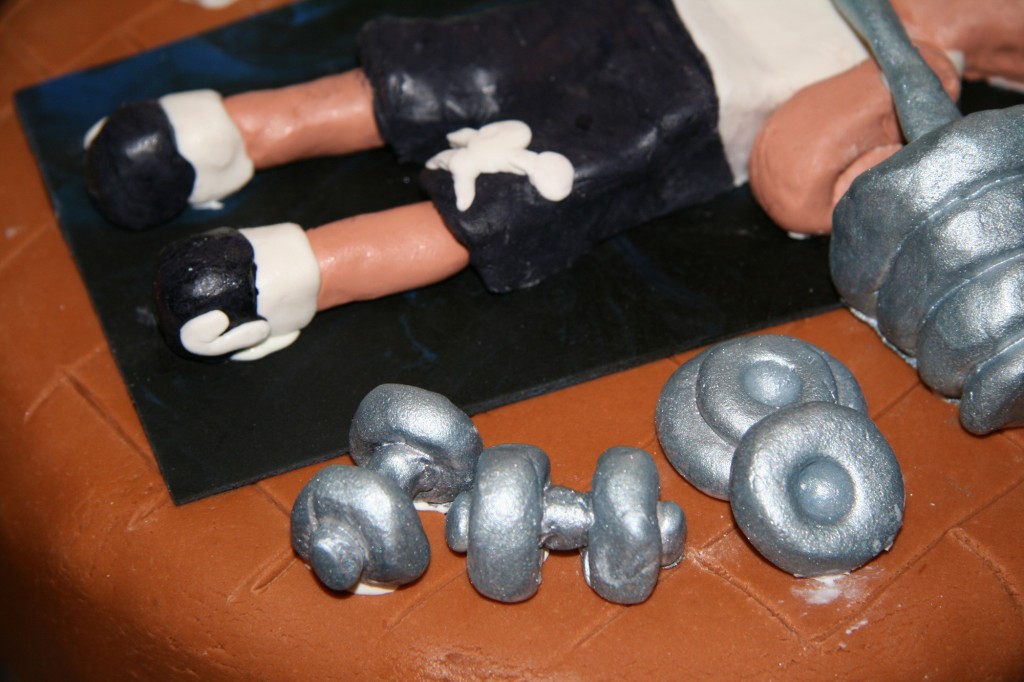
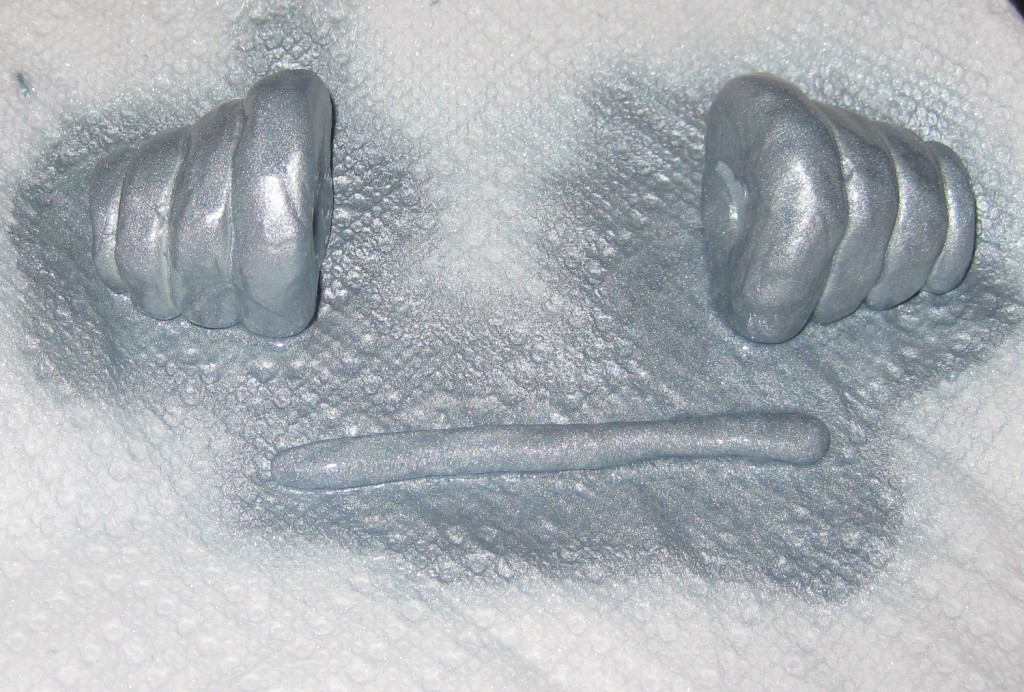
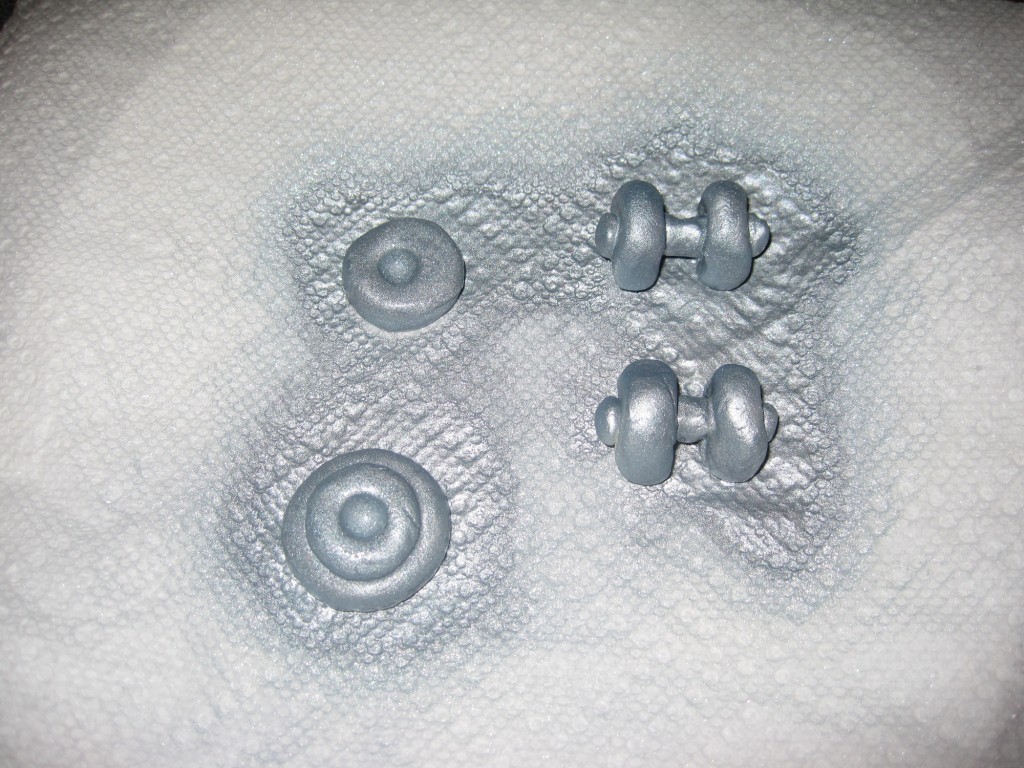
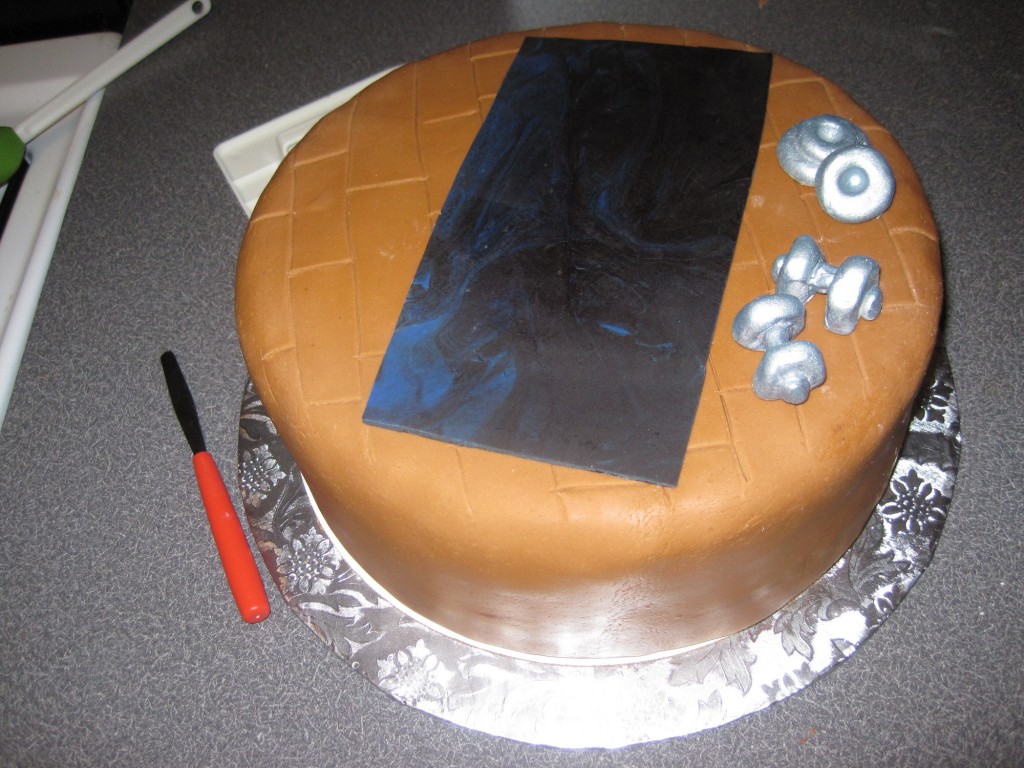
The most important accessory was the set of weights, which I sprayed with edible silver paint. I like to spray the weights while they are on a paper towel, and I leave them to dry for a few hours.

Weightlifting6

Weightlifting7

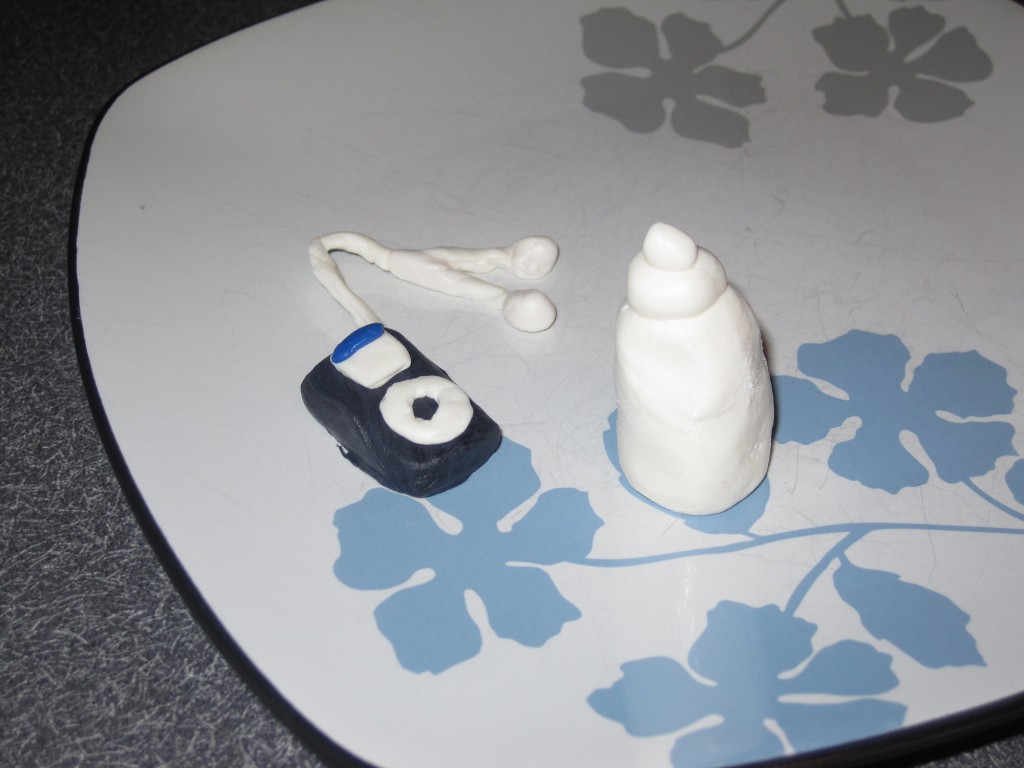
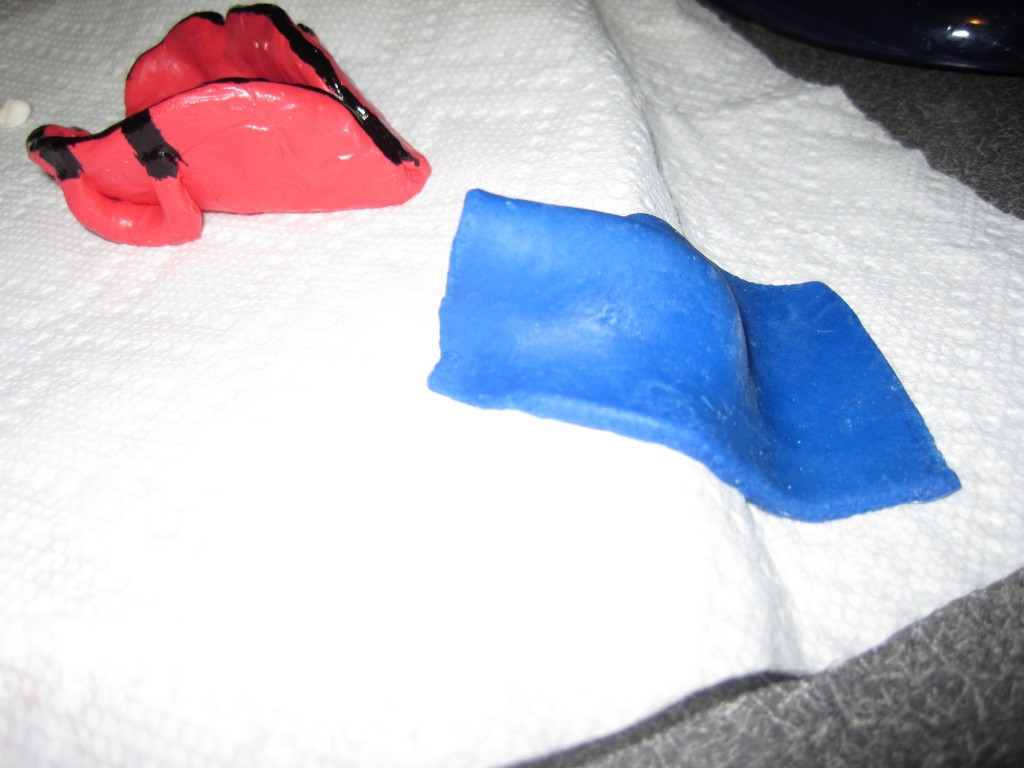
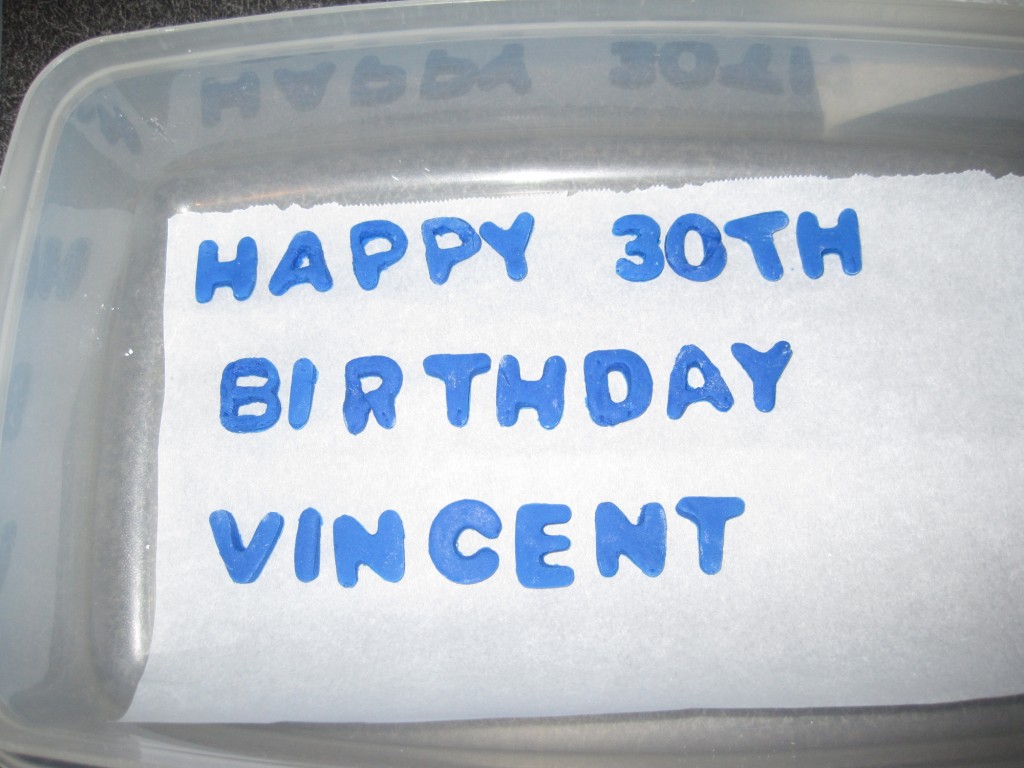
I also made a gym bag, water bottle, and iPod out of modeling chocolate. The gym mat, towel, and Happy Birthday letters were made of fondant, which I left out on the counter for few days to dry. To get the shape of the towel, I folded it over the edge of a plate. Once it dried, the shape stayed perfectly.

Weightlifting8

Weightlifting9

Weightlifting10

The red gym bag ended up sticky from all the food coloring required to get the red color, so I made a yellow/green one and ended up liking it even better.

Weightlifting11

Assembling the cake:

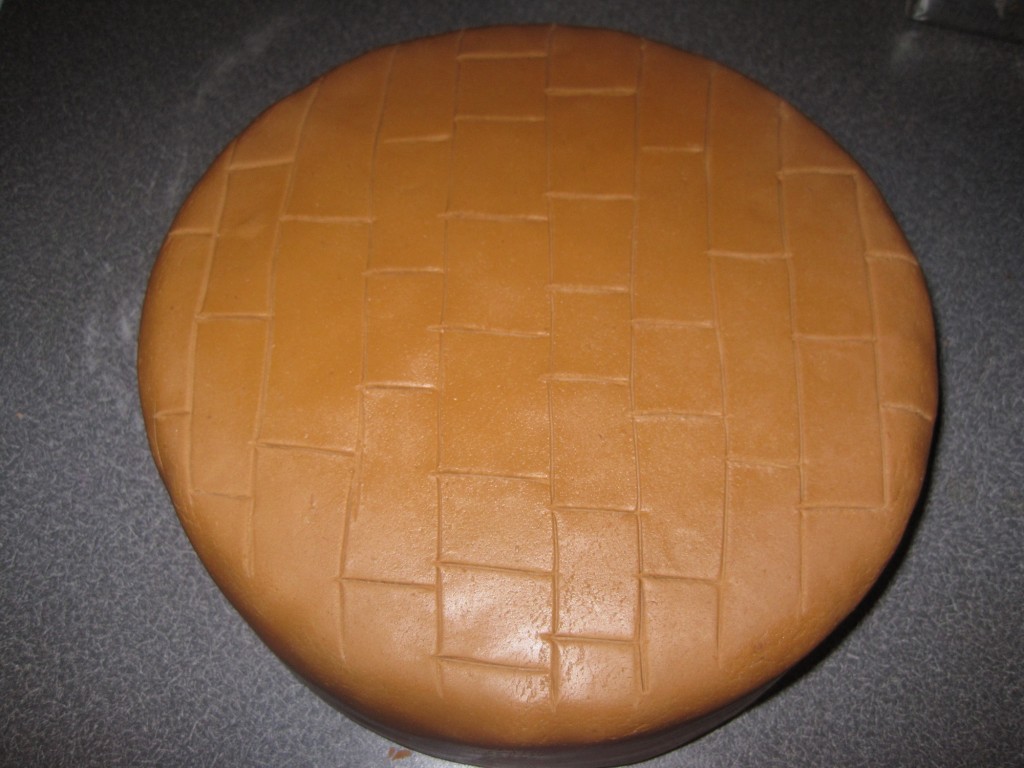
Once the cake was leveled, filled, and frosted with a very thin layer of buttercream, I covered it with brown fondant. I used one of my fondant tools to make the brick pattern. Just a tip, since this cake is very soft and crumbly, you can use a can of compressed air to get rid of any crumbs that may come from leveling the cake.

Weightlifting12

Weightlifting13

Once covered, I attached the gym mat by wetting the back with water and pressing it on. I attached the weights, gym guy, and accessories with a little bit of melted chocolate.

Weightlifting14

The cake was assembled on a 10-inch cake board, and then placed on a foil-wrapped 12-inch board. I placed the Happy Birthday letters around the board using melted chocolate.

Weightlifting15

Weightlifting16

Weightlifting17

Weightlifting18

Weightlifting19

Posted in Cakes | 1 Comment

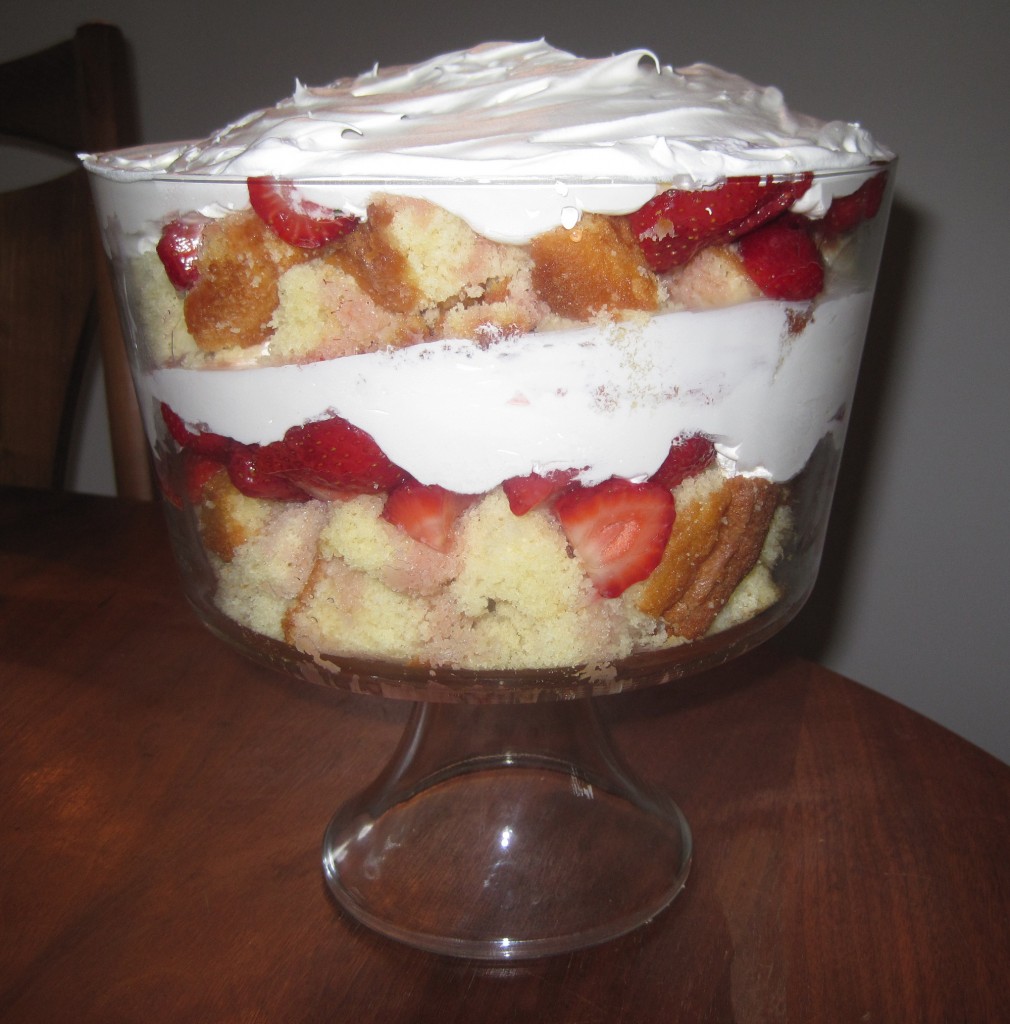
Strawberry Shortcake Trifle (AKA how to salvage a deformed cake)

Strawberry_shortcake1

Looks yummy, right? Well, this trifle is actually the result of a mistake. It happens to the best of us, and usually means wasted cake (which is a horrible, horrible thing). This time, I was determined to use this cake, especially since the mistake happened during baking, and not in the actual recipe.

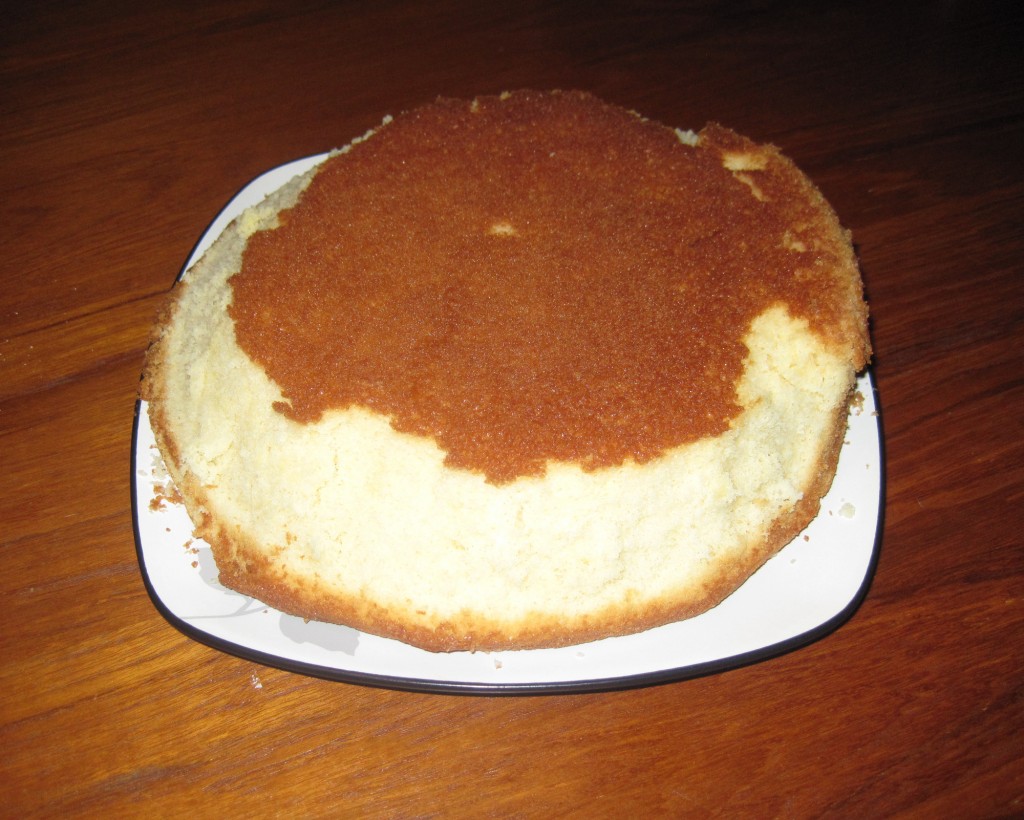
The cake had the perfect taste and texture. The only problem was that I over-filled the pan, and it overflowed while baking. Removing the cake from the pan was very difficult, and the sides tore. Since I was making this cake for a customer, I had no choice but to make another cake.

Strawberry_shortcake2

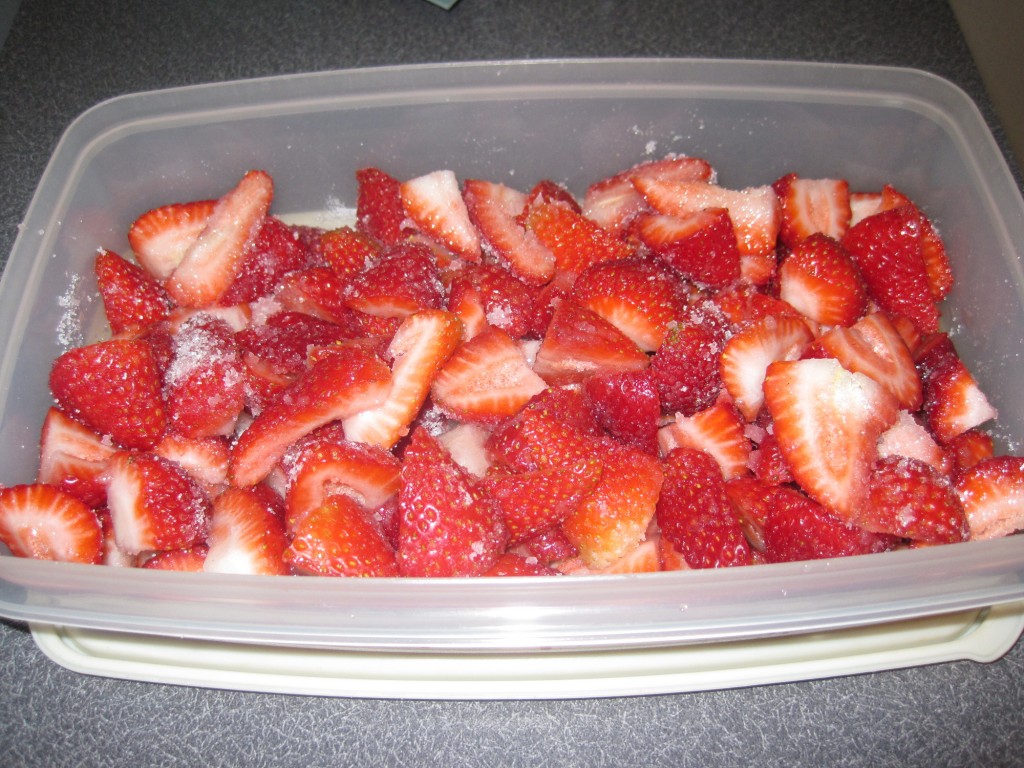
But I wasn’t ready to waste a perfectly good cake. This light and soft butter cake screamed strawberry shortcake. But once I took a good look at it, I realized there was no way I could torte it and fill with strawberries. After a bit of thought, I realized I could cut up the cake into cubes and make a trifle. So I took 2 lbs of hulled and cut strawberries and combined them with 1/2 cup of sugar.

Strawberry_shortcake3

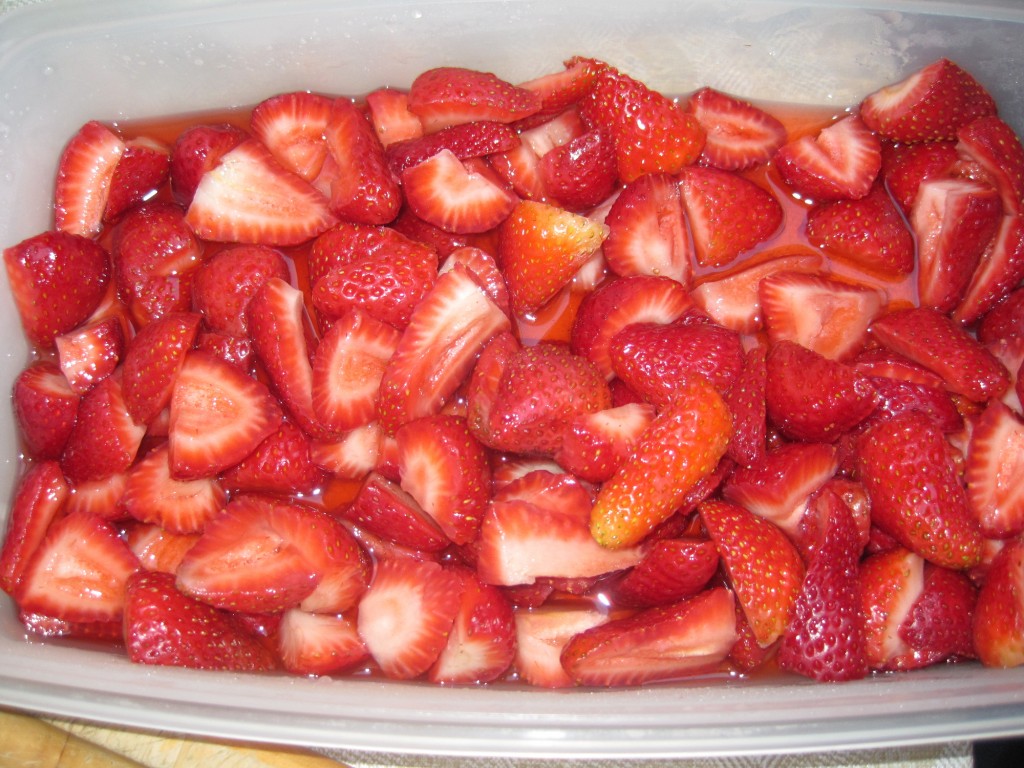
After a few hours, the strawberries were soft and all the juice had been drawn out.

Strawberry_shortcake4

Then I simply cut the cake into cubes and layered the cake with strawberries and Cool Whip. I ended up using a 16 oz tub of Cool Whip, and made 2 full layers. You could do more, depending on the size of your trifle dish. I borrowed my mom’s, and hers was fairly large (8 inches in diameter by 5 inches high) so it took a lot of cake and strawberries to fill the whole layer.

So what happens if you have a deformed chocolate cake? In that case, I would suggest layering the cake with cherry pie filling, Cool Whip, and chocolate shavings for a black forest cake effect. Really, you can use whatever you want in the layers, even instant pudding. Just remember that texture is important, and you want whatever you use to meld together well (so perhaps a gummy bear trifle would not be best). Other than that, let your imagination run wild and have fun!!

Posted in Other Desserts | Comments Off on Strawberry Shortcake Trifle (AKA how to salvage a deformed cake)

Tie Dye Cupcakes

TieDye1

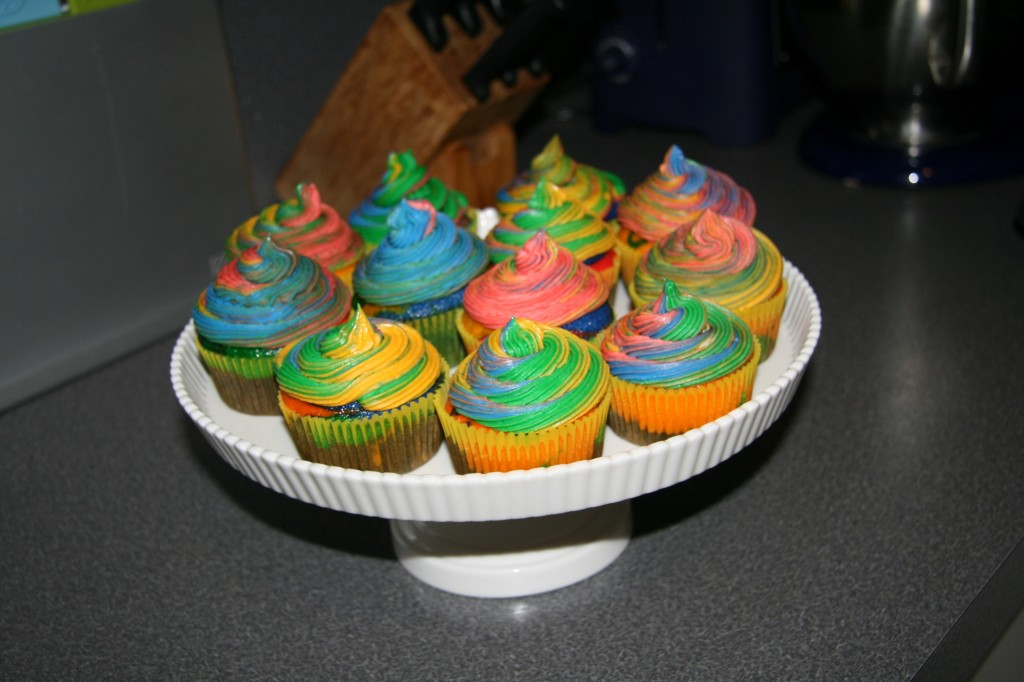
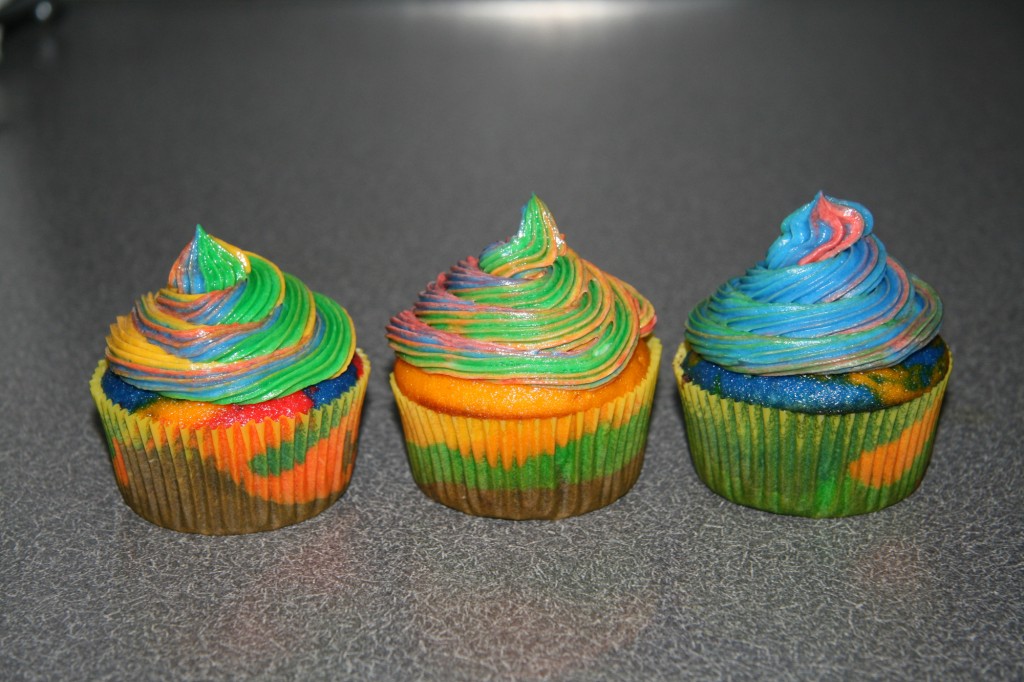
Each year, our family has a summer BBQ with a theme. This year, it was a hippie-themed party, with 60’s music and lots of tie dye. I tie dyed shirts for everyone (31 shirts to be exact!) and made these tie dye cupcakes. Lots of people have made these before me, but it was my first time making them. They are so much fun, and like real tie dye, it is very hard to mess up. You just have to make sure that the colors don’t get too mixed and muddled.
While not an interesting flavor combination, I found that using vanilla cupcakes with traditional buttercream frosting makes for the best looking cupcakes. The lighter the batter and frosting, the brighter the colors come out. I used the Wilton gel colors, and they provide vibrant colors without changing the consistency of the batter or frosting.
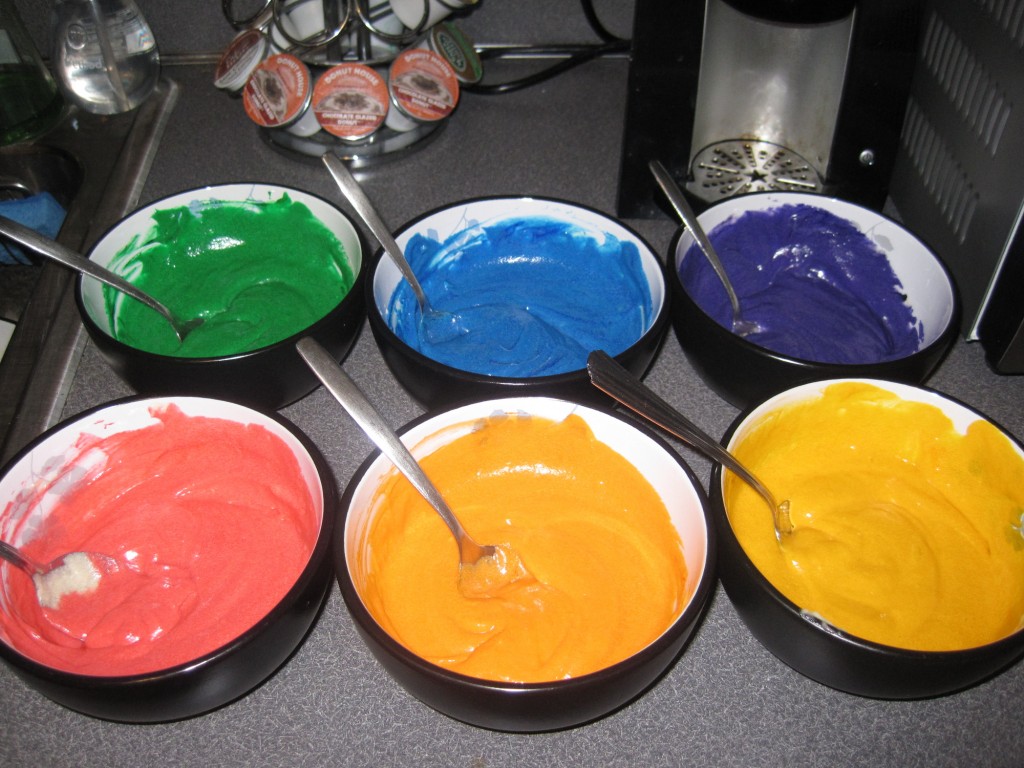
Basically you divide the cupcake batter into 6 bowls (or however many colors you decide to use) and dye each bowl a different color. I used red, orange, yellow, green, blue, and purple.

TieDye2

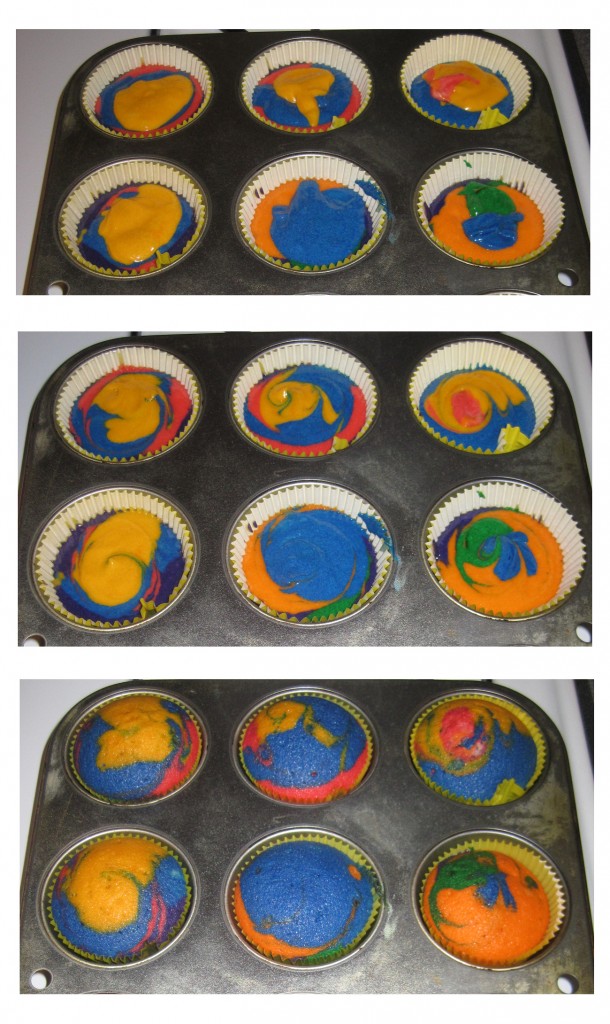
Then randomly spoon the colors into the cupcake liners, until you use up all the batter and the liners are 3/4 full. It works best if you use small spoonfuls so that you can use lots of different colors. After they are all filled, gently swirl the colors with a toothpick. Be sure to use a different toothpick for each cupcake. I was concerned that the colors would mix when baked, but they actually stayed fairly separate and the swirling pattern remained.

TieDye3

Batter spooned into liners (Top); After swirling the colors (Middle); Fully baked (Bottom)

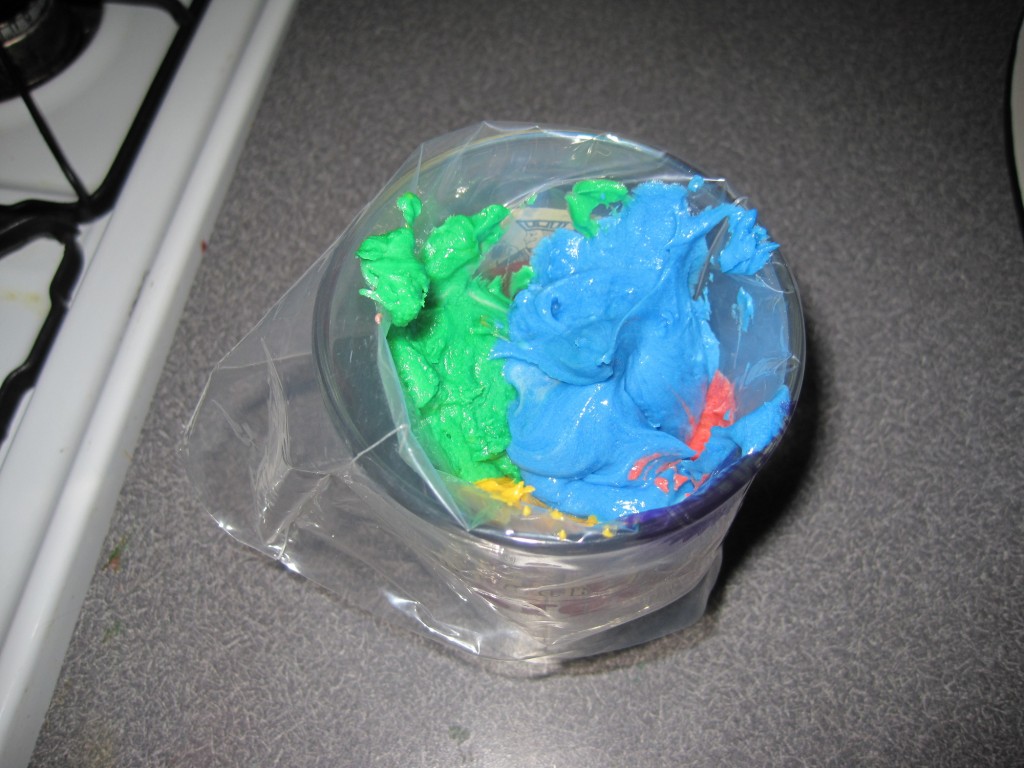
For the frosting, it is easier for the colors to get muddled, so I just used four colors: red, yellow, green, and blue. Divide the frosting into 4 bowls, and add coloring until you have the desired colors.

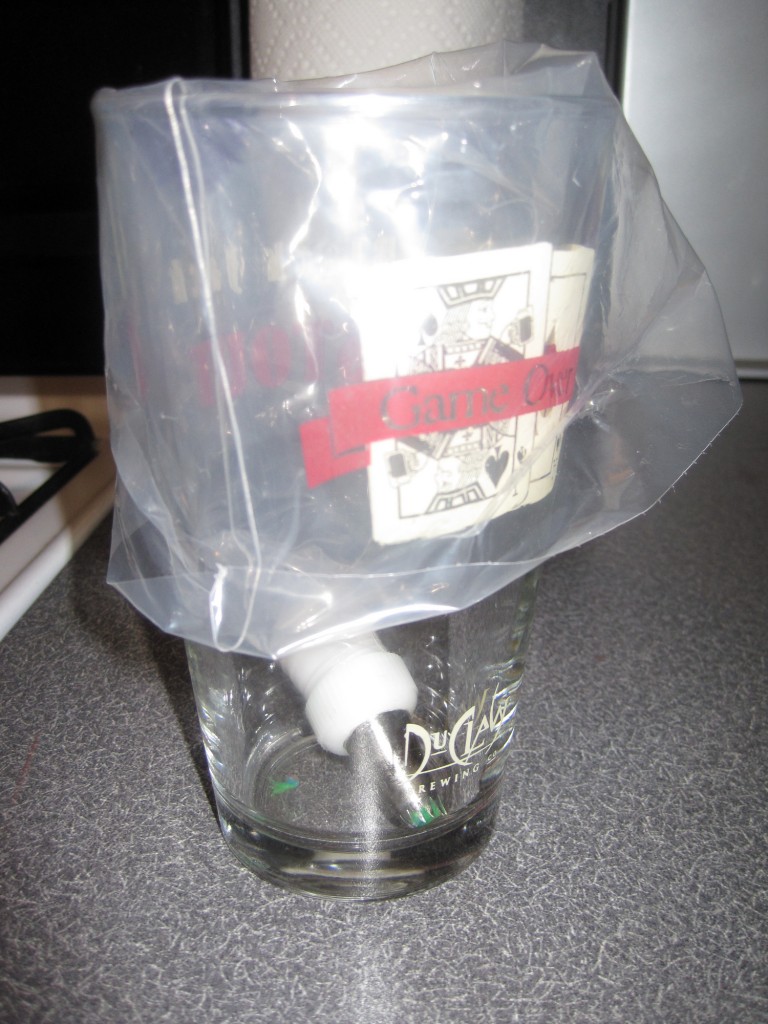
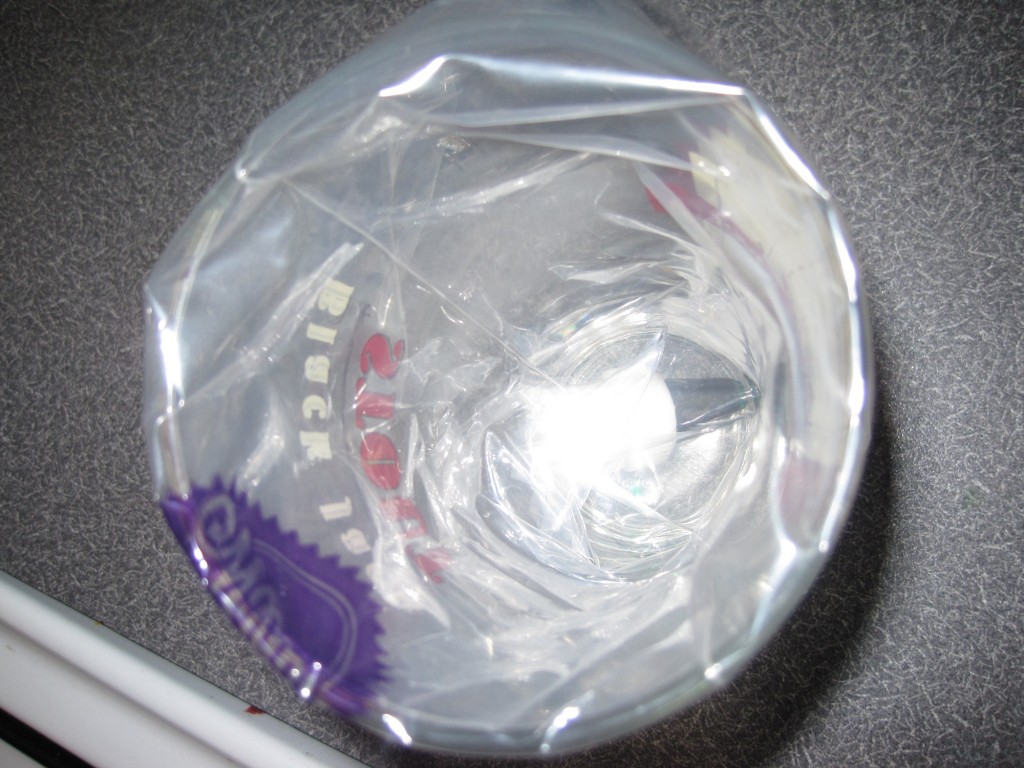
The next technique is really cool and like much of my useful knowledge, I learned from a YouTube video. To fill the bag with the four colors (or anytime you are piping frosting), place the pastry bag in a tall glass and fold the end of the bag around the top of the glass. This provides a nice big opening so you can the bag without making a mess.

TieDye4

TieDye5

TieDye6

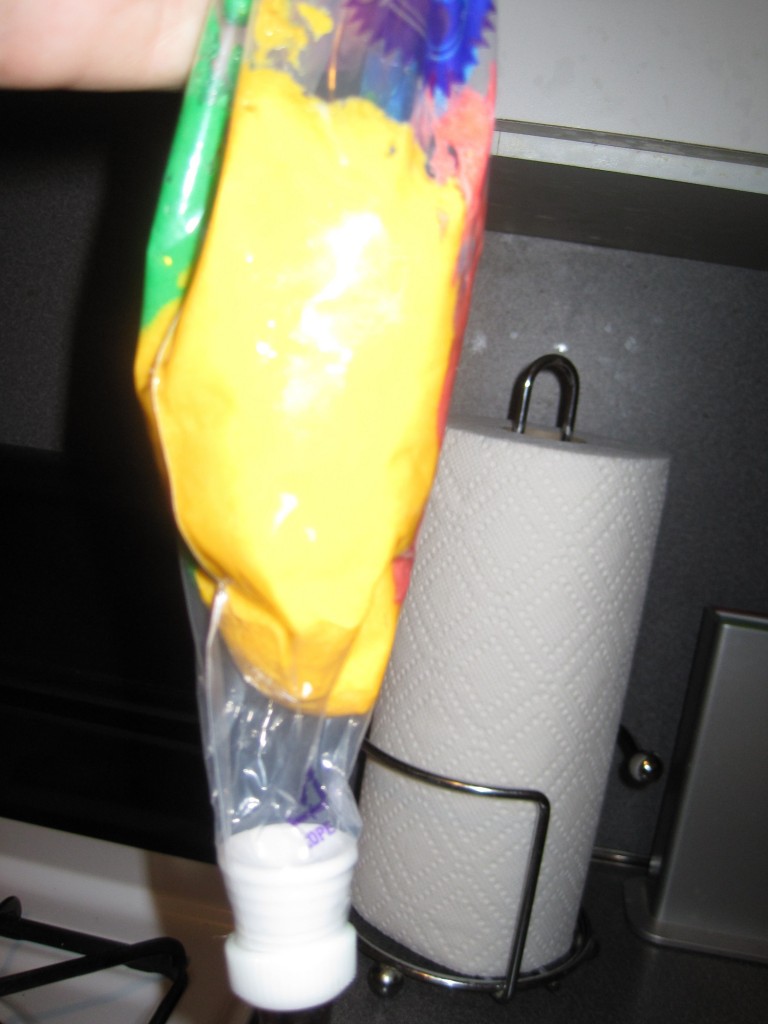
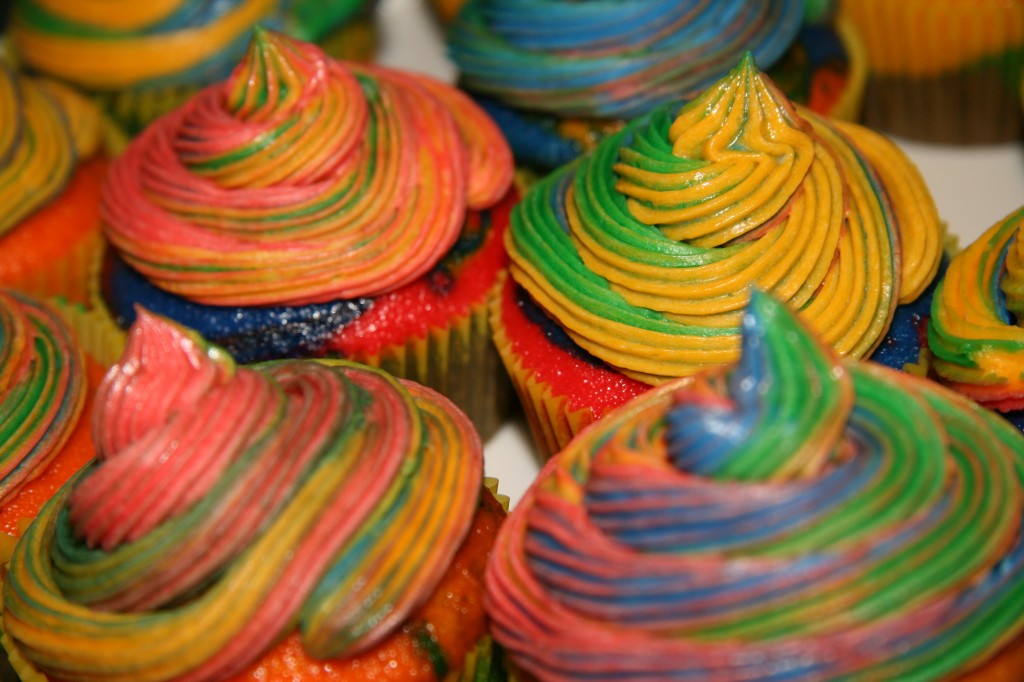
Then pick up the bag and you have all your colors added. Push the frosting down and start piping! You may start out with a single color, but soon the colors will swirl around and you will get a tie dye effect.

TieDye7

The best part is the every cupcake comes out unique. There is no way you will have two exact cupcakes.
TieDye8

TieDye9

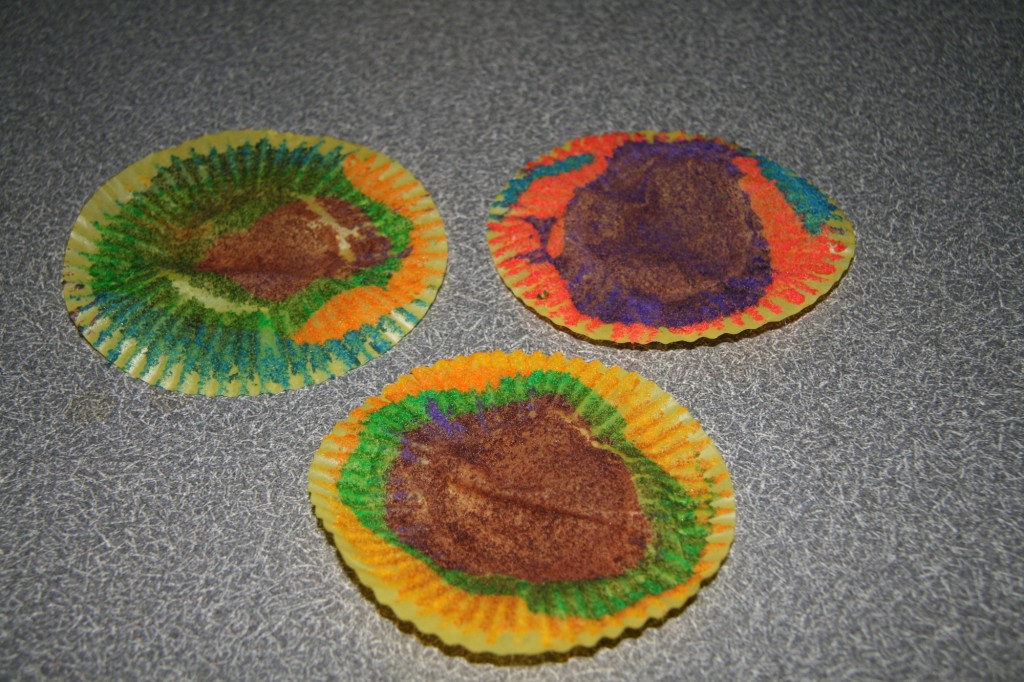
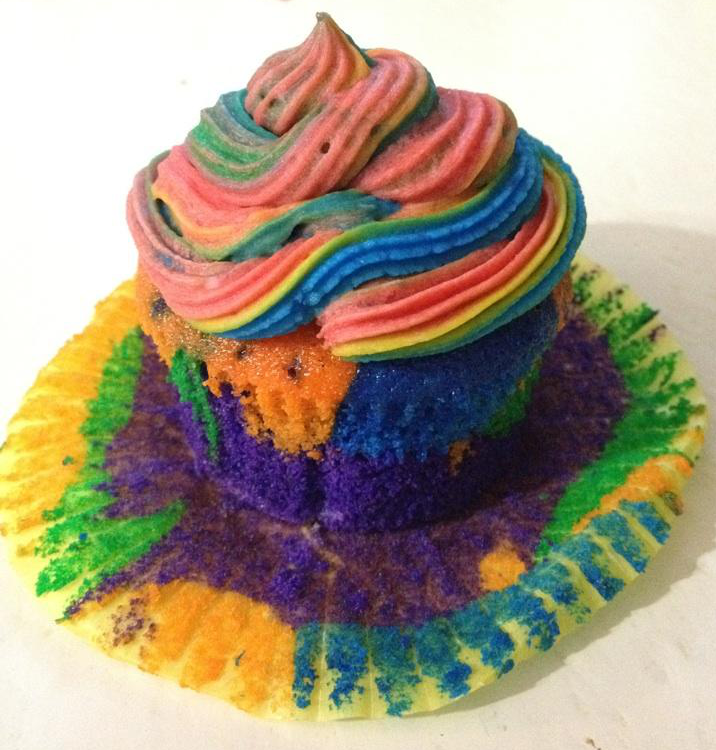
Even the cupcake wrappers have a cool tie dye pattern!

TieDye10

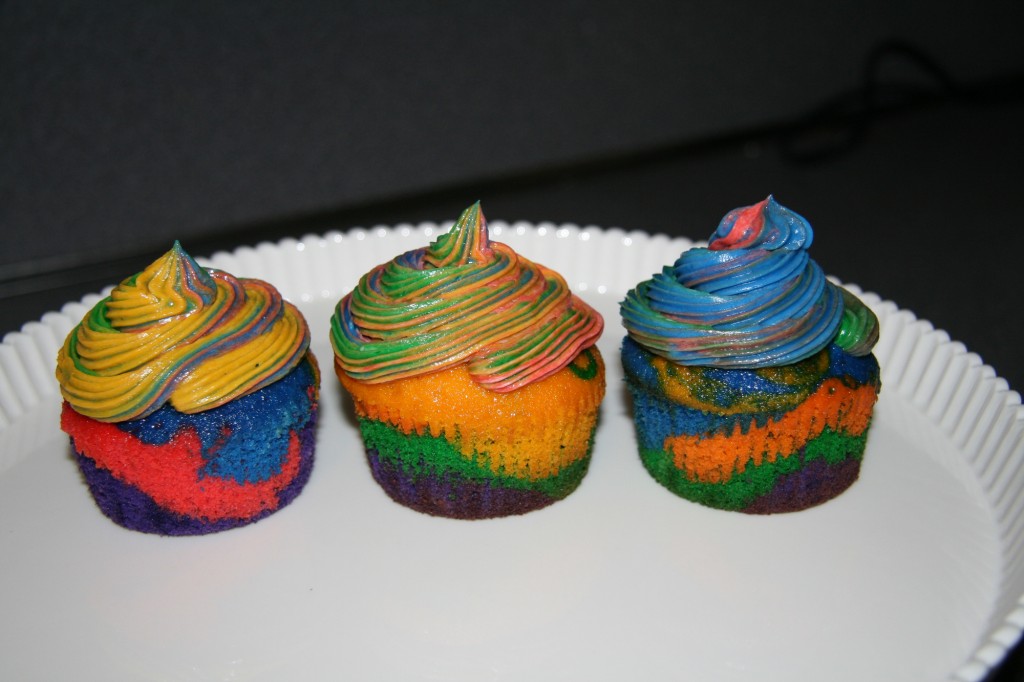
They look pretty on the outside…

TIeDye11

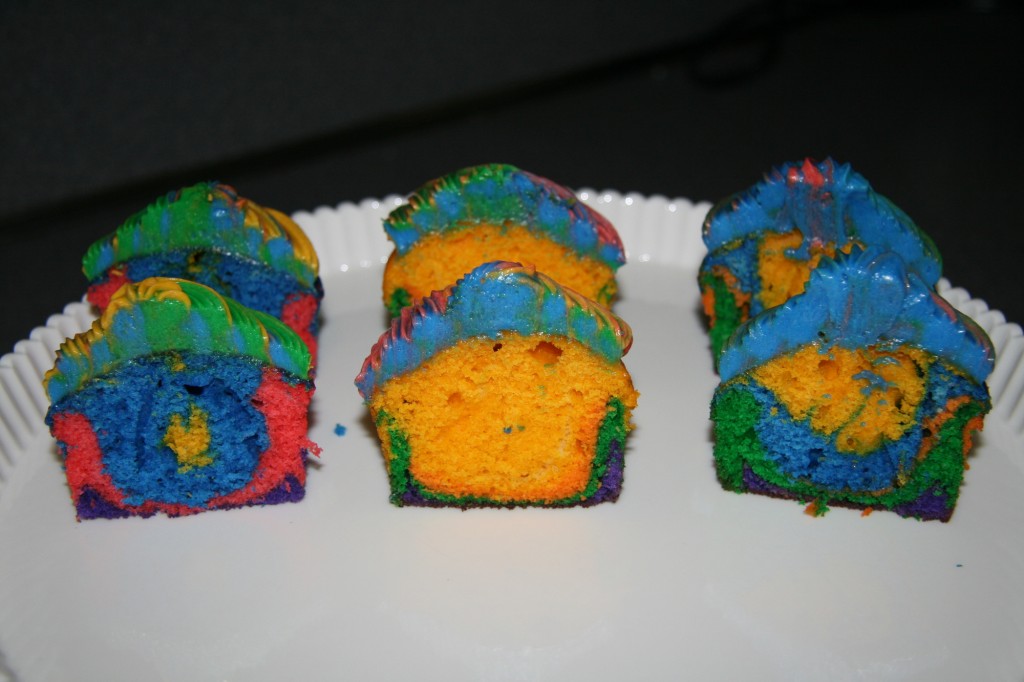
And even prettier on the inside!

TieDye12

Someone at our BBQ took this great picture, and was nice enough to let me use it for this blog post (thanks, Giselle!)

TieDye13
These cupcakes are fun to make, and super fun to eat. So give them a try and channel your free spirit!!
Posted in Cupcakes | 1 Comment