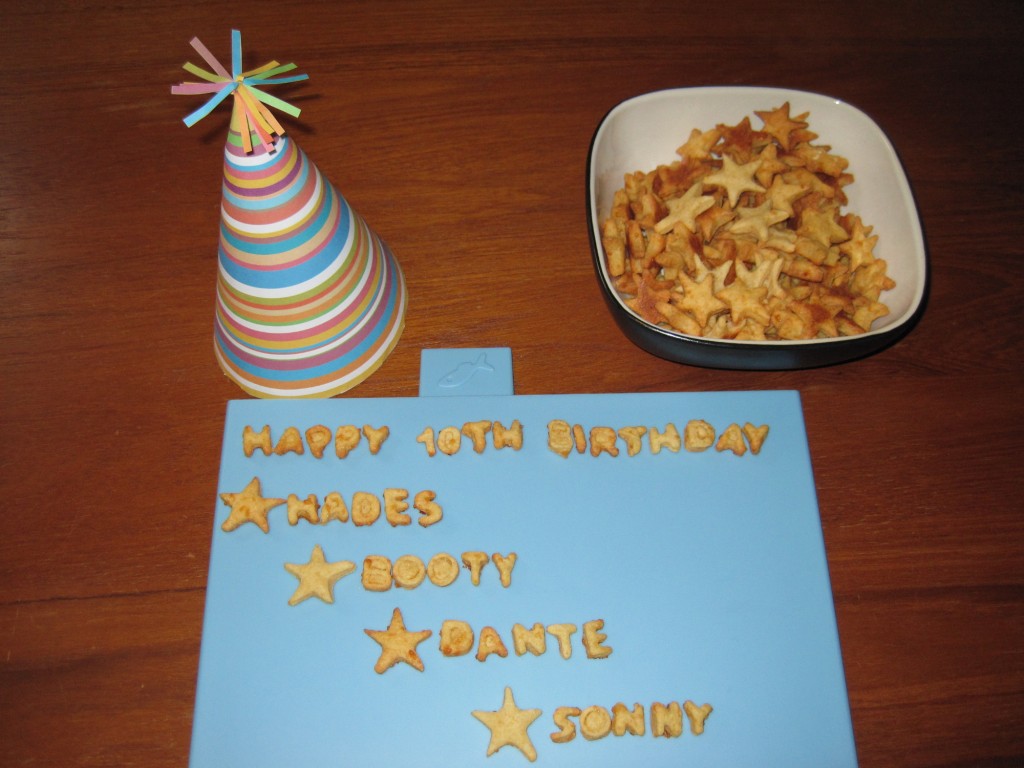
Homemade kitty treats for Hades’ 10th birthday!

Kitty_treats1

Generally I would not be classified as a crazy cat lady. But, I do adore my one cat, and today is his 10th birthday! So I had to do something special to celebrate. I looked online and found an easy recipe for homemade kitty treats. What i liked best about this recipe is that all the ingredients are things that humans eat, and that I have on hand in my kitchen. This way, I could make sure the final product tastes good before giving it to the birthday boy.

Before I get to the recipe, here are some pictures I wanted to share.
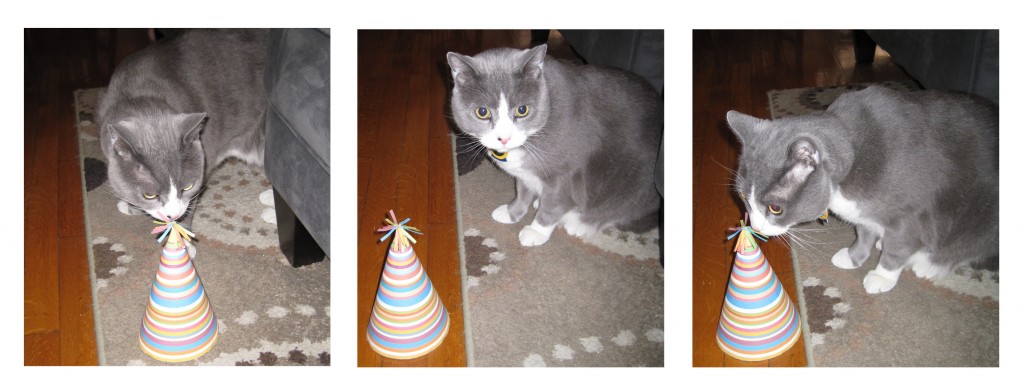
Hades checking out his party hat, which I made from a template I found online at www.mrprintables.com

Hades checking out his party hat, which I made from a template I found online at www.mrprintables.com.

Was lucky enough to get one picture of Hades wearing his hat!

Was lucky enough to get one picture of Hades wearing his hat!

Hades as a kitten, the first time we met him

Hades as a kitten, the first time we met him.

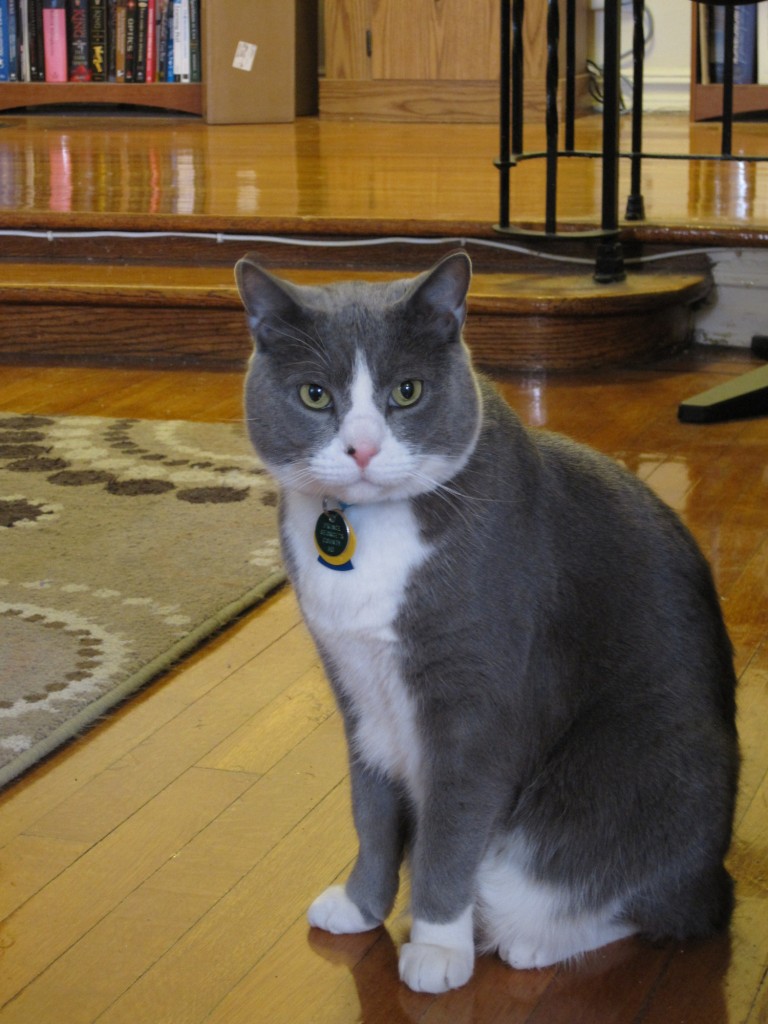
Hades posting for me yesterday. Isn't he handsome?

Hades posting for me yesterday. Isn’t he handsome?

Hades' brothers (ends) and sister (middle), who live with his kitty mom in Brooklyn. Happy Birthday, you guys!!

Hades’ brothers (ends) and sister (middle), who live with his kitty mom in Brooklyn. Happy Birthday, you guys!!

And of course, the pretty lady that made them all possible...Momma cat!

And of course, the pretty lady that made them all possible…Momma cat!

Truth be told, Hades wasn’t crazy about the treats. But like I said, they are made with people-friendly ingredients, and I found them to be pretty tasty. So, if your cat doesn’t like them, at least they won’t go to waste. Also, if you have a dog, I’m sure they would love them as dogs love all food.

Homemade Kitty Treats (modified from CDKitchen.com)

Ingredients
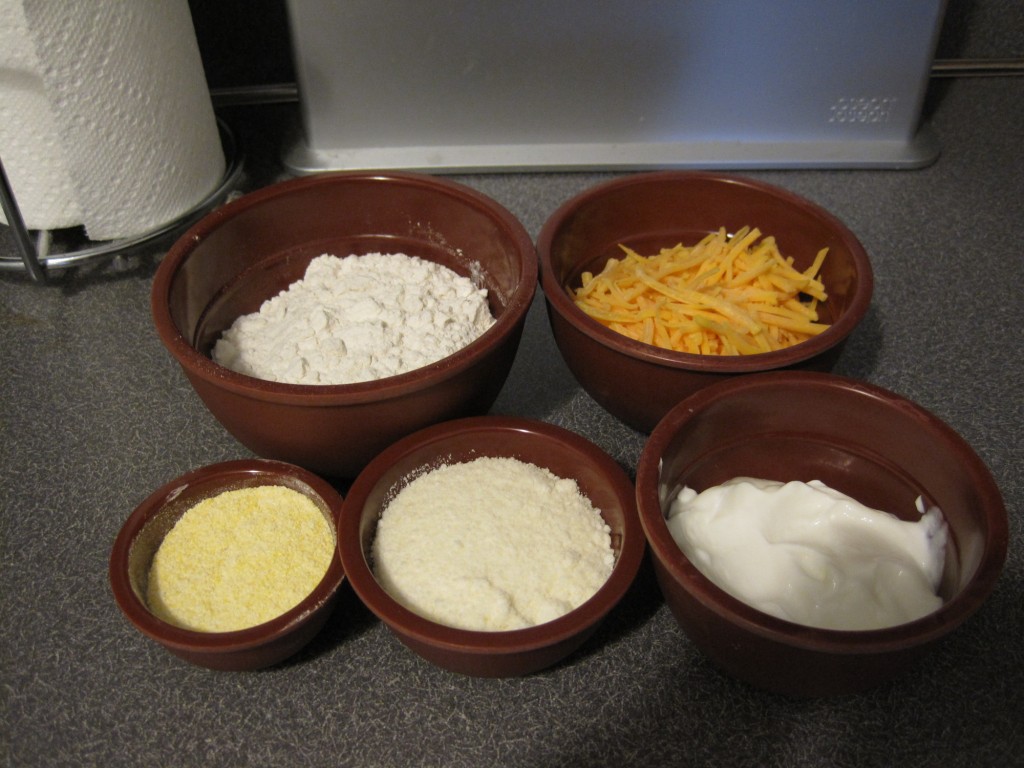
  • 3/4 cup white flour
  • 3/4 cup shredded cheddar cheese
  • 5 TBSP grated Parmesan cheese
  • 1/4 cup Greek yogurt
  • 1/4 cup cornmeal
  • 1/4 cup water
Instructions
  1. Preheat the oven to 350 degrees. Combine cheeses and yogurt. Add flour and cornmeal. Mix for a bit and then add water.
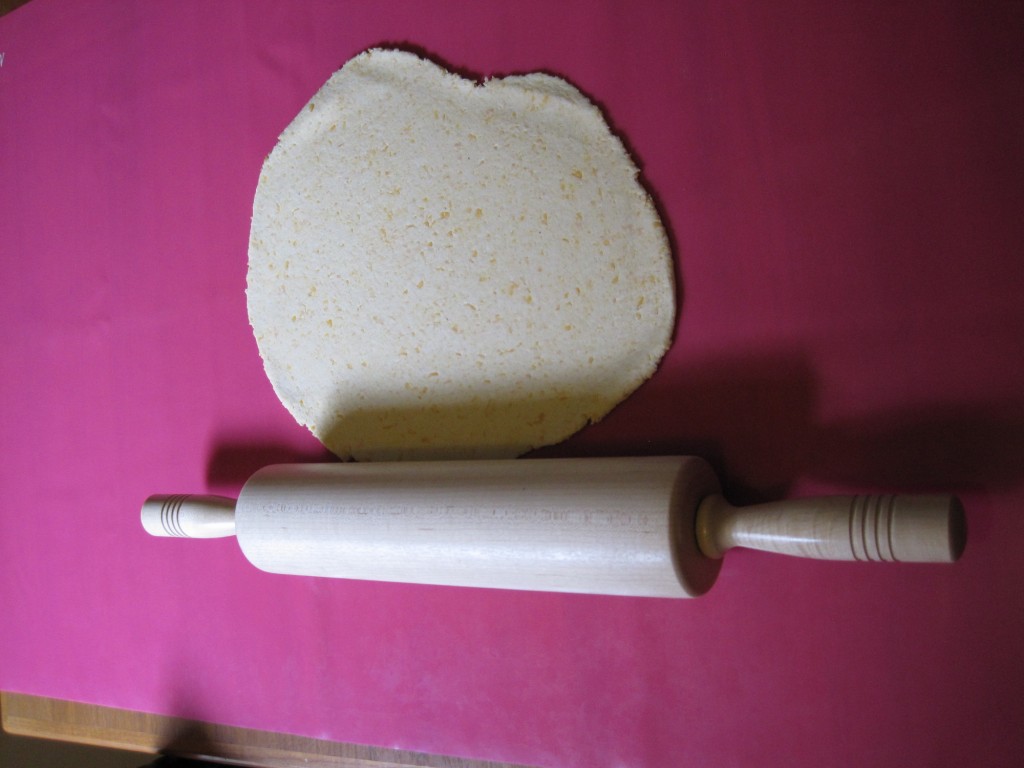
  2. Knead dough into a ball and roll to 1/4 inch. Cut into desired shapes with mini cookie cutters and place on greased cookie sheet.
  3. Bake for 20 minutes
Notes

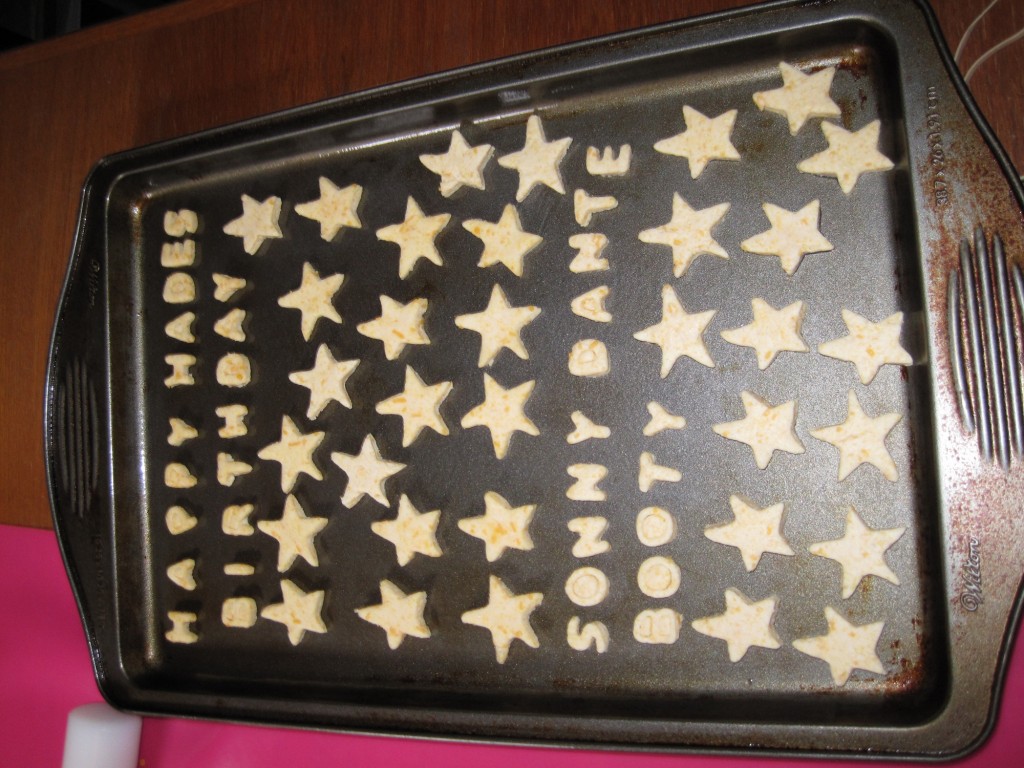
I baked the smaller letters for about 12 minutes, and the stars for 20 minutes


Kitty_treats8

Kitty_treats9

Kitty_treats10

Happy Birthday to my Hades! Even though you turned your nose up at the treats I spend all day making for you, I still love you.

Posted in Miscellaneous | 1 Comment

Easter Treats!

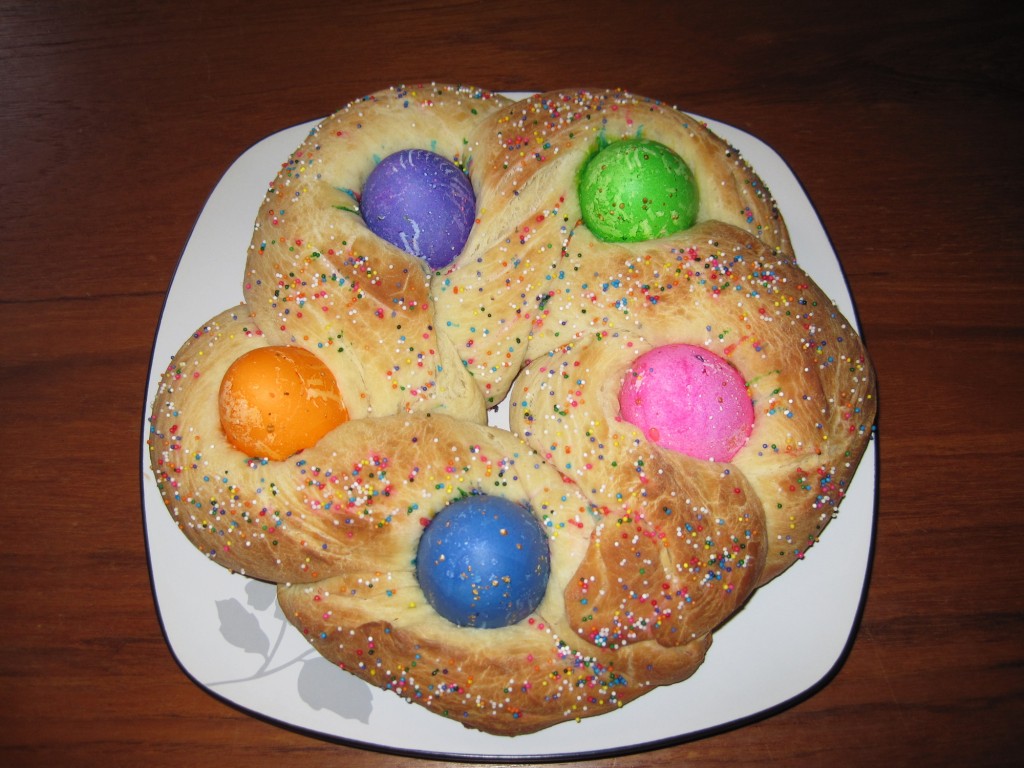
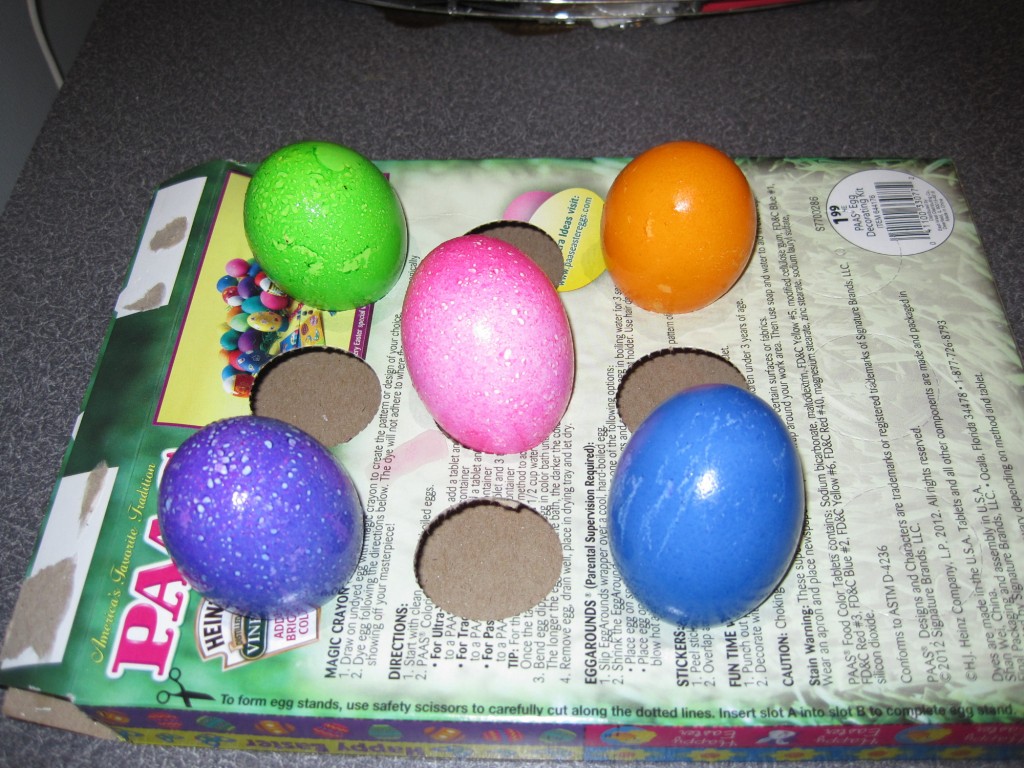
Peeps, Cadbury creme eggs, chocolate bunnies…so many yummy treats for one holiday! My personal favorite is  the creme egg. I have to have at least one every year (and most years it is a lot more than one!). My other favorite treat is the Easter egg bread that you see at a lot of Italian bakeries. It is braided and usually has 5 colored eggs popping through the braids. This year, I decided to pay homage to both of these treats and make them for our Easter celebration tomorrow. Last year I found a recipe for the bread, and I think I perfected the technique this year.

Easter_treats1

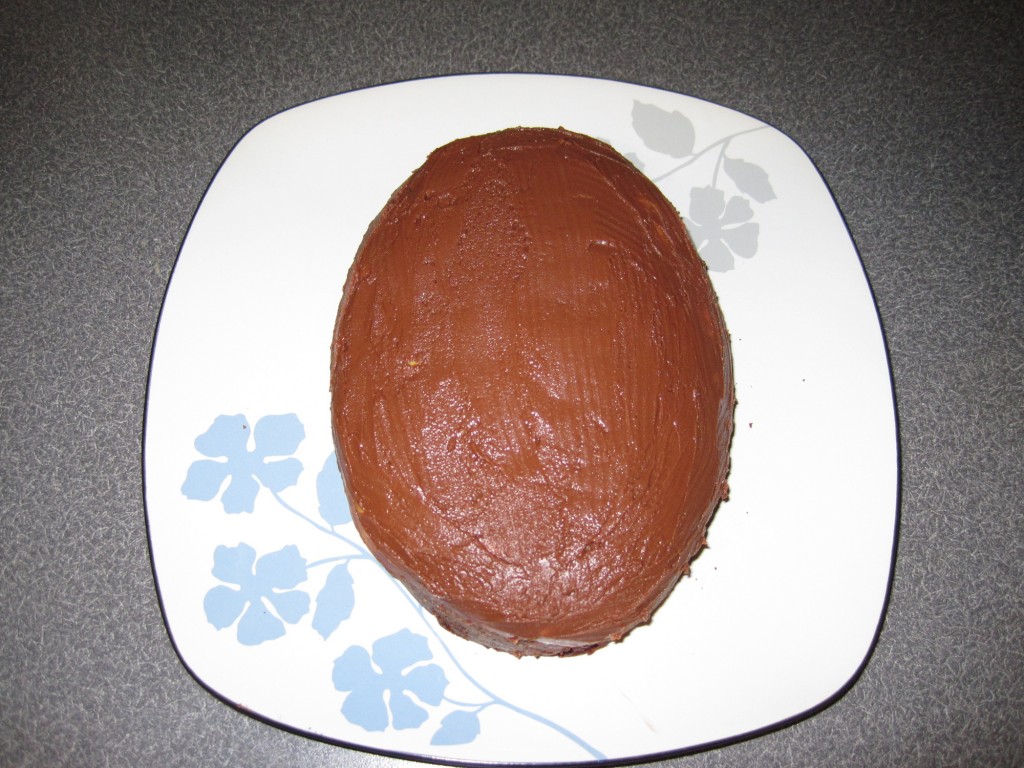
For the creme eggs, I found a great recipe for Cream Egg Brownies on the blog Love & Olive Oil that are strikingly similar to the candy version.

Easter_treats2

Easter Egg Bread (from allrecipes.com)

I make this in my Kitchenaid mixer and use my dough hook. I find that it works really well since the dough is very elastic and sticky.
Ingredients
  • 2 1/2 cups all-purpose flour, divided
  • 1/4 cup white sugar
  • 1 tsp salt
  • 1 package (0.25 ounce) active dry yeast
  • 2/3 cup milk
  • 2 TBSP butter
  • 2 eggs
  • 5 whole eggs, dyed raw
  • 2 TBSP butter, melted
  • Colorful nonpareils
Instructions
  1. In the Kitchenaid mixer bowl, combine 1 cup flour, sugar, salt, and yeast; mix well. Combine butter and milk in a small saucepan and heat until the butter is softened, but not fully melted.
  2. Add the milk and butter mixture to the dry ingredients and mix on medium speed. Add 2 eggs and 1/2 cup of flour. Beat until combined. Gradually add the remaining flour in 1/2 cup increments, and mix until the dough has pulled together. Place the dough on a floured surface (making sure your hands are also floured) and kneed until the dough is smooth and elastic. If the dough becomes sticky, add more flour and continue to kneed.
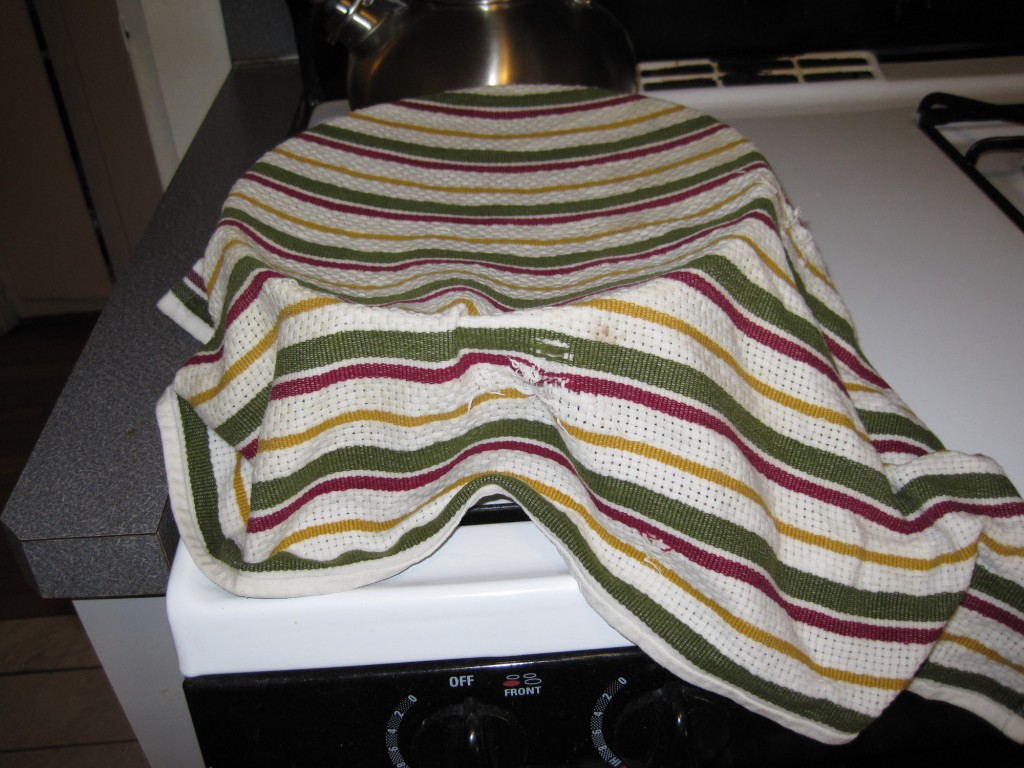
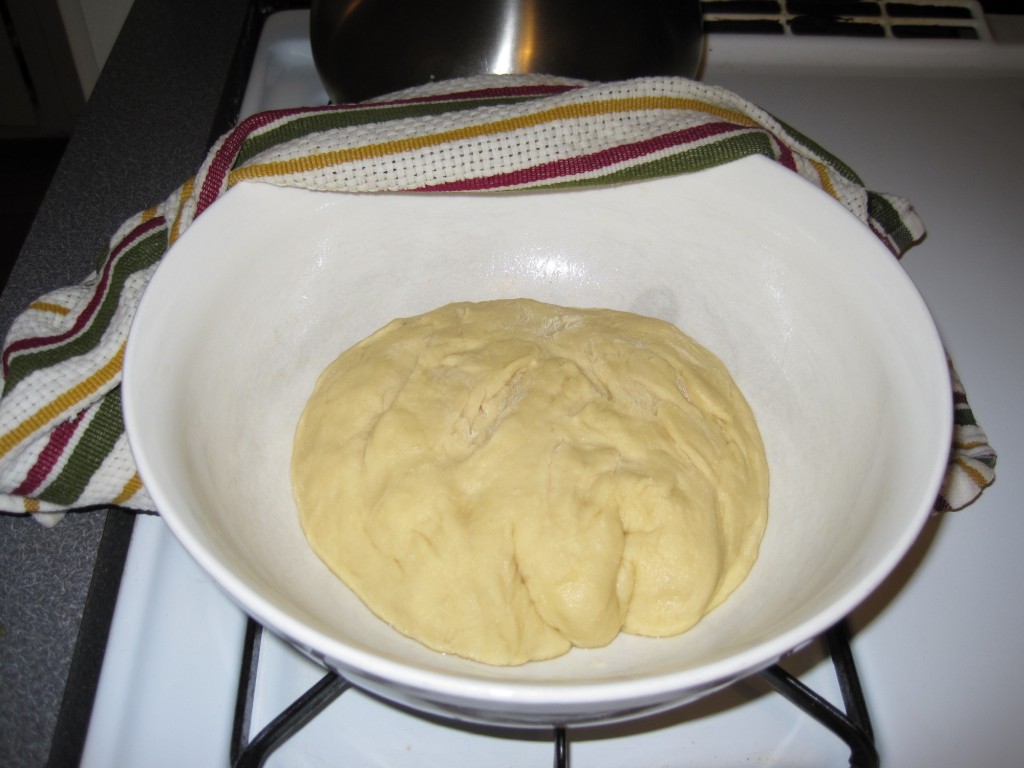
  3. Lightly oil a large bowl. I use olive oil, and spread it around with a silicon pastry brush. Place the dough in the bowl and turn over so it is coated with oil. Place a damp towel over the bowl and let rise in a warm place for 1 hour. The dough should double in volume.
  4. Deflate the dough and place back on the floured surface. Divide into 2 rounds, and cover with a damp towel for 10 minutes. Roll each round into a long roll about 18 inches long and 1 1/2 inches in diameter. Use flour if the dough becomes sticky. Then braid the two rolls together and seal the two ends to make a ring. Place the colored eggs between the braids of dough.
  5. Preheat oven to 350 degrees. Place the loaf on a cookie sheet prepared with nonstick spray. Cover with a damp towel and allow to rise for 45 minutes. I leave it on the stove while it is preheating, to ensure the maximum amount of rising.
  6. Brush with melted butter and sprinkle with colorful nonpareils. Bake for about 35 minutes, or until golden brown.


Easter_treats3

Easter_treats4

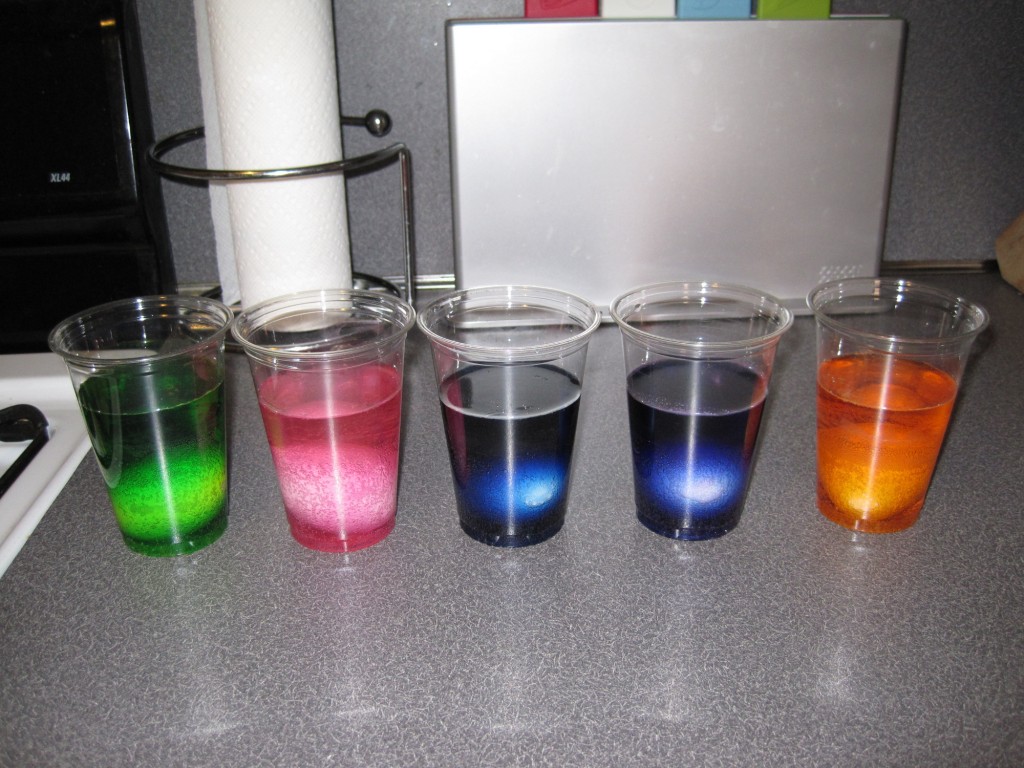
While you are waiting for the dough to rise, you can color the eggs. I leave the eggs out until they reach room temperature. Then dissolve a dye tablet in 1/2 cup of water and 1 TBSP white vinegar. Leave the eggs in cups until you are happy with the color. Let dry before using in the bread, or you will have a huge mess.

Easter_treats5

Easter_treats6

Cadbury Creme Egg Brownies (modified from Love and Olive Oil)

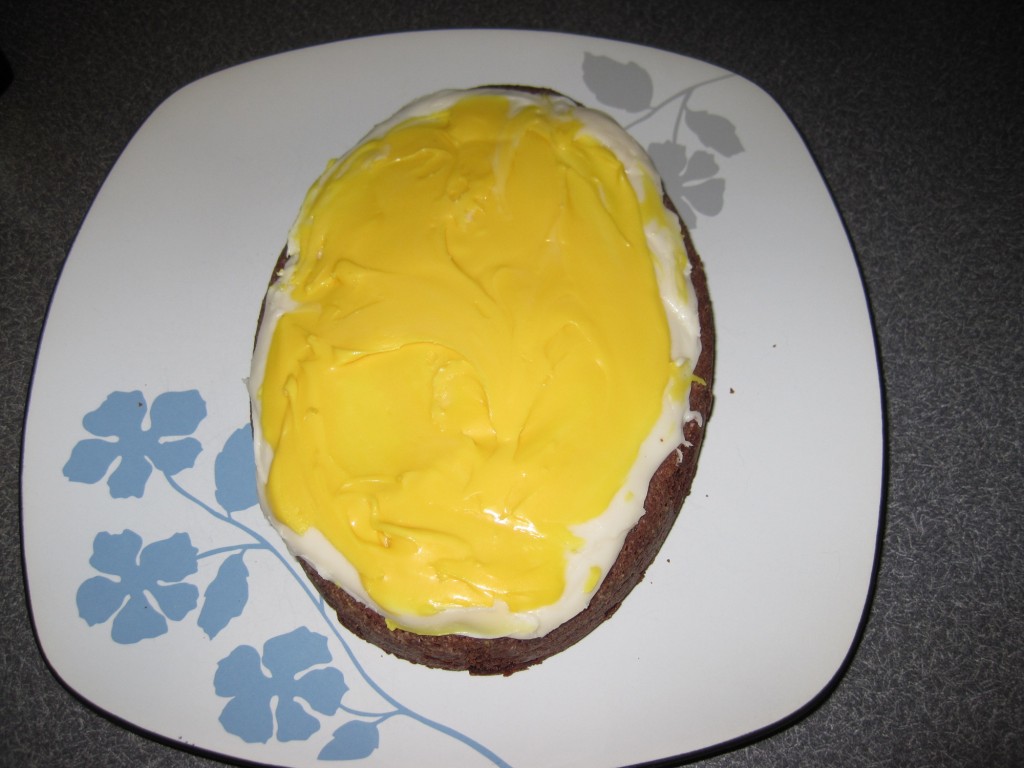
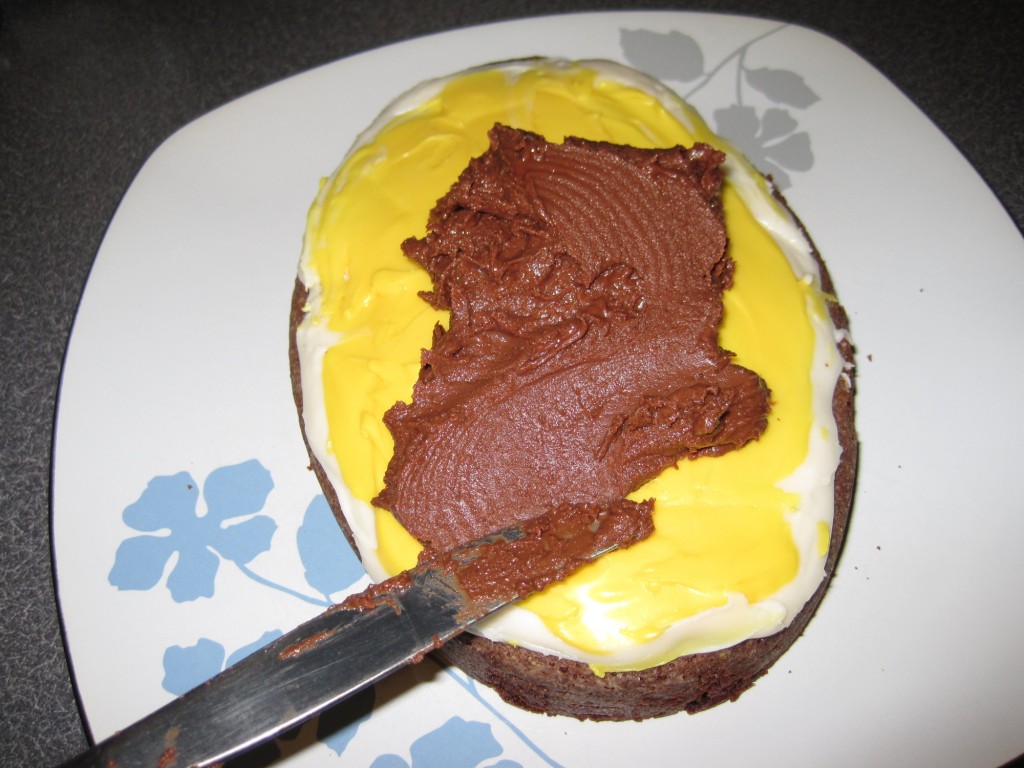
The main change I made to this recipe was that I baked it in a Wilton 6×8 oval pan, to make it look like an egg. I actually had to cook it a lot longer than the recipe stated, because of my pan choice. I am going to post the original recipe, with the original cooking times. If you want to do it in the egg pan, just keep watch over it and cook until a toothpick inserted in the center comes out clean. It took about 20 minutes longer than the original recipe. Also, I used baking chocolate chips and melted in the microwave instead of a double boiler. I did it in 30 second increments, at power level 5.

Ingredients
  • For the Brownies
  • 2/3 cup flour
  • 2 TBSP dark or dutch processed cocoa powder
  • 1 cup milk chocolate chips
  • 1/2 tsp salt
  • 1/2 cup (1 stick) unsalted butter, cut into cubes
  • 1/4 cup granulated sugar
  • 1/2 cup light brown sugar, packed
  • 2 large eggs, at room temperature, lightly beaten
  • 1 tsp vanilla extract
  • For the Creme Filling
  • 1/4 cup light corn syrup
  • 2 TBSP unsalted butter, room temperature
  • 1/2 tsp vanilla extract
  • 1/8 tsp salt
  • 1 1/2 cups confectioners sugar
  • For the Glaze
  • 1/2 cup milk chocolate chips
  • 2 TBSP unsalted butter, cut into cubes
Instructions
  1. Preheat oven to 350ºF. Prepare an 8×8 inch pan (I prefer to use Wilton cake release). The original recipe calls for lining the pan with parchment paper, making sure there is an overhang.
  2. Sift together flour, cocoa, and salt in a small bowl and set aside.
    Melt chocolate and butter in a double boiler or a medium-large bowl set over gently simmering water. Stir until smooth, then remove from heat. Whisk in white and brown sugars and stir until dissolved and mixture has cooled slightly.
  3. Whisk in eggs and vanilla extract until just combined (do not overmix). Sprinkle flour mixture over top and fold in to chocolate mixture using a large rubber spatula until just incorporated. Pour into prepared pan.
  4. Bake for 25 to 30 minutes or until toothpick inserted into the middle comes out clean. Transfer pan to a wire rack and allow to cool completely. Remove from pan and place on a large plate.
  5. For creme filling, beat together corn syrup, butter, vanilla, and salt on medium-high speed until smooth. Add powdered sugar, a little bit at a time, mixing until creamy. Dump 3/4 of the creme mixture on top of cooled brownies and spread into an even layer. Add a drop of yellow food coloring to remaining creme mixture and stir until evenly colored. Drop dollops of yellow creme top of white layer, and then swirl gently with a spatula. Refrigerate for at least 2 hours or until set.
  6. Gently melt chocolate and butter together in a double boiler or a small saucepan set over low heat. Stir until smooth. Pour over creme filling, carefully spreading into a thin, even layer. Return to refrigerator and chill until set, at least 30 minutes, or overnight if possible (brownies are best when chilled overnight).
  7. Using a large sharp knife, cut into 2-inch squares. Brownies will keep, refrigerated in an airtight container, for up to 5 days.


Easter_treats7

Easter_treats8

Happy Easter, everyone!! May your bunnies be hoppity and your baskets plentiful!
>(:0)  <—– My attempt at a bunny emoticon

Posted in Breads, Other Desserts | 2 Comments

Happy Lotto Day!

If you haven’t been paying attention, tomorrow the Mega Millions jackpot is up to $540,000,000. Yes, that’s right…540 MILLION dollars!! I’m not usually a lotto person, but I figured it would be fun to buy some tickets. I even used my dad’s lucky numbers that he always uses when playing lotto (though ironically he has never won).

As you may know, I always have cake on the brain. So, I thought of a cute dessert to serve if you are having a party to watch the lottery drawing. I didn’t get a chance to make it, but I figured I’d share anyways in case someone wanted to try it.

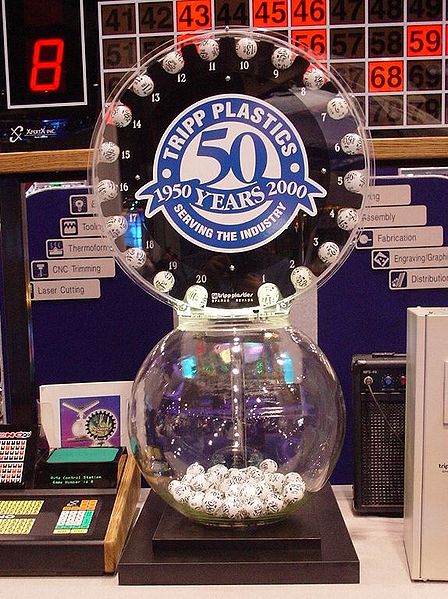
So when I think of a lottery drawing, this is the machine that comes to mind:

Image from Wikipedia

Image from Wikipedia

To make your own, all you need to do is take a round fish bowl and fill it with white cake balls. A bowl like this would be perfect.

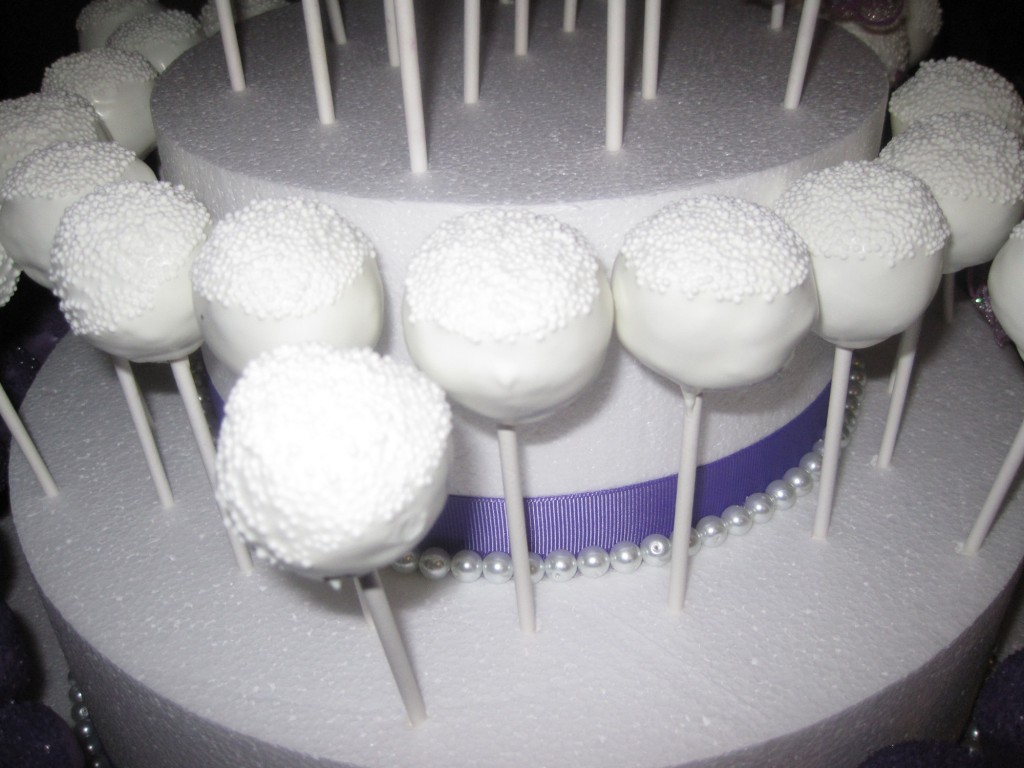
And then you can make white cake balls, similar to the bridal cake pops I made a few months ago, minus the sprinkles and sticks.

Lotto_cake_pops

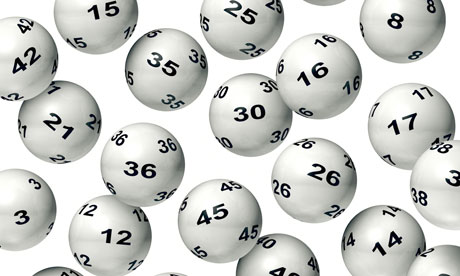
To have them look like lottery balls, write numbers all over the cake balls once the chocolate has dried.

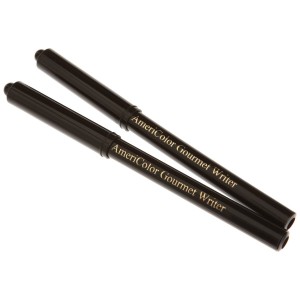
You can use a food dye pen. I’ve done some research, and people seem to like the

AmeriColor Gourmet Food Writer pens. They have gotten good reviews.

And Voila! You have a cute, lotto-themed snack to serve as you anxiously await the numbers being called. Good luck, everyone!

Posted in Miscellaneous | Comments Off on Happy Lotto Day!

Happy Belated St. Patty’s Day!

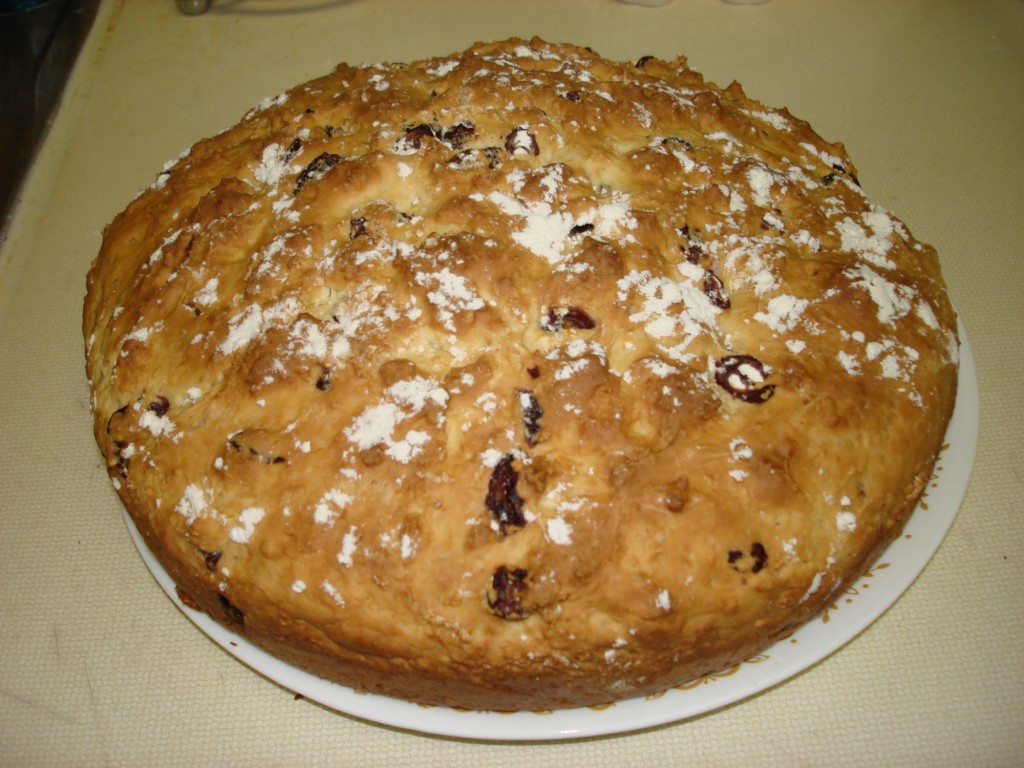
I hope everyone had a great St. Patrick’s Day yesterday!! I didn’t get a chance to post since we got an early start to the festivities. I didn’t make anything this year, but I usually make Irish Soda Bread, with a slight twist from the traditional recipes. I figured I would post my recipe and a pic from a past St. Patty’s Day loaf.

Irish_soda_bread

I like to bake my bread in a Springform pan, to get a nice round shape. The traditional recipes call for raisins, but I like to use orange craisins instead. The cranberry and orange combination is really nice in the bread, and makes a great breakfast treat.

Irish Soda Bread (modified from Allrecipes.com)

Ingredients
  • 4 cups all-purpose flour
  • 1/2 cup white sugar
  • 2 tsp baking powder
  • 1 tsp baking soda
  • 3/4 tsp salt
  • 1.5 cups orange craisins
  • 1 TBSP caraway seeds
  • 2 eggs, lightly beaten
  • 1 1/4 cups buttermilk
  • 1 cup sour cream
Instructions
  1. Preheat oven to 350 degrees. Spray a 9-inch Springform pan with Pam cooking spray, along the bottom and sides.
  2. In a mixing bowl combine the flour (reserve 1 TBSP flour), sugar, baking powder, baking soda, salt, craisins, and caraway seeds. In a small bowl combine the eggs, buttermilk, and sour cream. Stir the liquid mixture into the dry ingredients until just moistened. Kneed the dough in the bowl 10-12 times and place in the pan. The dough should be sticky. Pat down and cut a 4-inch slit on the top of the dough, about 3/4-inch deep. Dust the bread with the reserved flour.
  3. Bake for 65-75 minutes, until the top is a golden brown. Let cool completely before slicing.


Posted in Breads | Comments Off on Happy Belated St. Patty’s Day!

The waiting is the hardest part…

The hardest part of cake making is the waiting…and by this I mean the long ride in the car to bring your cake to its final destination.  No matter how far you have to travel, it always seems like a LONG ride.  One big bump or swerve, and some serious damage can be done.  This is why I wanted to recommend two of my favorite cake carriers, to help make the transport just a little easier. I’ve only had a few casualties, and these were actually caused by having a cake that did not properly fit in my carrier. Once I bought my second carrier, I’ve had no problems.

For short, round cakes:

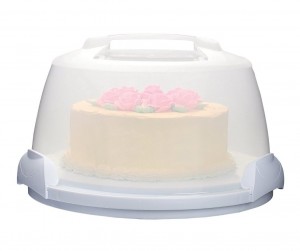
For round cakes that are under 10-inches in diameter, I love the Wilton Cake Caddy . I find it very sturdy, and I completely trust the latches at the bottom. They are heavy duty and I never worry about them opening.

cake_carrier

My only issue with this carrier is that you can’t use it for cakes bigger than 10-inches, or cakes that are especially tall.  When I used it for my LOST finale cake, some of the palm trees got crushed because they were angled outward, making the cake bigger than 10-inches across.  However, I got lucky when I bought a cupcake carrier, and learned that I could use it for larger cakes as well.
For tall cakes,  square cakes, or cakes larger than 10-inches across:

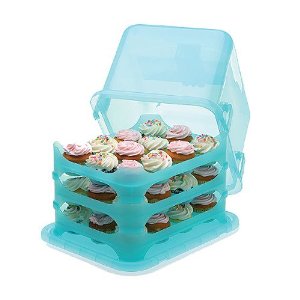
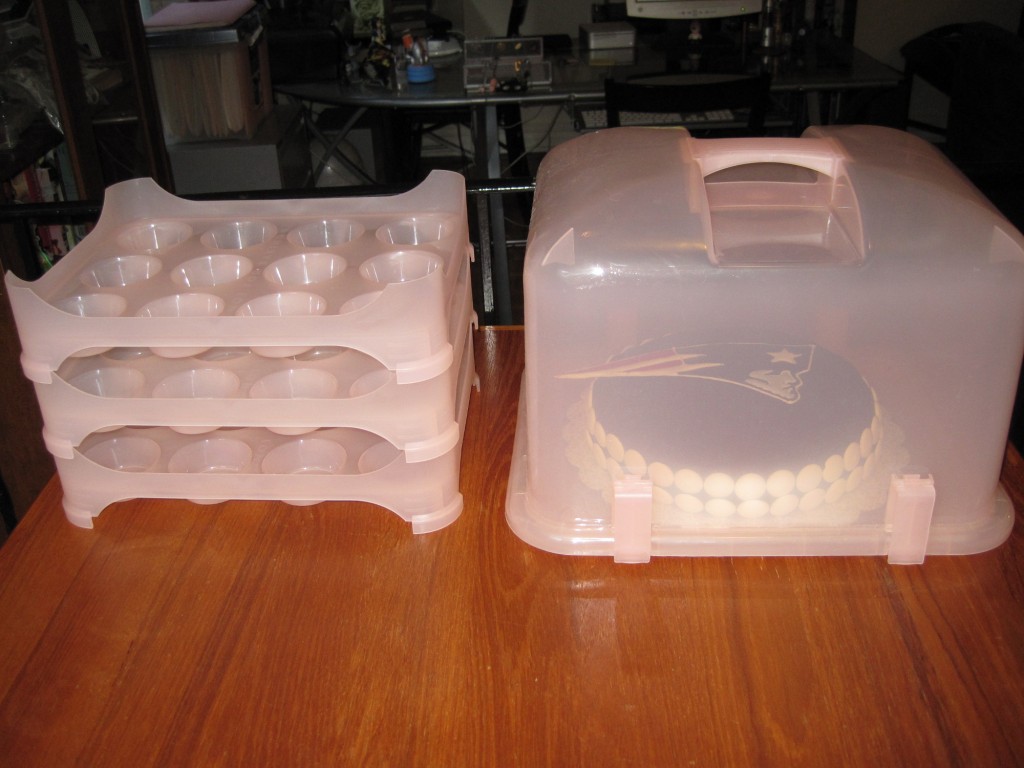
About 6 months ago, I got into making cupcakes, and wanted a carrier specifically to transport  a large amount of cupcakes. I found this Cupcake Courier 36-Cupcake Plastic Storage Container online. It was the only carrier that held three dozen cupcakes. It is also quite versatile, because you can remove the trays to hold just one or two dozen if needed. The best part is you can remove all three trays and it has enough room to fit a tall cake (up to about 11-inches high). The base is 12.5 x16″, which is a pretty good size. It comes in a bunch of cute colors, too.

While my Patriots cake was small enough to fit in the round carrier, the color flow decoration hung off the side, and I couldn’t put the top on without ruining it. It fit perfectly in this cupcake courier when I took out all the trays.

Cupcake_carrier

My only complaint with this this carrier is that the latches are a little delicate. The first carrier I ordered had a broken latch. I sent it back and got a replacement. Now the one I have has 3 very tight latches, and one latch that closes, but isn’t as tight. My advice is to always hold this carrier from the bottom, just in case your cake is very heavy. But the versatility of this carrier makes it definitely worth it. Just check the latches when you get it, because apparently they can break easily during shipping.

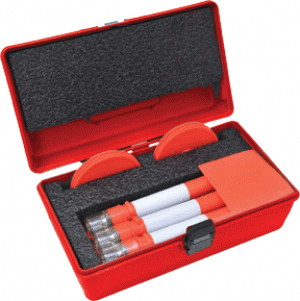
Hopefully this will help with your cake transporting. I have one last piece of advice that is totally random… if you have a set of flares in your car, you can use it to wedge in your cake carrier so it doesn’t more from side to side. Put your carrier up against the side of the trunk or back of your SUV, and place the flares box right up against the carrier.

My set comes in this heavy box, so this prevents the carrier from moving very much during the ride.

Happy baking, and happy transporting! 🙂

Posted in Kitchen Equipment | Comments Off on The waiting is the hardest part…