Skateboard cake!

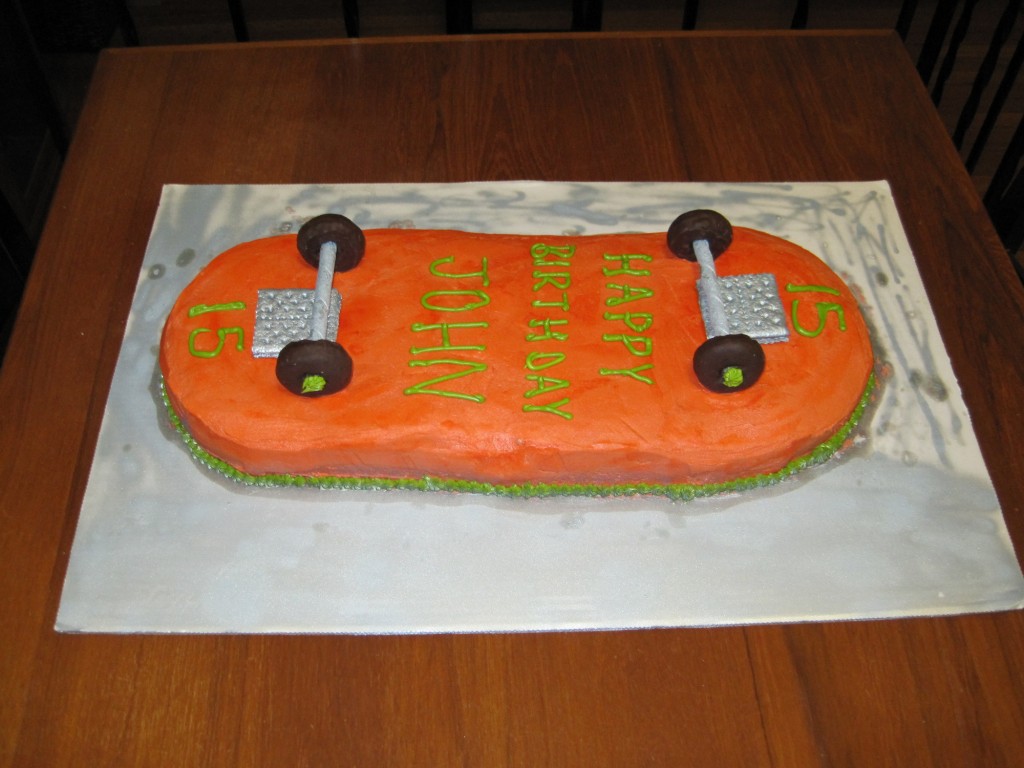
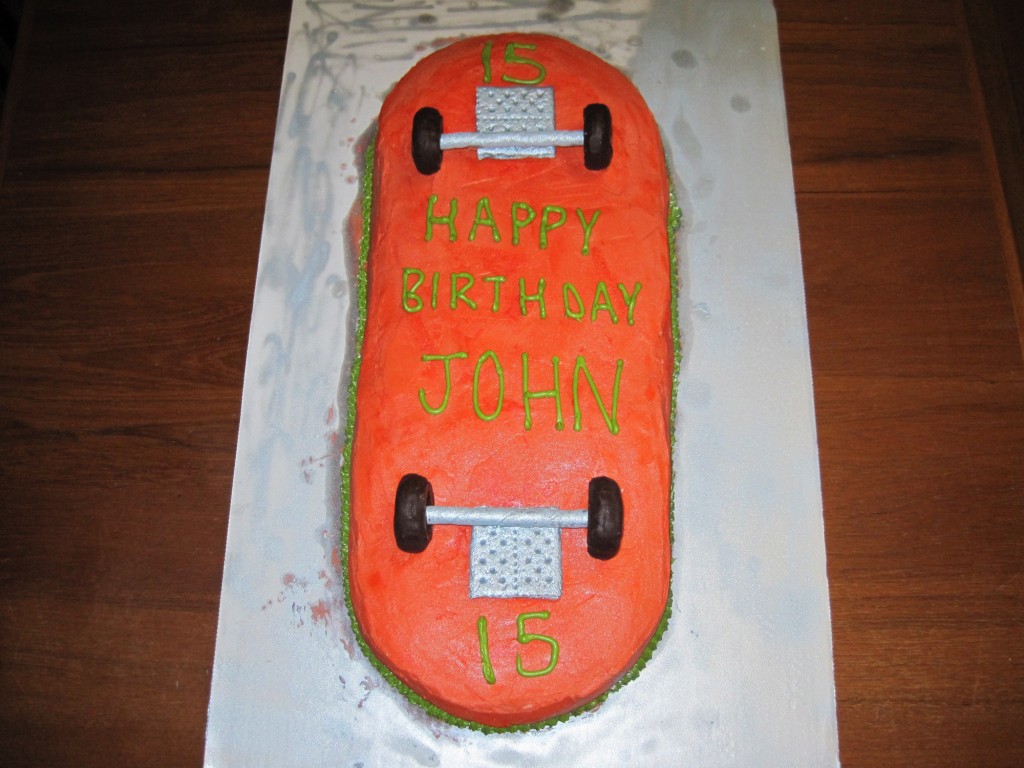
Starting in 2011, I began experimenting more with my cake making. I had made enough round cakes and I needed a change. In late January, I made a cake for my husband’s cousin, who was turning 15. He’s into skateboarding and I thought it would be fun to surprise him with a skateboard cake.

Skateboard1

Skateboard2

This was the largest cake I had made to date. I made a 9″ round cake, and a 9×13 cake. I then cut the round cake in half, and placed one half on each end of the rectangular cake. This gives the shape of the skateboard, which I then frosted with orange buttercream. I can’t take credit for this creativity. I modeled my cake after this skateboard cake. I followed the tutorial, and made the wheels out of Entenmann’s Frosted Donut Pop’Ems and the axles out of Pepperidge Farm Pirouette cookies.  I did however come up with the idea to make the brackets out of graham crackers. I was pretty proud of that one.  Remember, the donuts have to be the Pop’Ems size, otherwise the Pirouette cookies will slip through the holes. I sprayed the axles and brackets (and the cake board) with edible silver spray. This stuff is really cool. Just make sure you let everything dry completely before assembling. I used leftover buttercream to attach the brackets to the cake, and the axles to the brackets.

Posted in Cakes | Comments Off on Skateboard cake!

Take me out to the ball game

Every year my husband’s family has a big BBQ at the end of the summer. For the past few years, we’ve chosen themes for the party. We go all out and decorate, make theme-appropriate food, and even have our clothing match the theme. In 2010 we had a baseball BBQ. So in addition to hot dogs, peanuts, and Cracker Jacks, we needed to have a baseball cake.

Baseball_cake

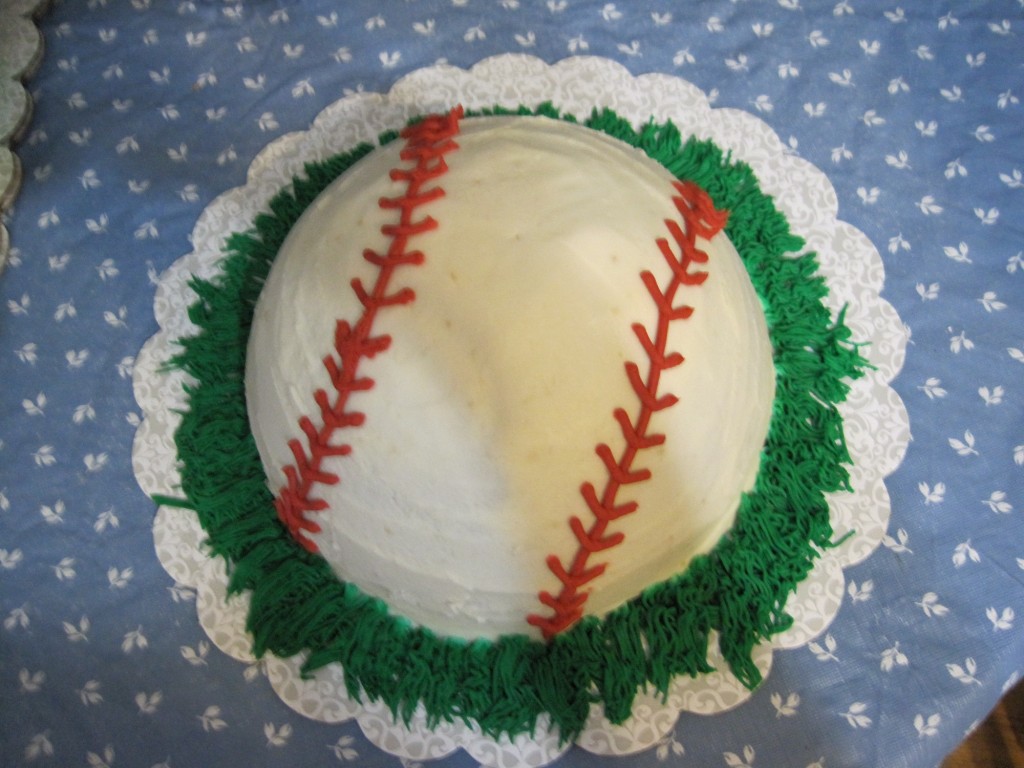
The cake was pretty basic. I used my handy Betty Crocker Bake ‘n Fill dome pan to make the round shape. I covered with white buttercream and piped on the stitching of the baseball. The key to making this cake look realistic is to have the ball appear as if it is sitting on top of grass. To do this, I made green icing and used the #233 tip to pipe grass all around the ball. It doesn’t have to be perfect. In fact, it looks better if it is a little haphazard.

The #233 tip is really useful. It looks like a thimble with many holes in the top. Basically, this allows many thin strings of icing to come out at once. This is great for making grass, hair, and even fur.

Posted in Cakes | Comments Off on Take me out to the ball game

Hello Kitty birthday cake

In my introductory post, I said that I make my cakes for family and friends and that I make them out of love. While that is mostly true, I have on occasion made a cake out of spite. I was asked by some  friends to make a Hello Kitty birthday cake for our friend Koji, who absolutely despises Hello Kitty. A few years ago, Koji dressed up as a Hello Kitty hunter for Halloween. This shows you his level of hatred towards this normally loveable Japanese character.

Hello_Kitty

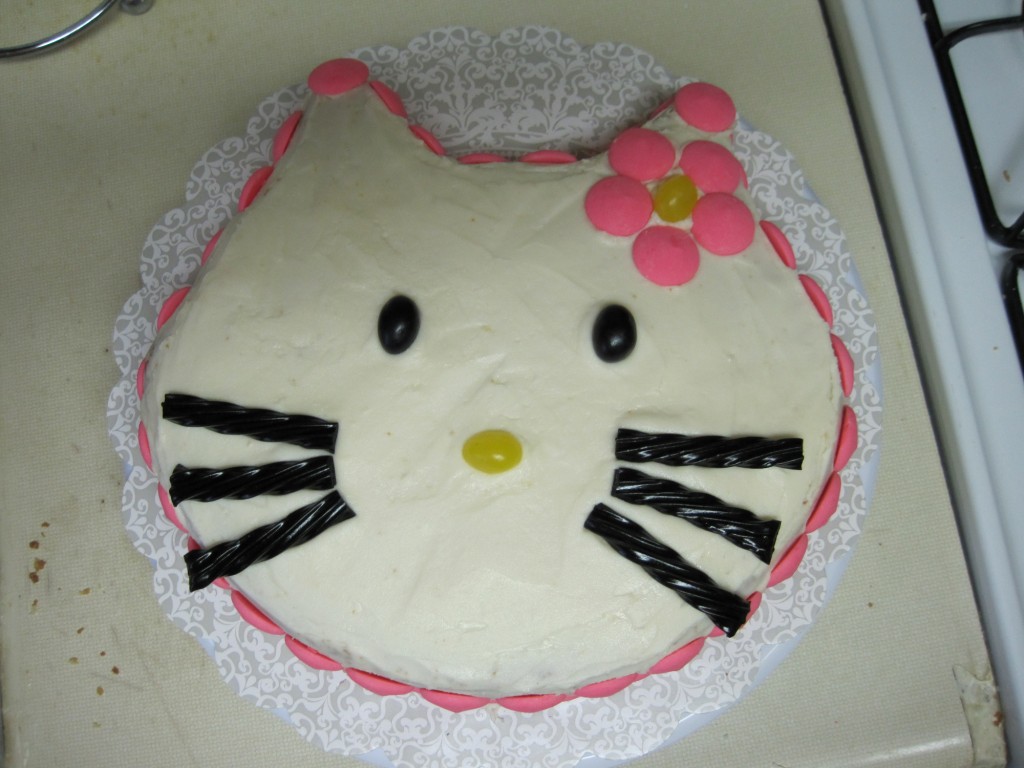
I made this cake by taking a 10-inch round cake, and shaping the top to have ears. First, I cut out the middle piece to make the ears and the top of the head. Then I made the curvature along the outer edges of the cake. A regular knife will do, but make sure your cake is on the dense side, rather than light and fluffy. It will hold up to cutting better.  Next I covered in buttercream icing and added the details: jellybeans for the eyes and nose and licorice for the whiskers. To make it even more girly, I added pink candy melts all around the side of the cake and made a flower for her ear.

The end result was a cake my friend was happy to stab as he served pieces to everyone.

(No Hello Kitties were harmed in the making of this cake).

Posted in Cakes | 1 Comment

LOST finale cake

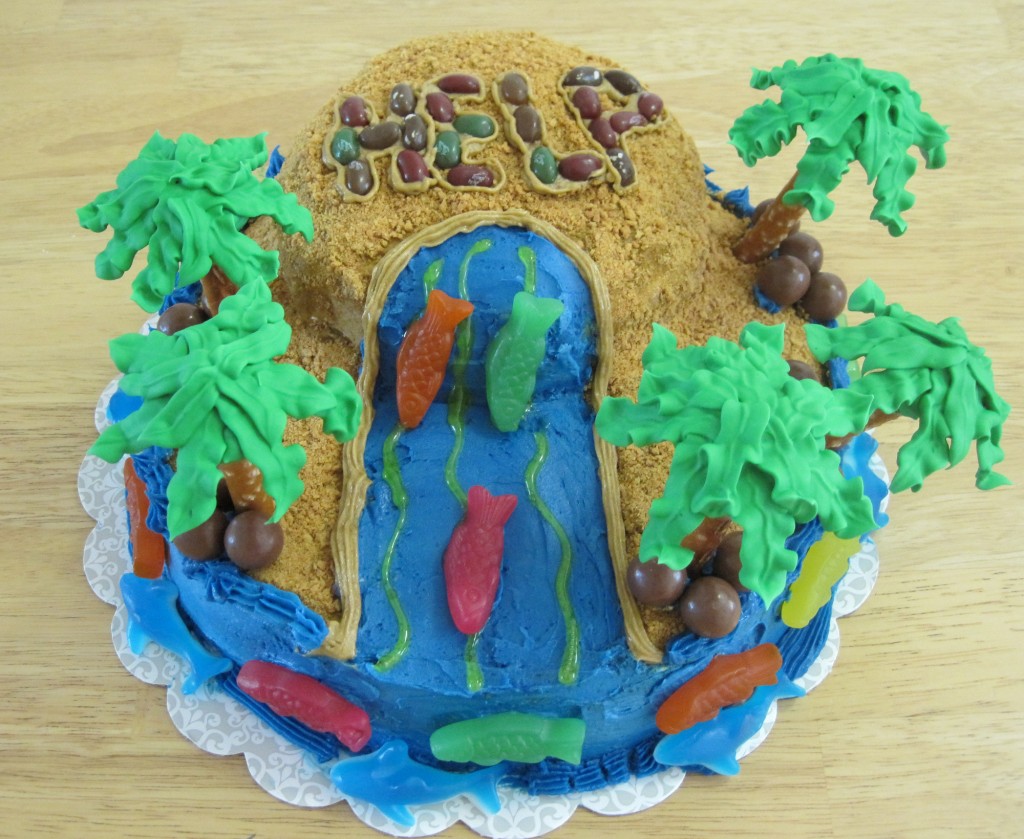
The end of 2009 and beginning of 2010 was very bad for cake making. Between finishing experiments, writing my dissertation, defending, and revisions, I had no free time. Luckily, the series finale of LOST happened to be the day after my graduation. LOST was one of the best shows in TV history, and I just had to make a cake to mourn it’s ending. It was one of the biggest projects I have done to date, and it took a few days. Here is what the finished product looked like:
Lost_cake1

Since this was a complicated cake, I took a lot of intermediate pictures. I figured I would share the process.

The first thing I did was start on the palm trees several days before making the cake. I can’t take credit for the idea…I modified this tutorial from bakedecoratecelebrate.com. Basically, to make the leaves curved, you have to make them on a curved surface. I taped wax paper onto several of those squeezy balls for used wrist strength. You know, the kind that have company logos that you take at conferences. I have a ton, so this worked well. Next, I made green royal icing and piped several interconnected leaves onto the wax paper using a #366 tip. I started at the center and radiated outward, making sure all the leaves touched at the center. I actually did two layers of leaves for added strength, but I did the second layer a day later after the bottom layer had dried. Once everything was dry, I carefully took it off the wax paper and flipped over. I added a mound of green royal icing to the underside with a #12 tip, and added a pretzel rod for the tree trunk. I let that dry another day, and then the palm trees were ready.

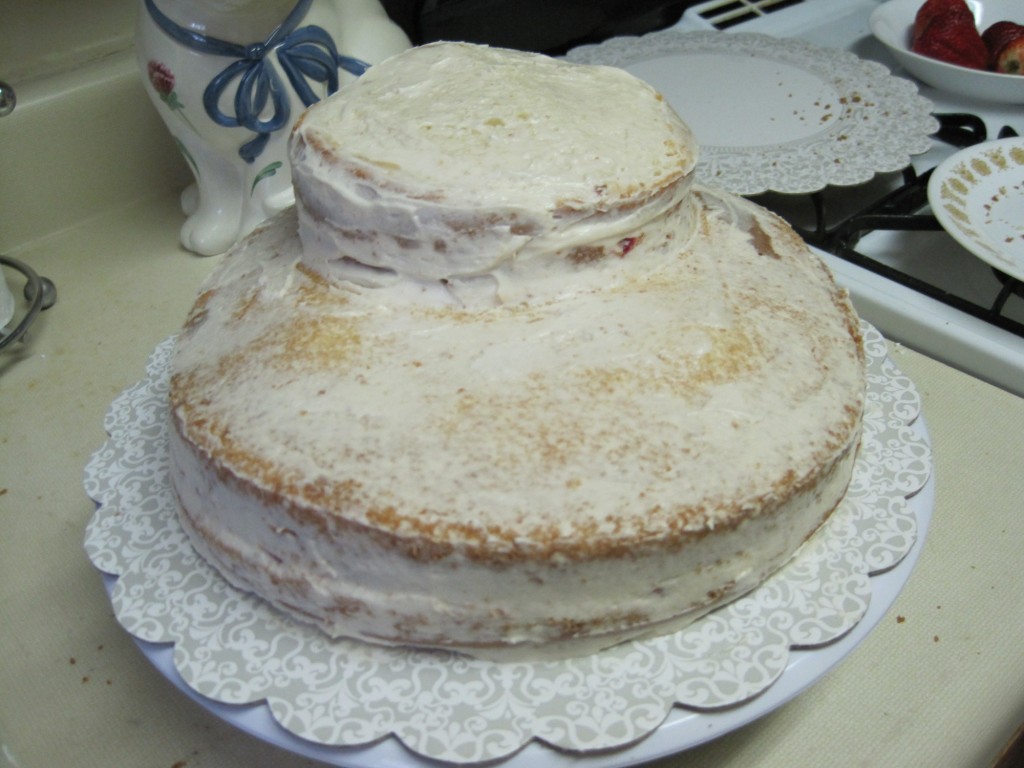
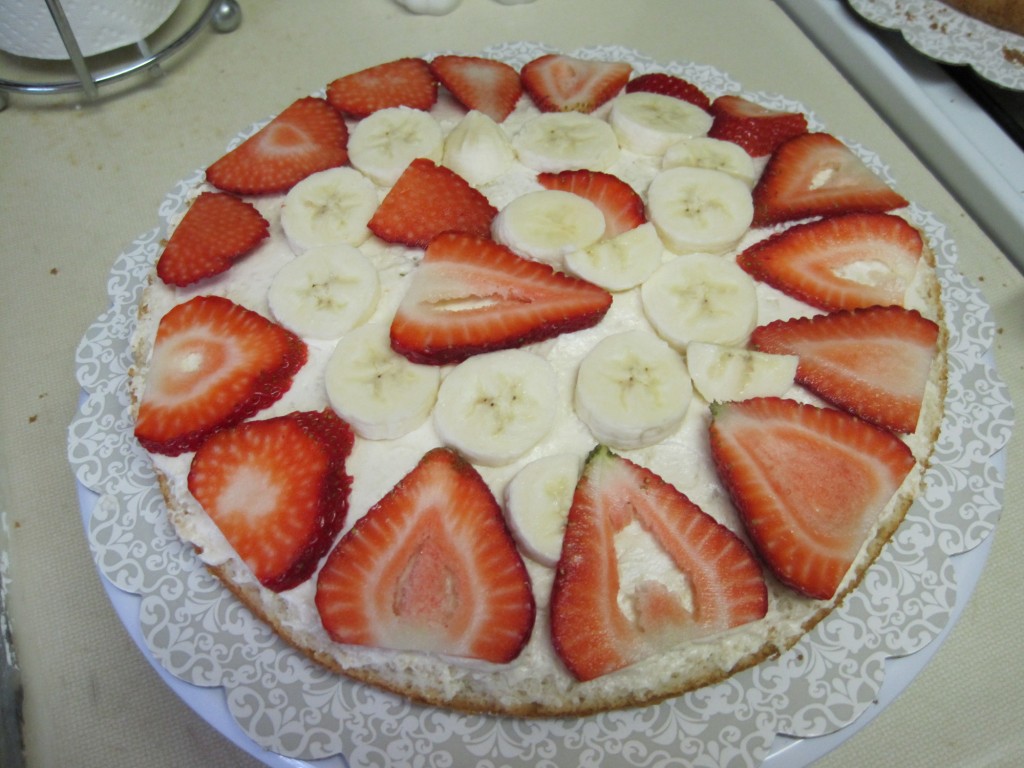
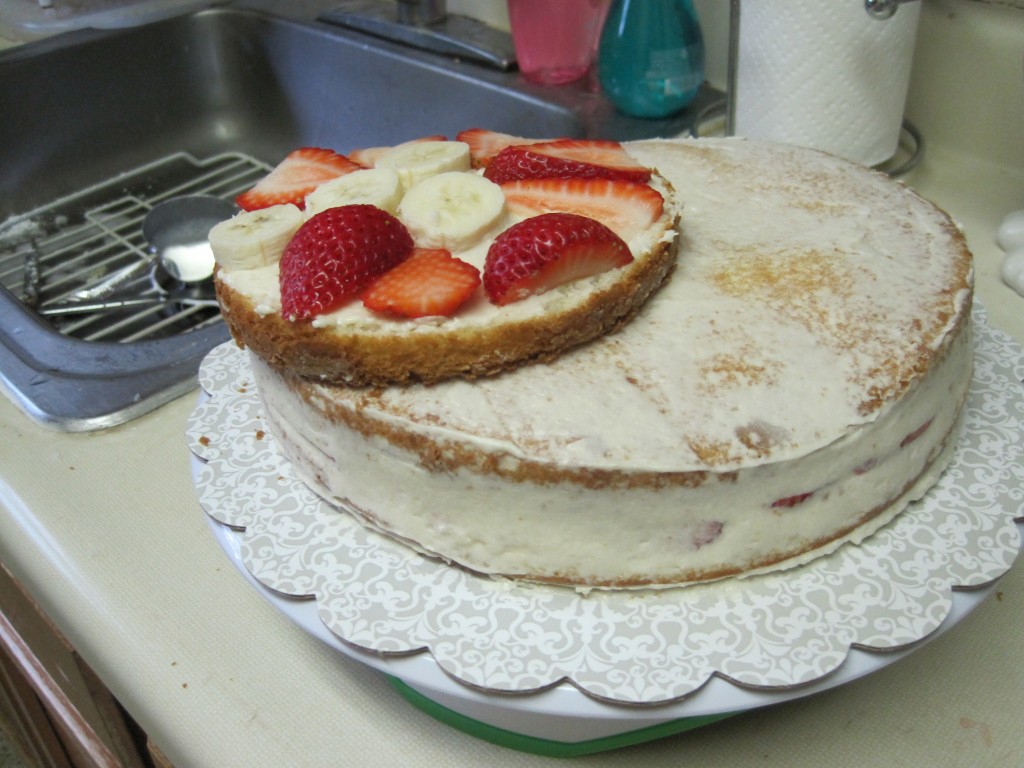
The cake was made with one 10-inch round cake, and one 6-inch round cake. I torted each cake, and added buttercream and fresh strawberries and bananas to the layers. I didn’t add any between the two cakes, because I thought it was more structurally sound this way. Here are some pictures of what this looked like:
Lost_cake2

Lost_cake3

Lost_cake4

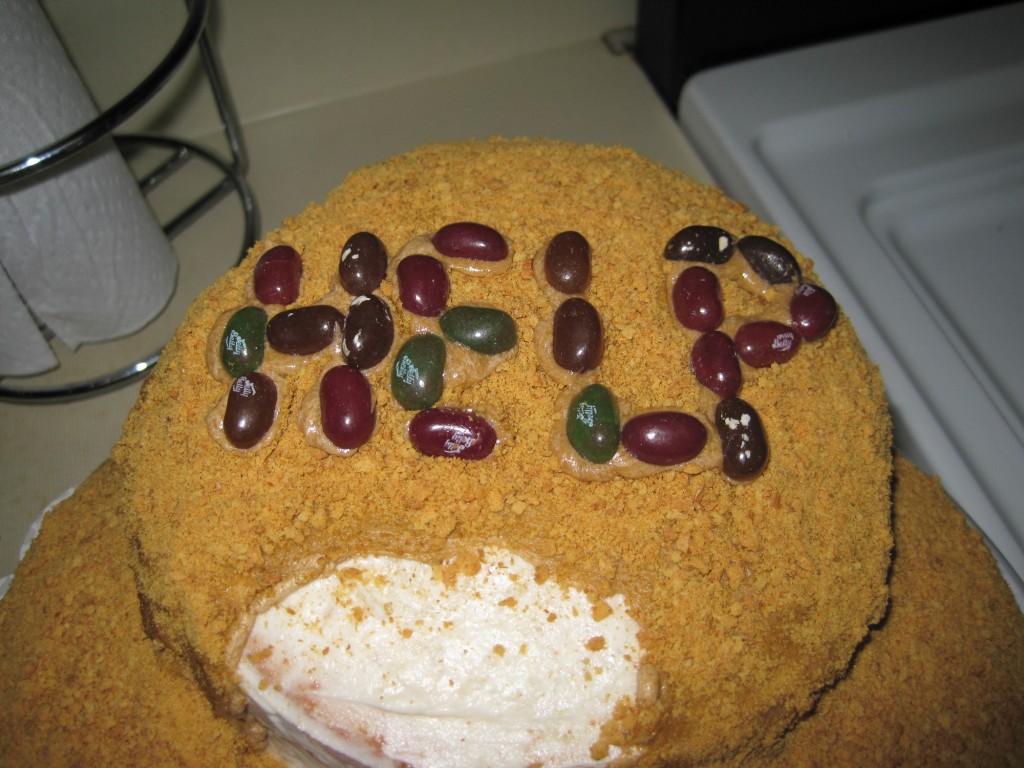
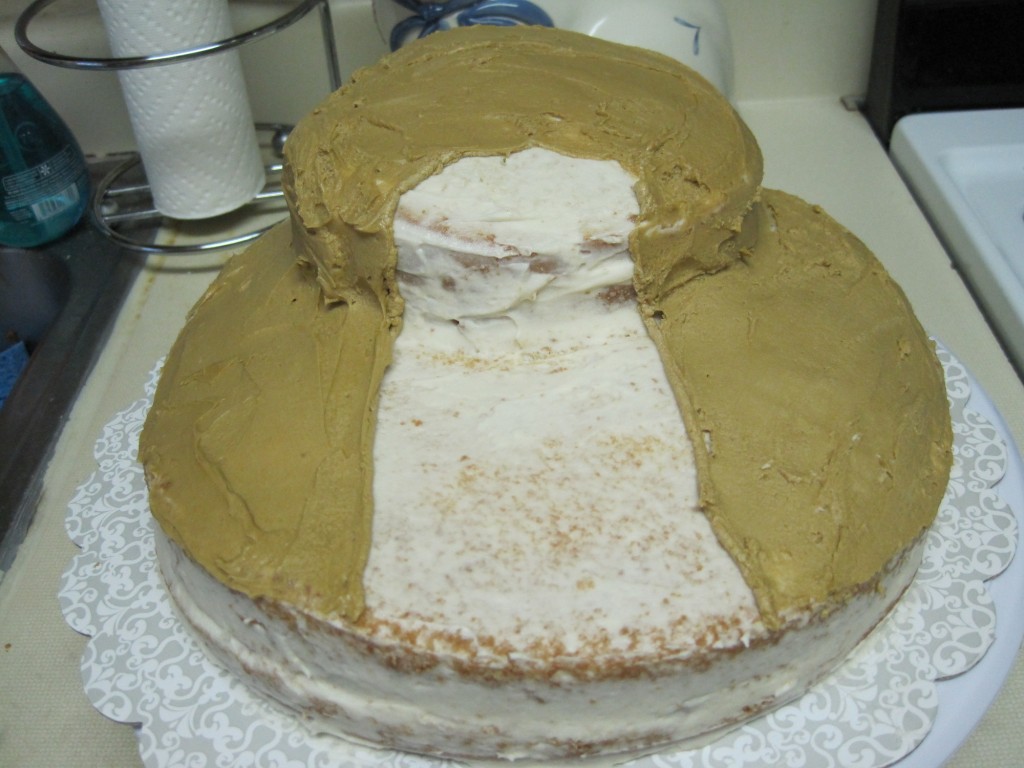
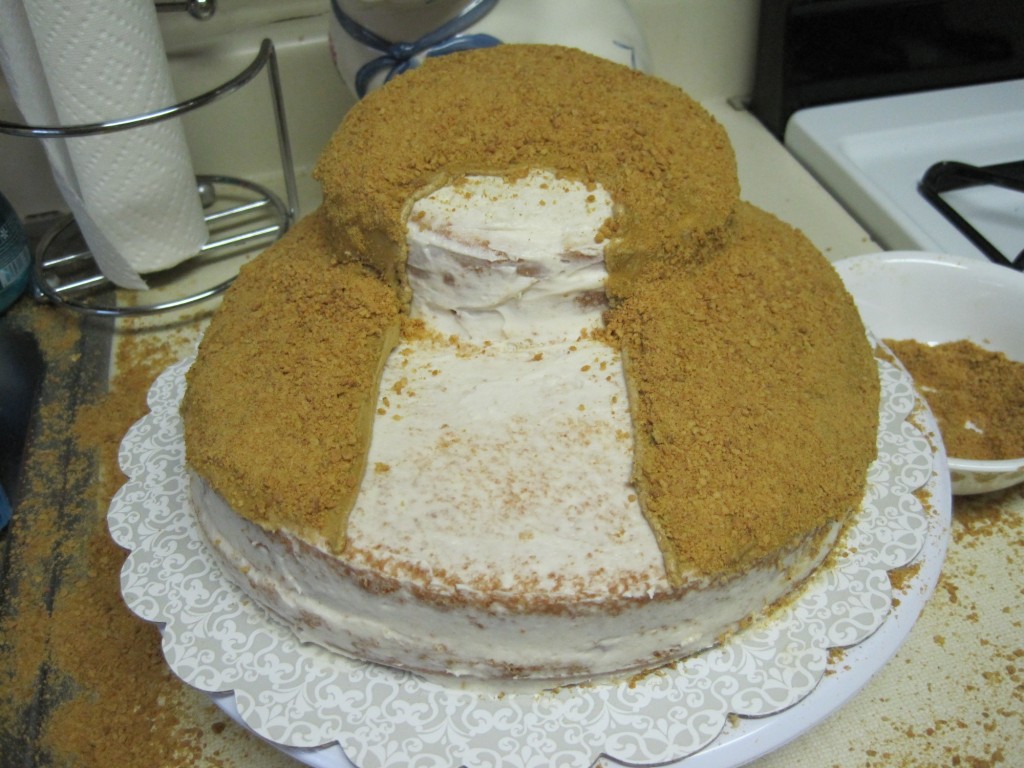
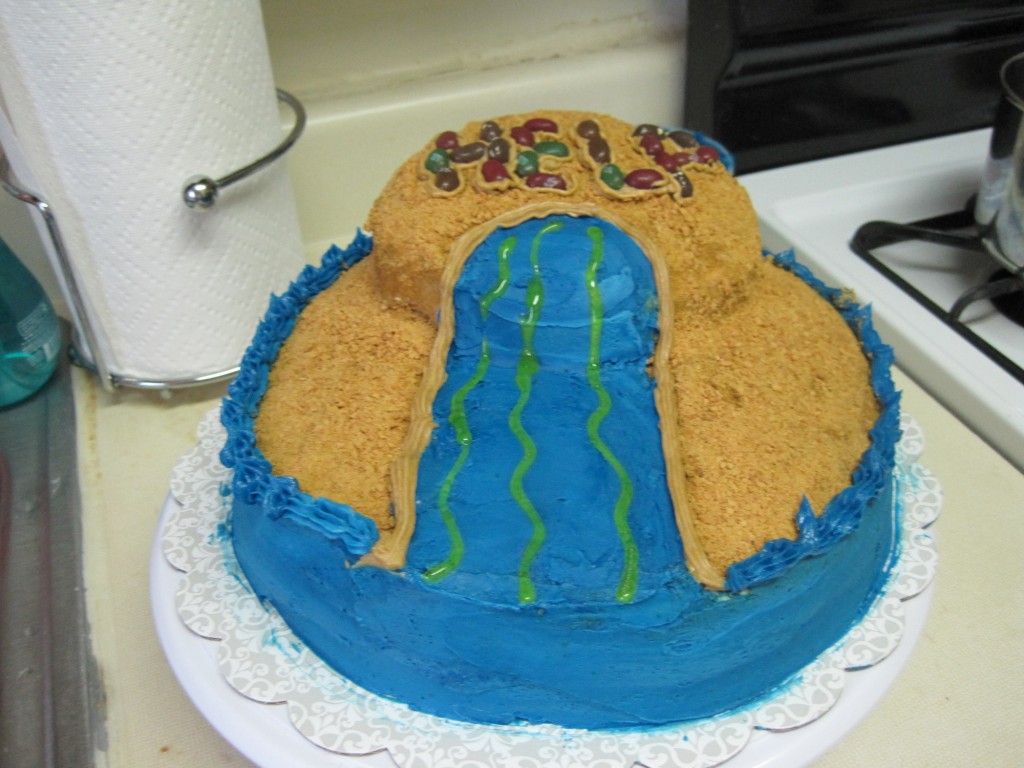
Next I made the beach with tan icing (add just a little brown to white buttercream) and graham cracker crumbs. And of course a LOST beach would not be complete without a jellybean help sign that could be seen by airplanes flying by.
Lost_cake5

Lost_cake6

Lost_cake7

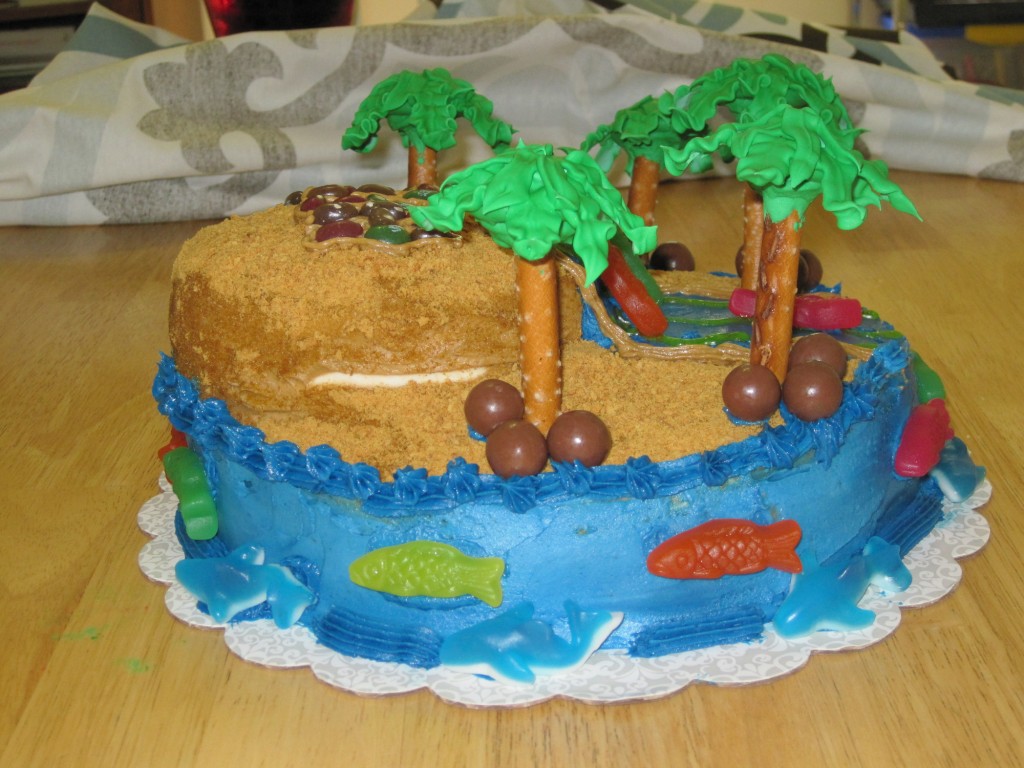
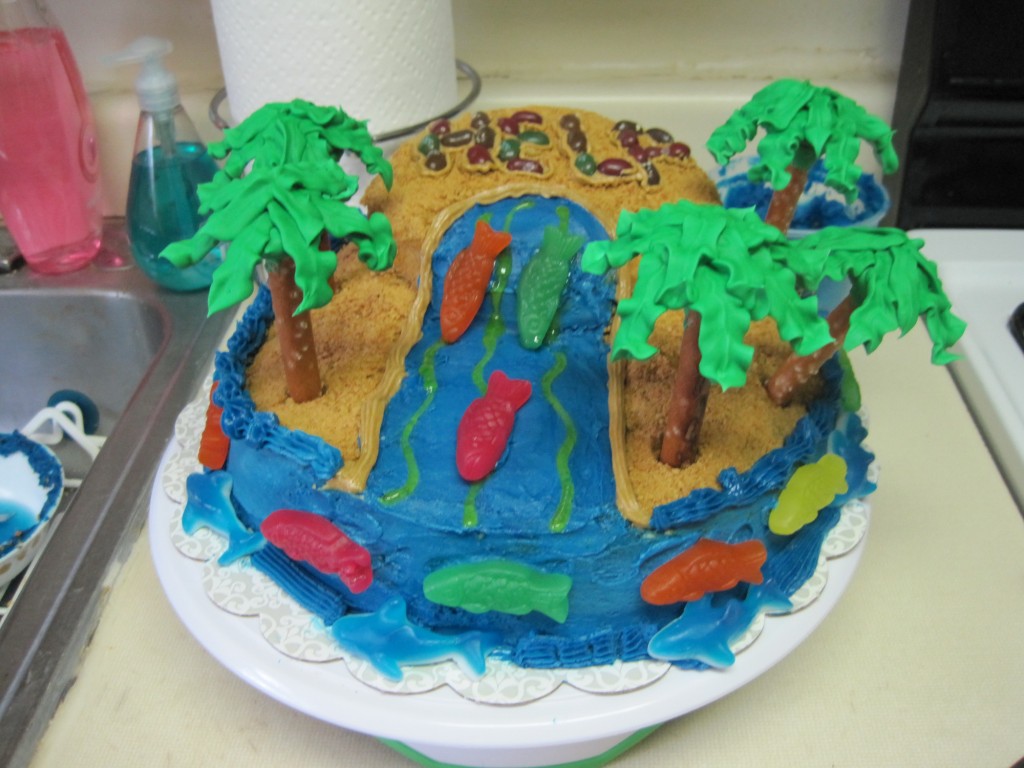
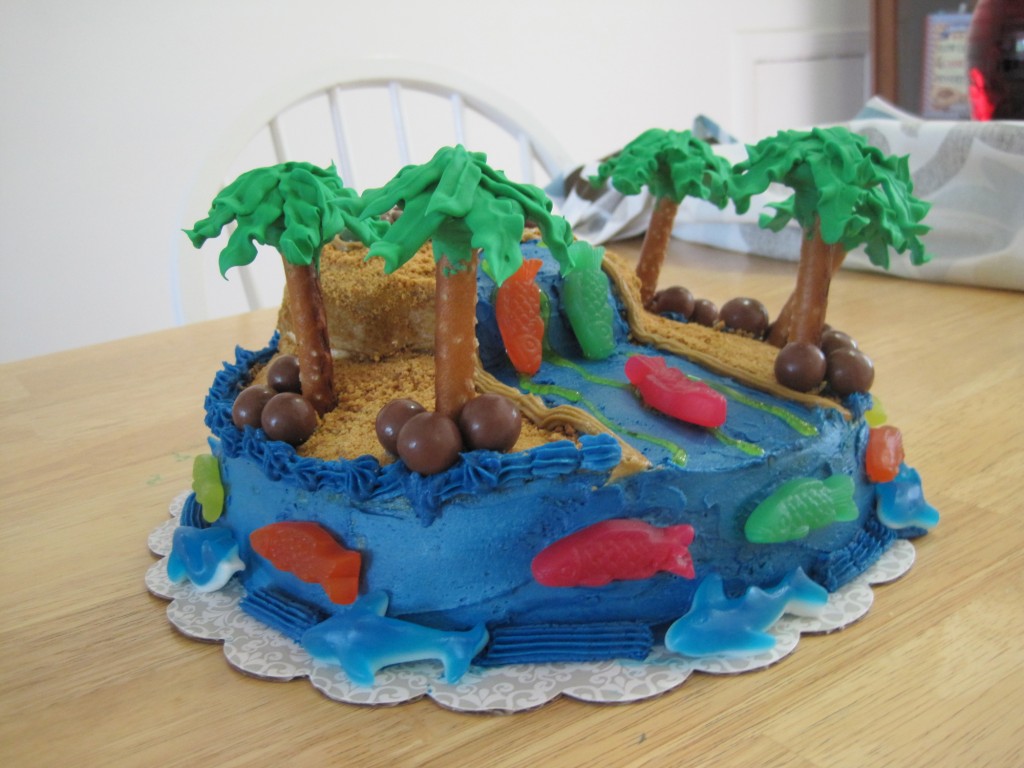
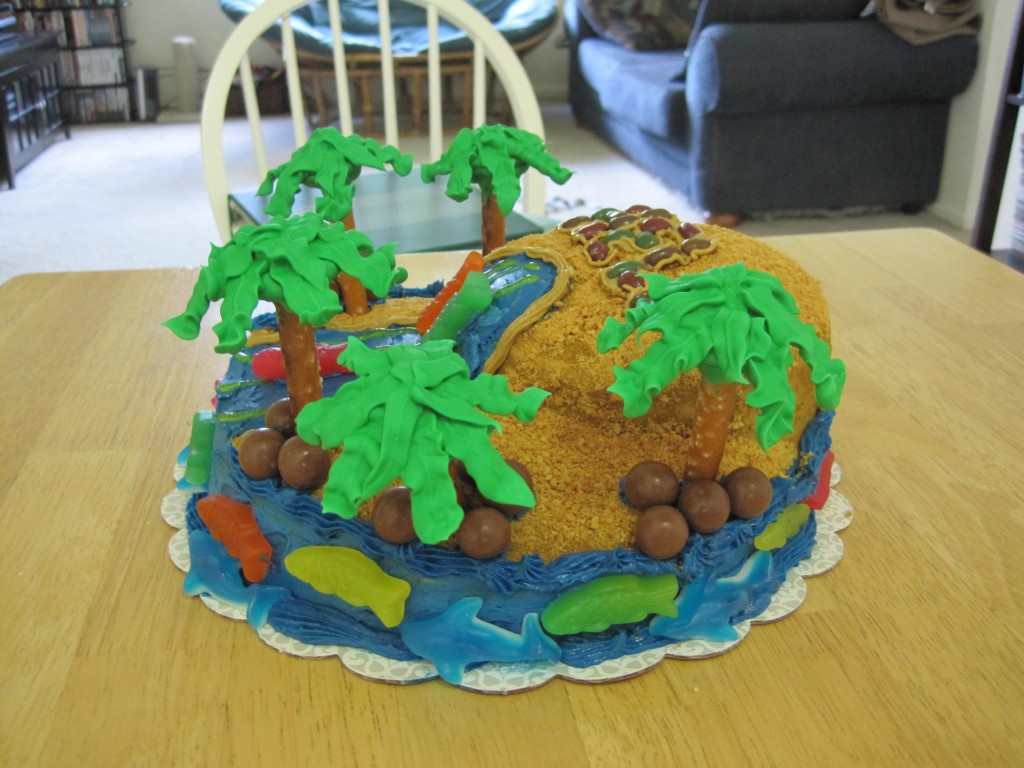
Next came the water, which was done with deep blue icing. I had leftover yellow piping gel from my Wilton class, so I used that to make some waves on the waterfall. Then I added Swedish fish, gummy sharks, palm trees, and coconuts (malt balls).
Lost_cake8

Lost_cake9

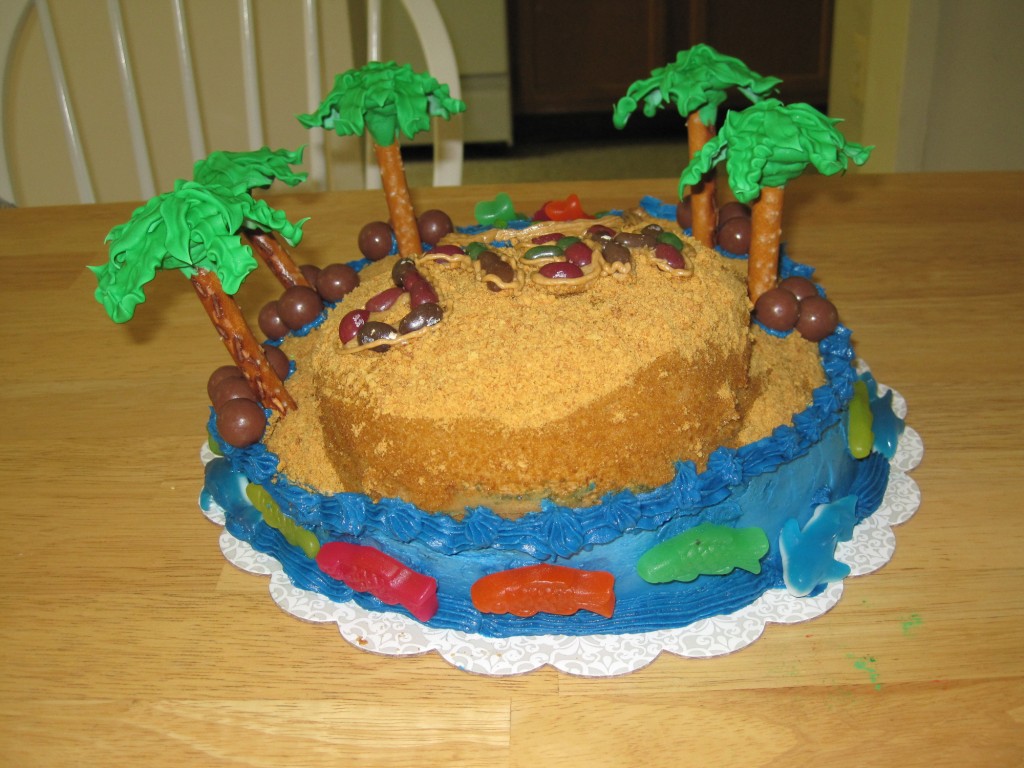
What I like most about this cake is that it is meant to be viewed at every angle, and every angle is a unique view of the island. So here are some alternate views to get a sense of the island in 3D.
Lost_cake10

Lost_cake11

Lost_cake12

Lost_cake13

This cake definitely made a splash at the LOST finale with my friends. Plus, with the candy and different textures it was not only visually interesting, but it was also interesting to eat!

Posted in Cakes | 2 Comments

Faberge egg cake for Easter

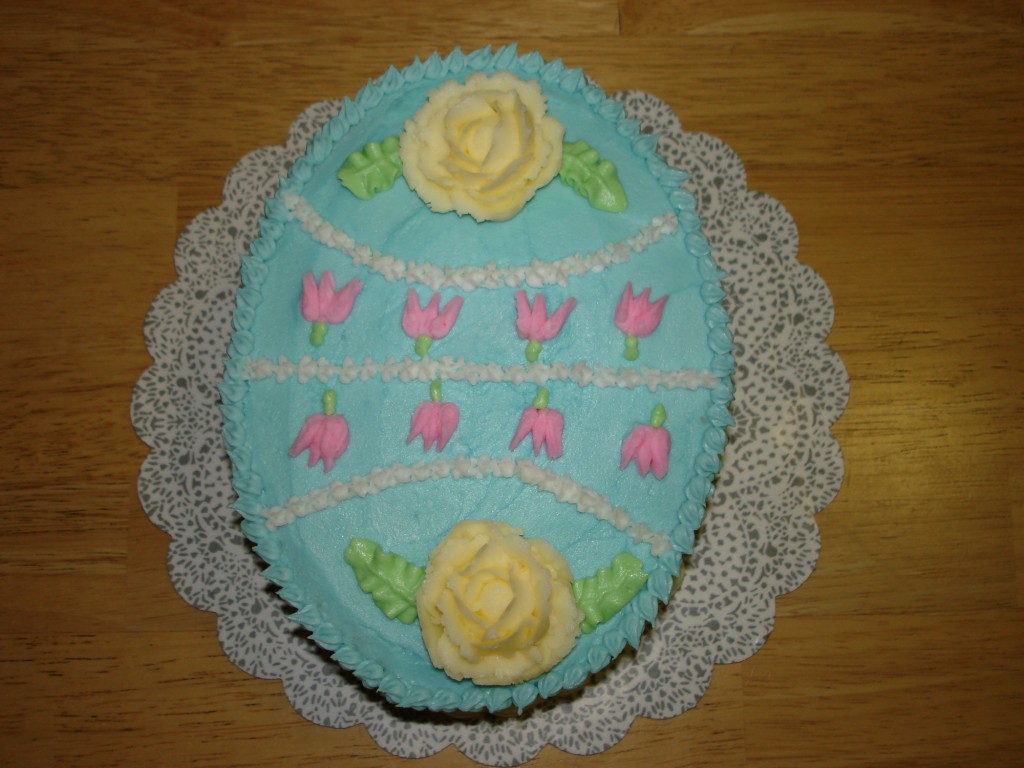
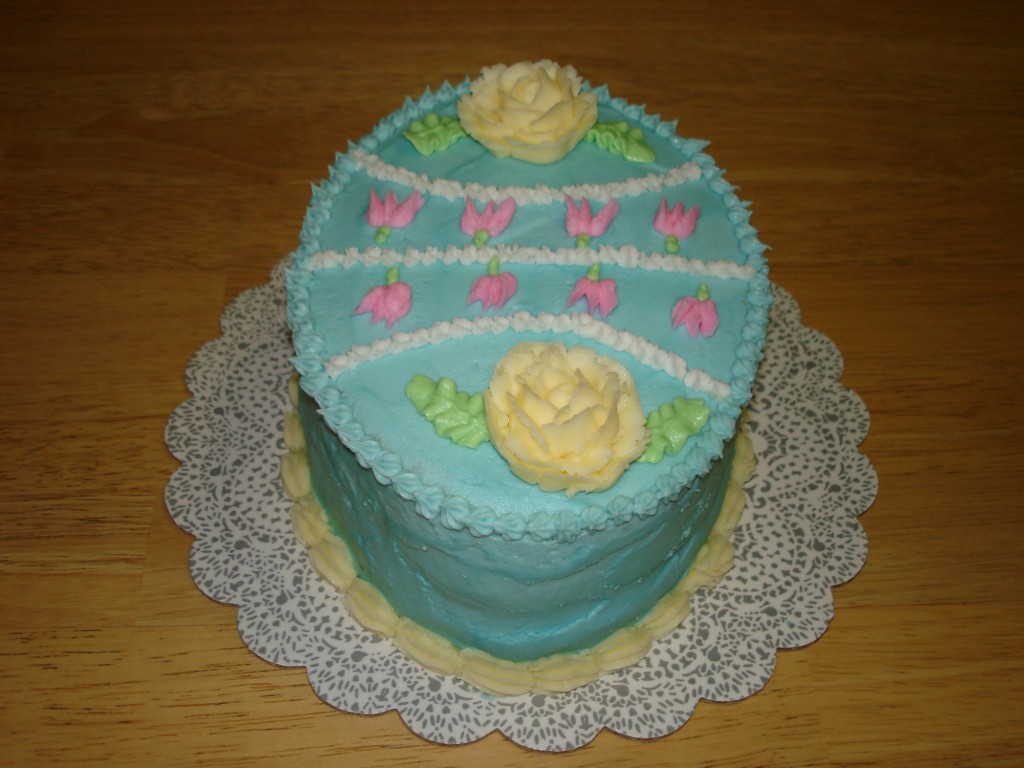
This is my first cake after completing the Wilton Classes. Luckily, course 2 used an egg-shaped pan for the cake, so I figured I would use it again to make a cake that looked like a Faberge egg. I had fun making all the pretty pastel colors.

Faberge_egg1

Faberge_egg2

Posted in Cakes | Comments Off on Faberge egg cake for Easter