My Wilton Education

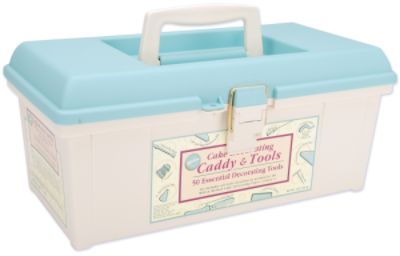
My birthday was about a week after I made the sushi cake, and my husband surprised me with Wilton cake decorating classes. Not only did I love his creative gift, but also a chance to gain some cake decorating skills. A few weeks later, I was enrolled in Course 1: Discover Cake Decorating (AKA buttercream class). Not only did I find the techniques useful, but the best part was that I was able to buy all these great cake decorating supplies. I opted for the Wilton tool caddy kit, which contained a ton of decorator tips, bags, and gel coloring.

We made three cakes, all focusing on different techniques. The first cake showed us how to frost a cake and then use the #16 star tip.

Wilton1

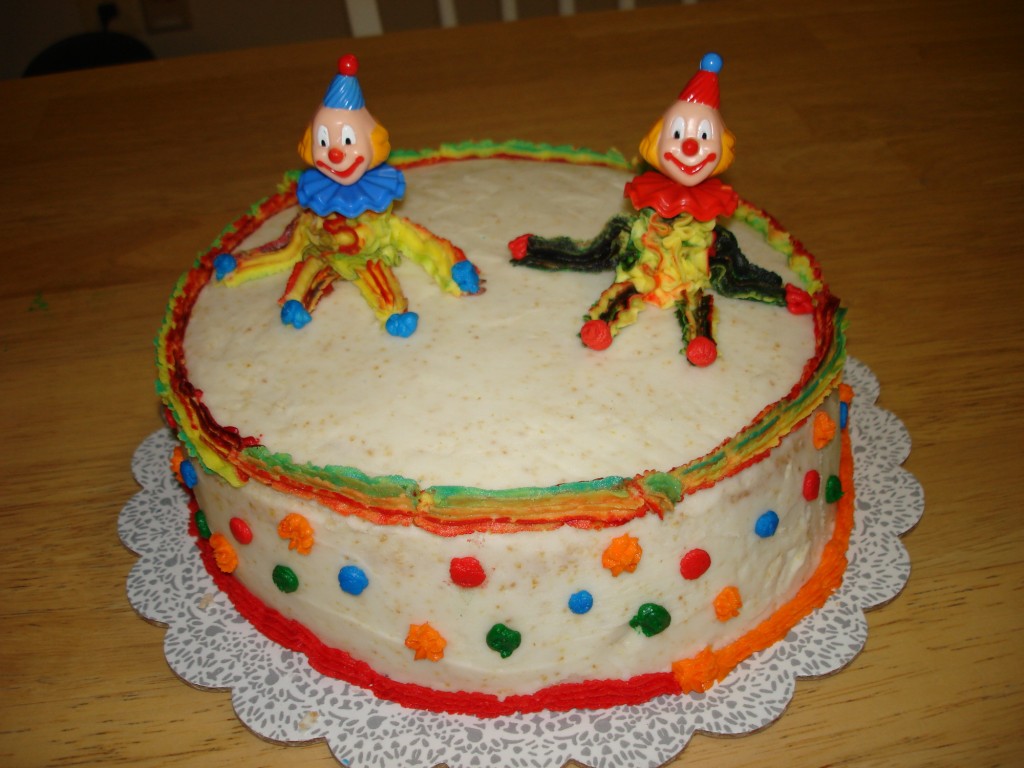
The second cake showed us how to pipe figures with the #21 tip. We made these creepy clown bodies and stuck plastic heads on top. We also learned how to do tie dye icing. Basically put white icing in your bag, and then take a toothpick with a color on it and drag it through the icing. You can do this with a few colors and then when you squeeze it out of the tip, the colors will mix together.

Wilton2

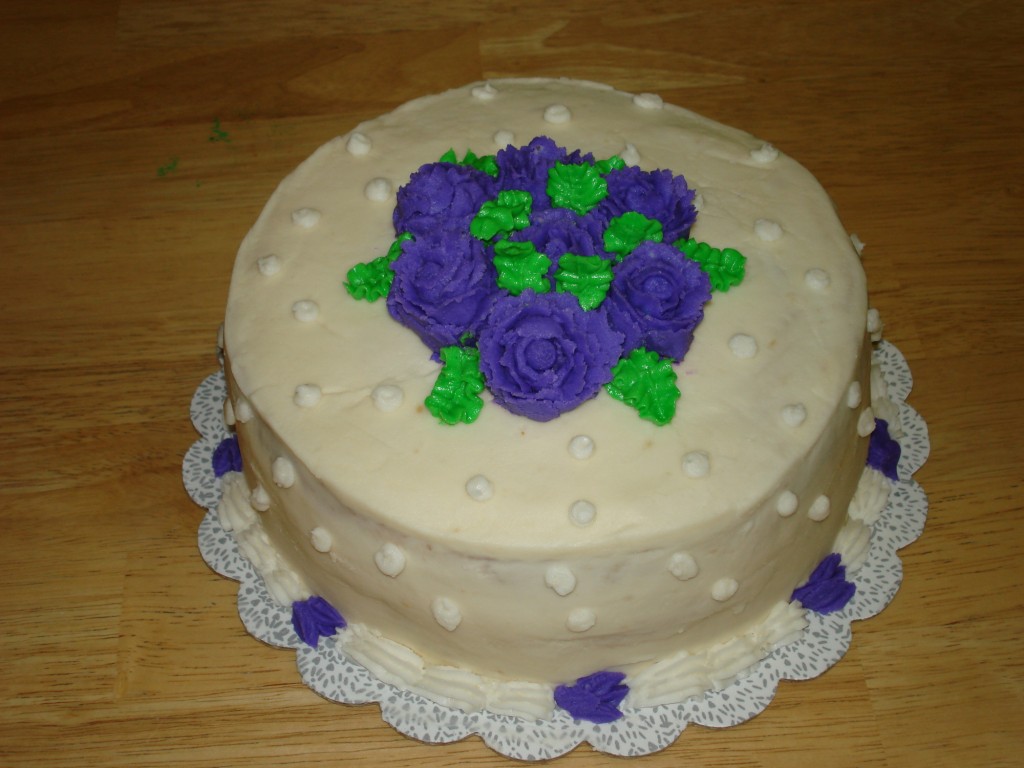
The final cake was my favorite. This cake showed us how to make roses with tip #12 for the base, and #104 for the petals. We also used the #67 leaf tip. I’m still not great at making roses, but given enough time I can usually make at least one good one. They are such a nice accent on a cake. I really should use them more.

Wilton3

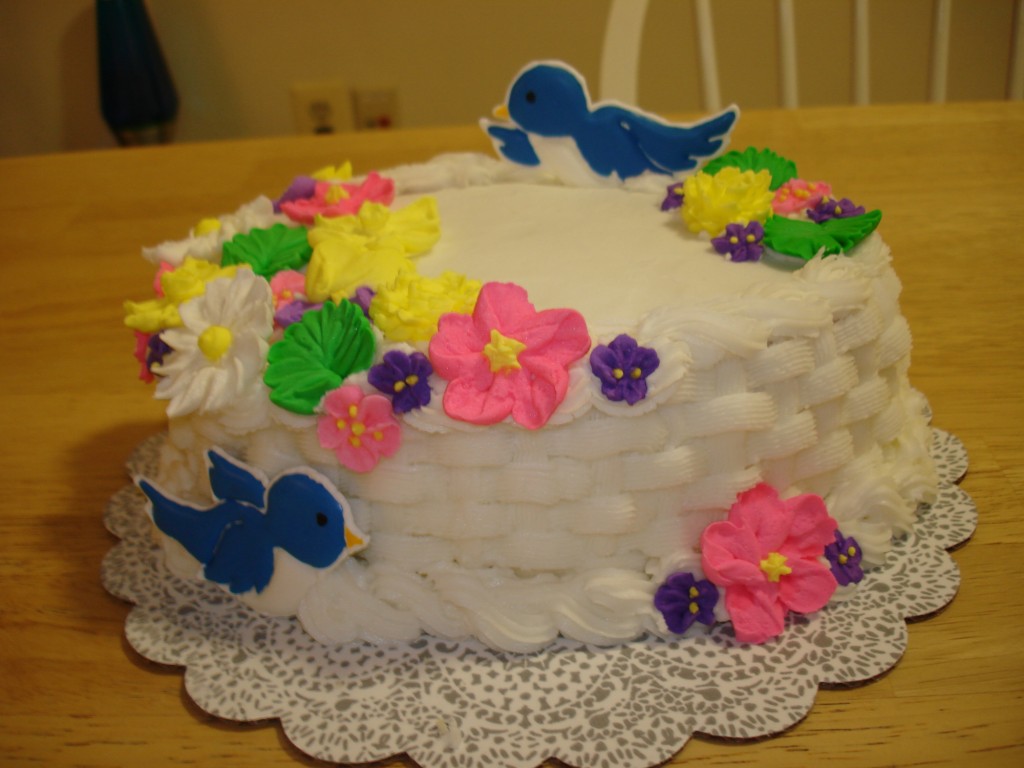
I liked this class so much that I took the second class in the series, Course 2: Flowers and Borders (AKA royal icing). This class was a whole other ball game. We worked for 3 weeks making all different flowers with royal icing to place on top of our final cake. Royal icing dries hard and is very sturdy, so you can make the flowers well in advance to putting them on the cake. It is also a great way to make accents on your cake structurally sound.

Wilton4

My favorite tips that I’ve learned from these classes are:

1. Always crumb coat your cake first. To do this, apply a very thin layer of icing so that the cake shows through. Put in the fridge for 30 minutes and then ice your cake. This will prevent crumbs.

2. To get a nice finish on your cake, dip your knife into hot water. Wipe if off with a paper towel, and smooth over the cake. The heat from the knife will melt the icing a bit and give it a smoother appearance.

3.  To make a cake higher without adding layers, tort your cake. To do this, cut your cake in half horizontally, and add either icing or fruit in between the two layers. Not only will your cake be higher, but this adds an interesting flavor and texture.

And now for my favorite buttercream and royal icing recipes:

Buttercream Frosting (from Allreipes.com)

Makes 3 cups of frosting
Ingredients
  • 1 cup unsalted butter, softened
  • 4 cups confectioners sugar, sifted
  • 3 tsp vanilla extract
  • 3-4 tablespoons milk
Instructions
  1. Cream room temperature butter with an electric mixer until smooth and fluffy. Gradually beat in confectioners’ sugar until fully incorporated. Beat in vanilla extract. Pour in milk and beat for an additional 3-4 minutes.


Royal Icing (from Wilton)

Makes 3 cups of frosting
Ingredients
  • 3 TBSP Meringue powder
  • 4 cups confectioners sugar
  • 6 TBSP warm water
Instructions
  1. Beat all ingredients until icing forms peaks (7-10 minutes at low speed with a heavy-duty mixer, 10-12 minutes at high speed with a hand-held mixer). Keep covered when using, or the icing will dry out.

 

Posted in Cakes, Frostings/Icings | Comments Off on My Wilton Education

Sushi, anyone?

Sushi

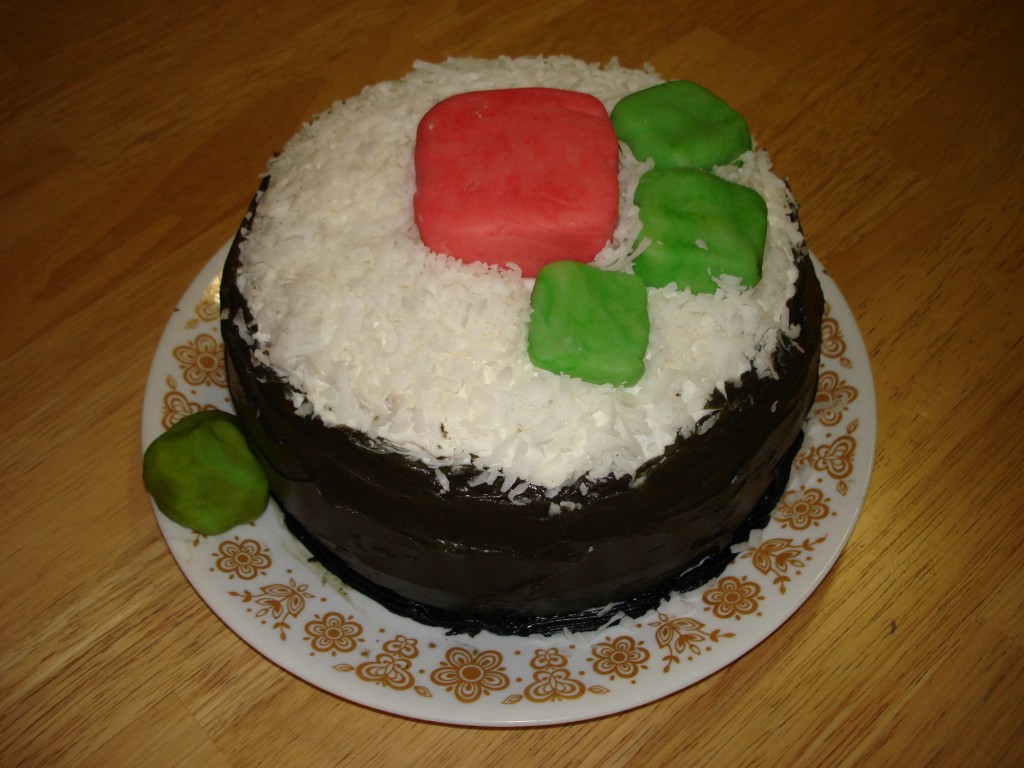
I made this cake early in 2009, when our postdoc visiting from Japan was going back home. He was coming back to the lab in a month, but I figured it was still a good occasion to make a cake.  So I made a cake to look like a piece of tuna cucumber roll with a side of wasabi. Again, this cake was made with a box mix and canned frosting. If I were to do it again, it would be easy enough to make it with homemade cake and buttercream icing.

To get the shape, I used the Betty Crocker Bake ‘n Fill tall pan. The same effect could be achieved by making two 8-inch round cakes and placing them on top of one another (with a layer of either frosting or jam between the two cakes). For this cake, I decided to use chocolate frosting, since it is easier to get a nice deep black when starting with a brown base. I added some black coloring and a touch of green to get the color of seaweed. Once I frosted the entire cake, I made the tuna and cucumber pieces out of marzipan that I bought at my supermarket. I used food dye drops to get the correct colors. This is a somewhat tedious process. You add a few drops and kneed it in, and add more coloring until you get the color you want. Then I shaped the pieces by hand. The wasabi piece was made the same way. Once those were placed on the cake, I topped the rest of the cake with sweetened coconut for the rice. Not only does it look cool, but the coconut goes surprisingly well with the chocolate frosting.

Posted in Cakes | 1 Comment

Betty Crocker Bake ‘n Fill pan

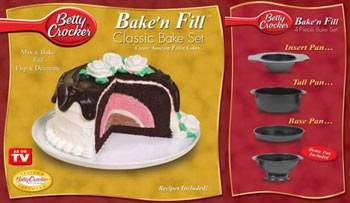
Usually those “As Seen on TV” products are totally useless and don’t even work as advertised. I have to say, my Betty Crocker Bake ‘n Fill pan has exceeded all of my expectations. I don’t think they are widely available anymore, but you might be able to find one on Ebay or in the As Seen on TV stores in the mall. If you are able to get your hands on one, I highly recommend doing so.

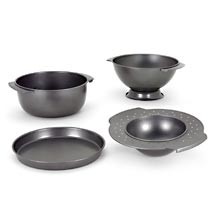
The frosted layer cakes are pretty easy. You just fill either the tall or dome pan up to the line with batter, put in the insert pan, and fill the insert pan up to the line. The result is a hollow cake, and a plug-shaped cake. You frost the inside cavity, put in the plug, and end up with a solid cake with frosting in the middle. The tall pan makes a traditional cake shape, and the dome pan makes a spherical shape.

Top (L,R): tall pan, dome pan; Bottom (L,R): base pan, insert pan

Now, the filled cakes are a little more tricky, especially since they need to be structurally sound. Like before, you fill either the tall or dome pan,  and put in the insert pan. This will give you the hollow top portion of the cake. But this time instead of filling the insert pan, you will fill the base pan with batter.  Once everything is done, you fill the cavity with either ice cream or custard and add the base cake. Flip over onto a plate and you have a filled cake.

I’ve experimented a bit with recipes, and found that some cakes are too delicate to use for this pan. I prefer to use pound cake, because it is a hearty cake but also goes well with most types of frosting. Pound cake keeps the hollow shape well but is still nice and cake-like.

Perfect Pound Cake (from the Cake Bible)

Makes one 4-cup loaf
Ingredients
  • 3 TBSP milk
  • 3 large eggs
  • 1 1/2 tsp vanilla
  • 1 1/2 cups sifted cake flour
  • 3/4 cups white sugar
  • 3/4 tsp baking powder
  • 1/4 tsp salt
  • 13 TBSP unsalted softened butter
Instructions
  1. Preheat oven to 350 degrees. Grease the pan well so the cake doesn’t stick. I prefer Wilton Cake Release.
  2. In a medium bowl, combine milk, eggs, and vanilla.
  3. In a large mixing bowl combine the dry ingredients and mix on low speed for 30 seconds to blend. Add the butter and half of the egg mixture. Mix on low speed until the dry ingredients are moistened. Increase to medium speed and beat for 1 minute to aerate and develop the cake’s structure.
  4. Scrape down the sides. Gradually add the remaining egg mixture in 2 batches, beating for 20 seconds after each addition. Scrape down the sides.
  5. Scrape the batter into prepared pan and smooth the surface with a spatula.
  6. Bake for 55-65 minutes, until a toothpick inserted in the center of the cake comes out clean.


The recipe above is the original yield. Now, for the Betty Crocker Bake ‘n Fill pans , I make 1 full recipe and 1 half recipe. To do this, multiply each of the ingredients by 1.5. I just do my best to estimate when the amount is difficult. For eggs and butter, I round up (ex. in this recipe I would use 5 eggs instead of 4.5, and 20 TBSP of butter instead of 19.5).

The baking directions are also slightly different for these pans. It really depends on the kind of cake you are making

For frosted layer cakes :

Bake both cakes (the hollow cake and the insert cake) for 50-60 minutes. These baking instructions are the same for both the tall and dome pans.

For filled cakes:

Bake the hollow cake (tall or dome pan) for 45-50 minutes and bake the base cake for 28-30 minutes.

Now, very important…

When testing with a toothpick to see if the cake is done, only test the base cake or the insert cake. Don’t remove the insert pan…allow it to cool about 20 minutes first.

I know it sounds confusing but it is really easy once you get the hang of it. Now for the custard. The original booklet that came with my pan set suggested making instant pudding for the filling. I found that to be too thin, and the cake would cave in when I cut it. So I opted to make a thicker custard, which holds up nicely to cutting.

Pudding Custard (recipe from Aunt Linda)

Makes 2 cups of custard
Ingredients
  • 1 package of instant pudding (any flavor)
  • 1 cup of heavy cream
  • 1 cup milk (I usually use 1%)
Instructions
  1. Add ingredients and beat with mixer on high speed for 10 minutes until thick and fluffy. Chill before using.


If you have made it this far, thanks for reading!! I promise that this cake is worth the time and effort. It is so cool to cut open a cake and see a custard center. Not to mention that it is a totally indulgent cake that everyone will enjoy. Happy baking! If you try it, let me know how it goes.

Posted in Kitchen Equipment | 1 Comment