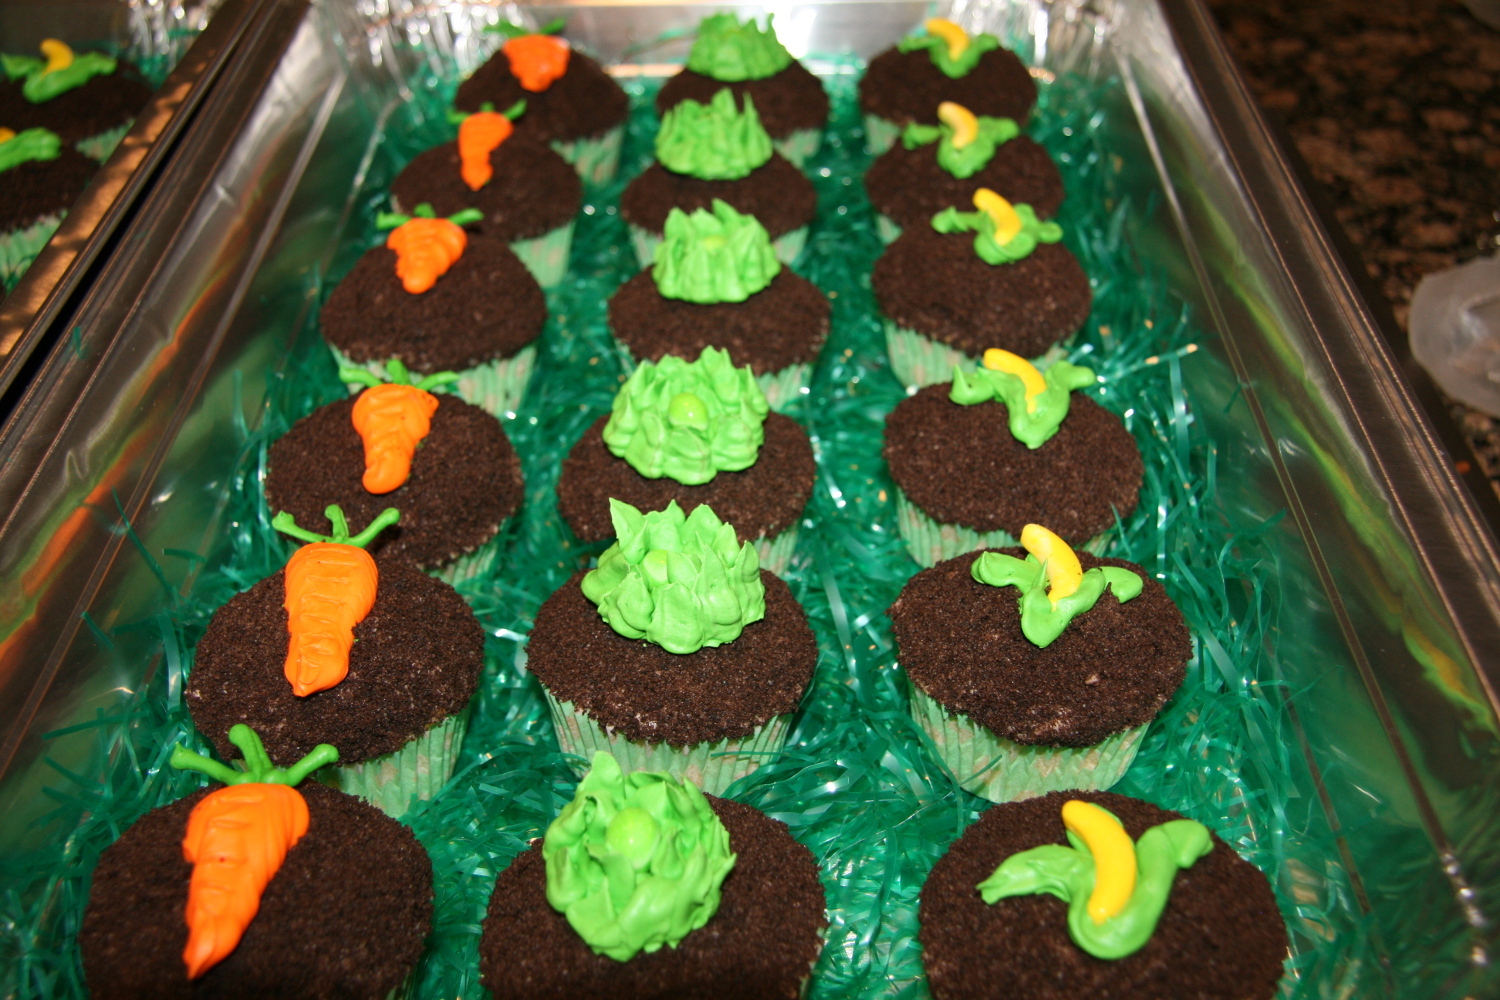
Garden Vegetable Cupcakes

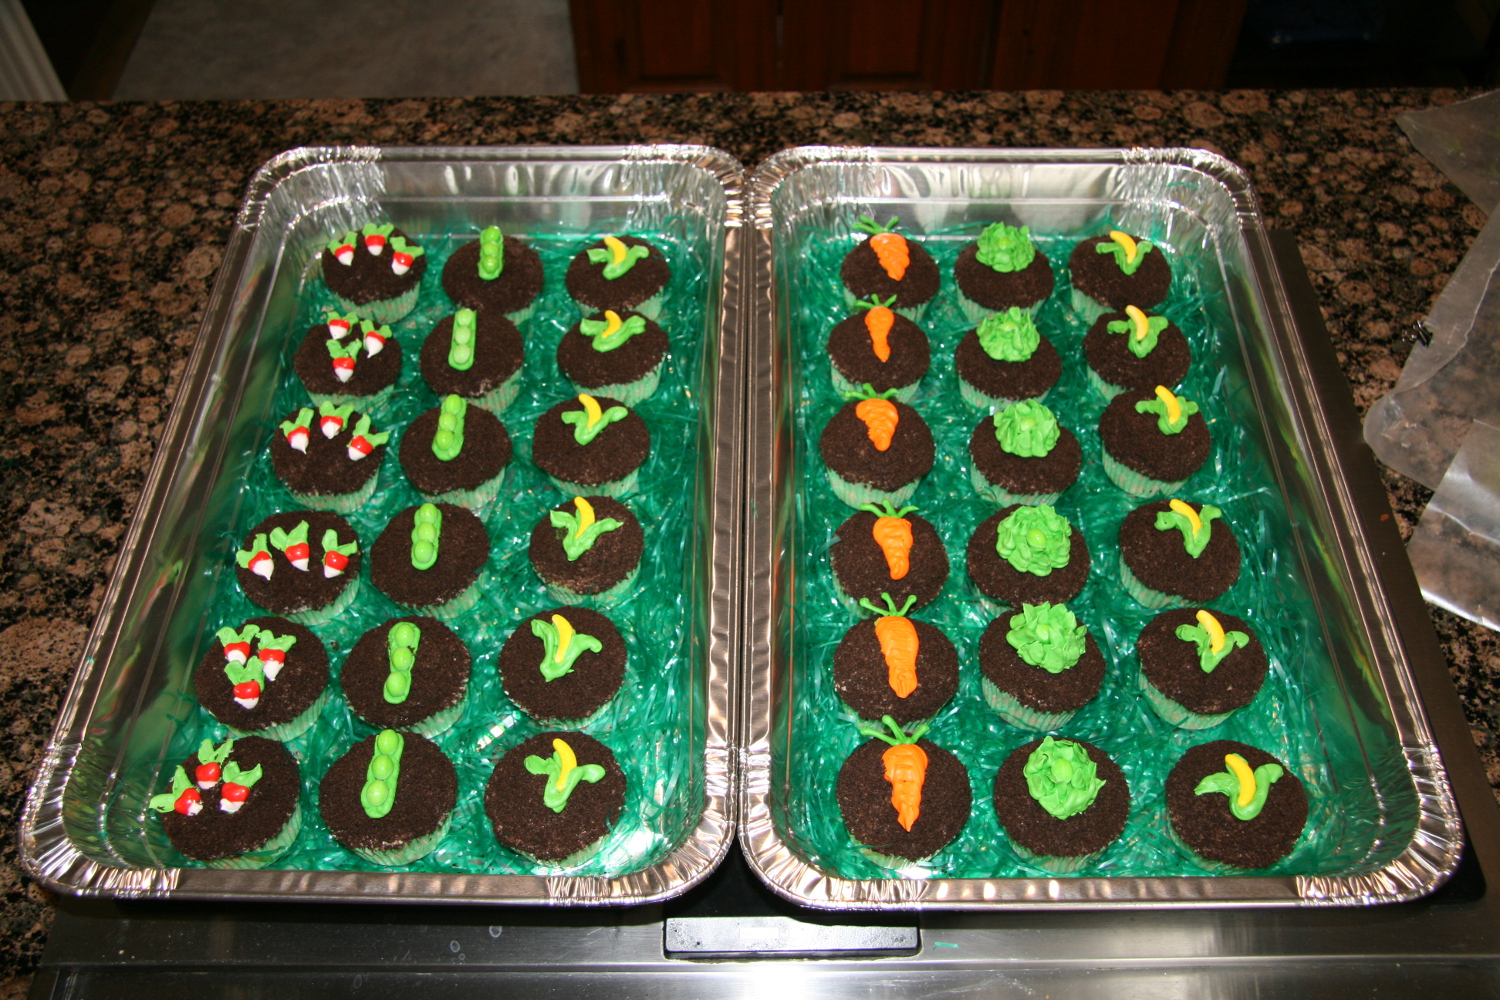
Veggie-cupcakes7Spring is in the air, which means lots of parties and gatherings! A few weeks ago I attended a first  birthday party the day before Easter. The theme was Peter Rabbit…how perfect is that? So I decided to make garden cupcakes since Peter Rabbit loved to go in the garden of Mr. McGregor and eat all his vegetables. Yeah, I looked it up on Wikipedia. Could not for the life of me remember whose garden it was.

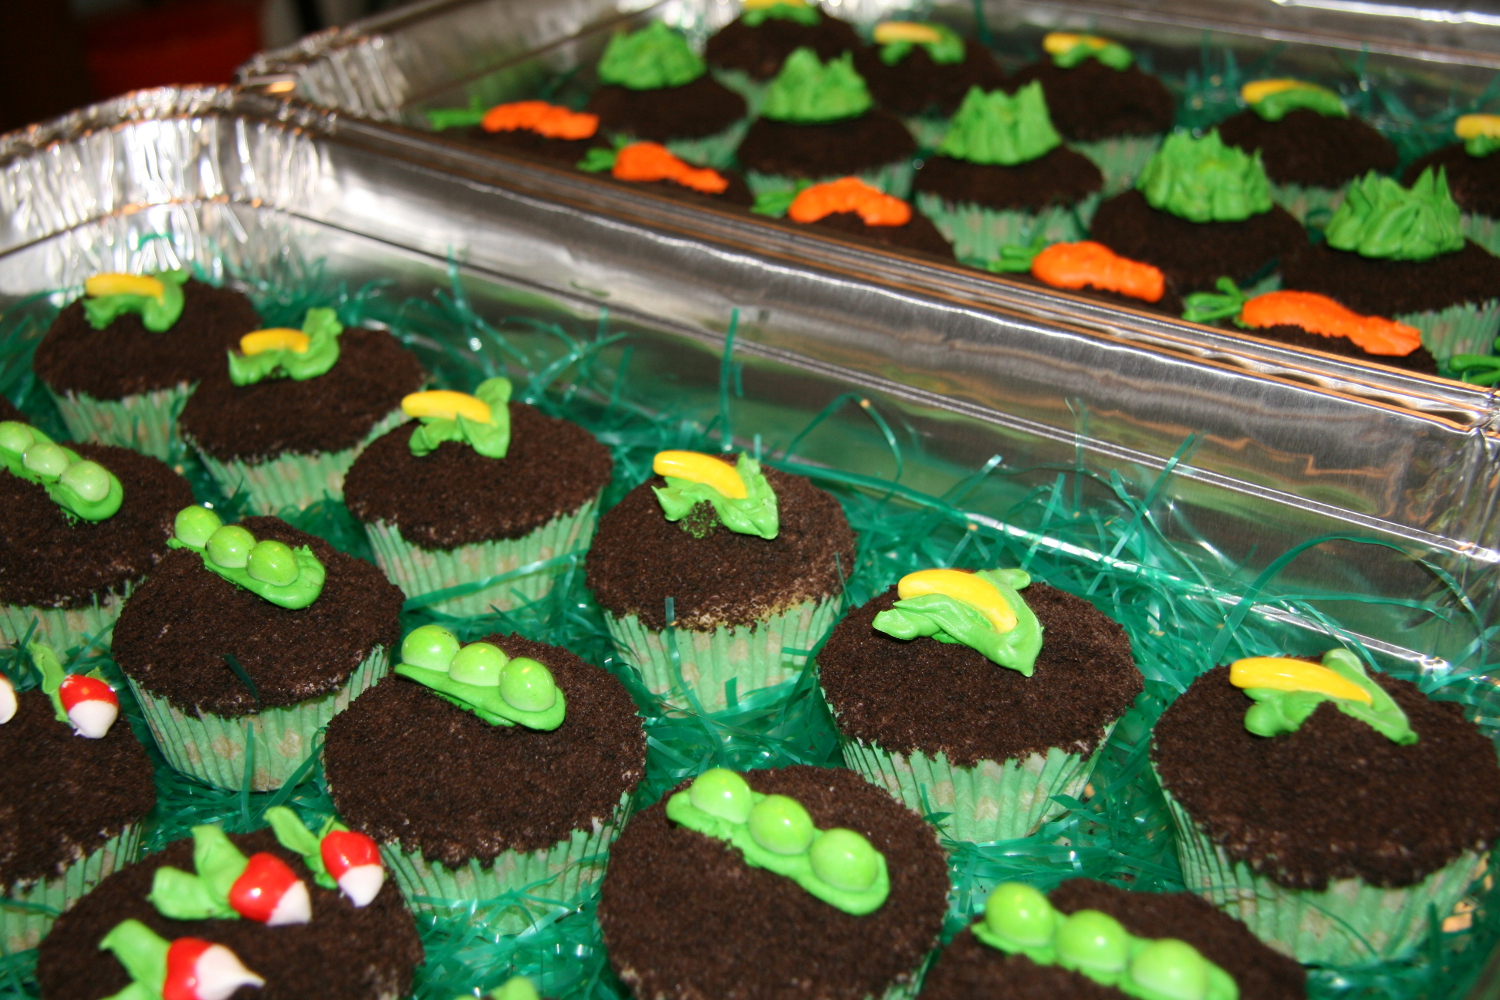
Since it was close to Easter, I thought it would be great to use the grass that usually goes in Easter baskets, to make it look more like a real garden. The grass usually comes in long strands, so I cut it nice and short so it looked more grass-like. Once I covered the bottom of the tins, I placed the cupcakes in. I moved the grass away where I was going to place the cupcakes, so they would lay flat.

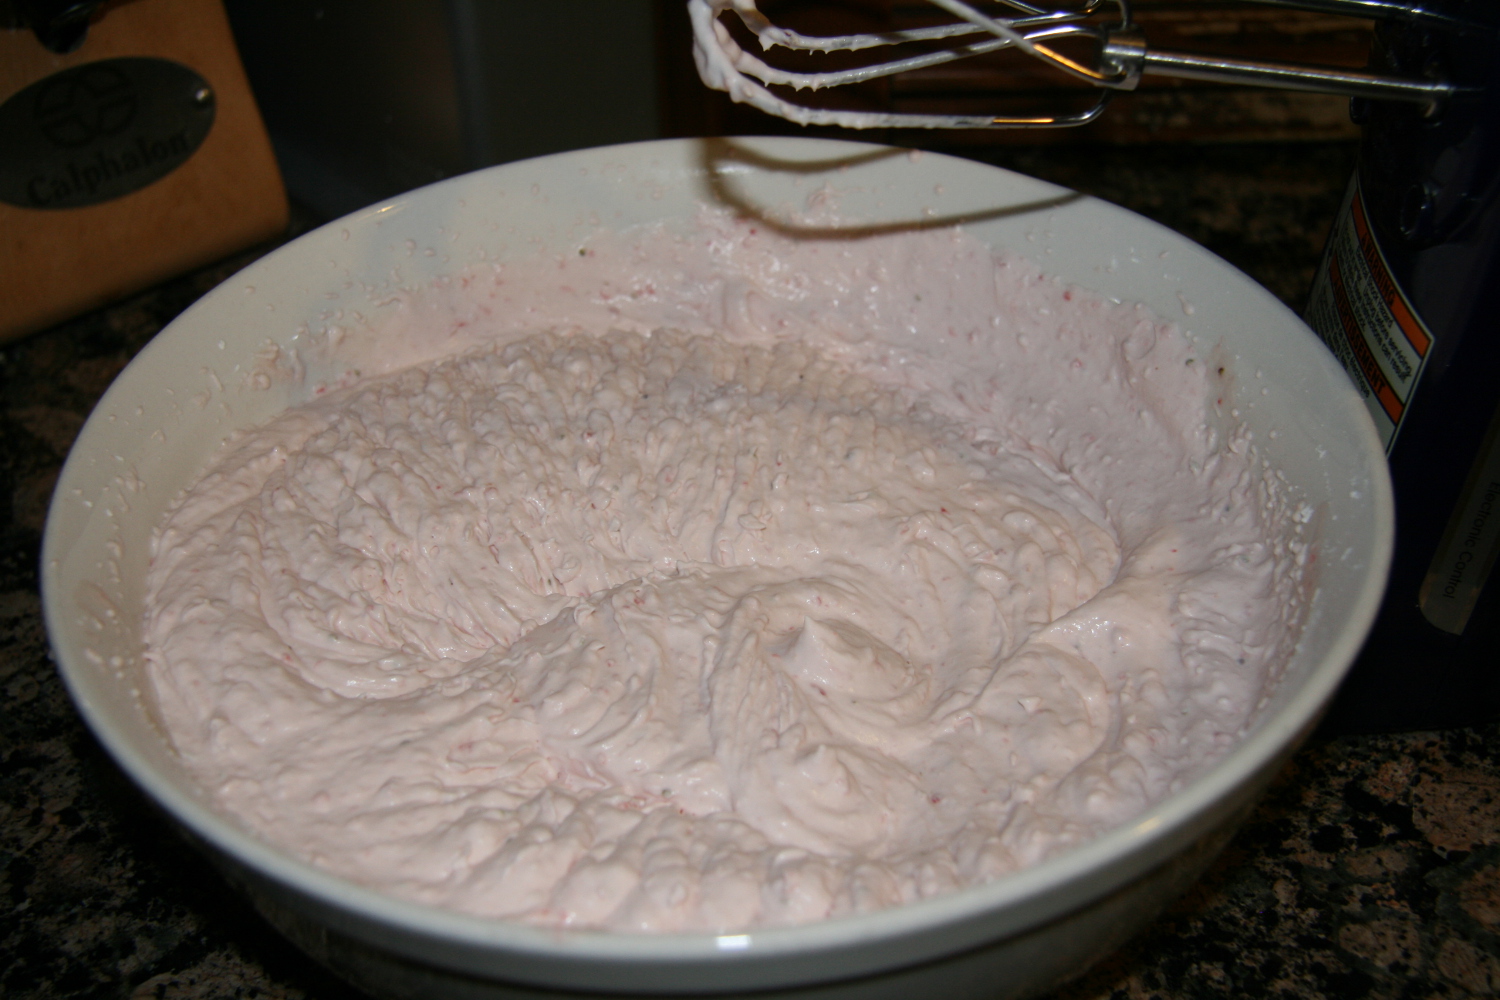
The cupcakes are vanilla buttermilk filled with strawberry mousse. I used fresh strawberries, and everyone loved it! It tasted really fresh, which is perfect for a garden theme. For the topping, I frosted as usual with buttercream and then topped it off with crushed Oreo cookies for the dirt.
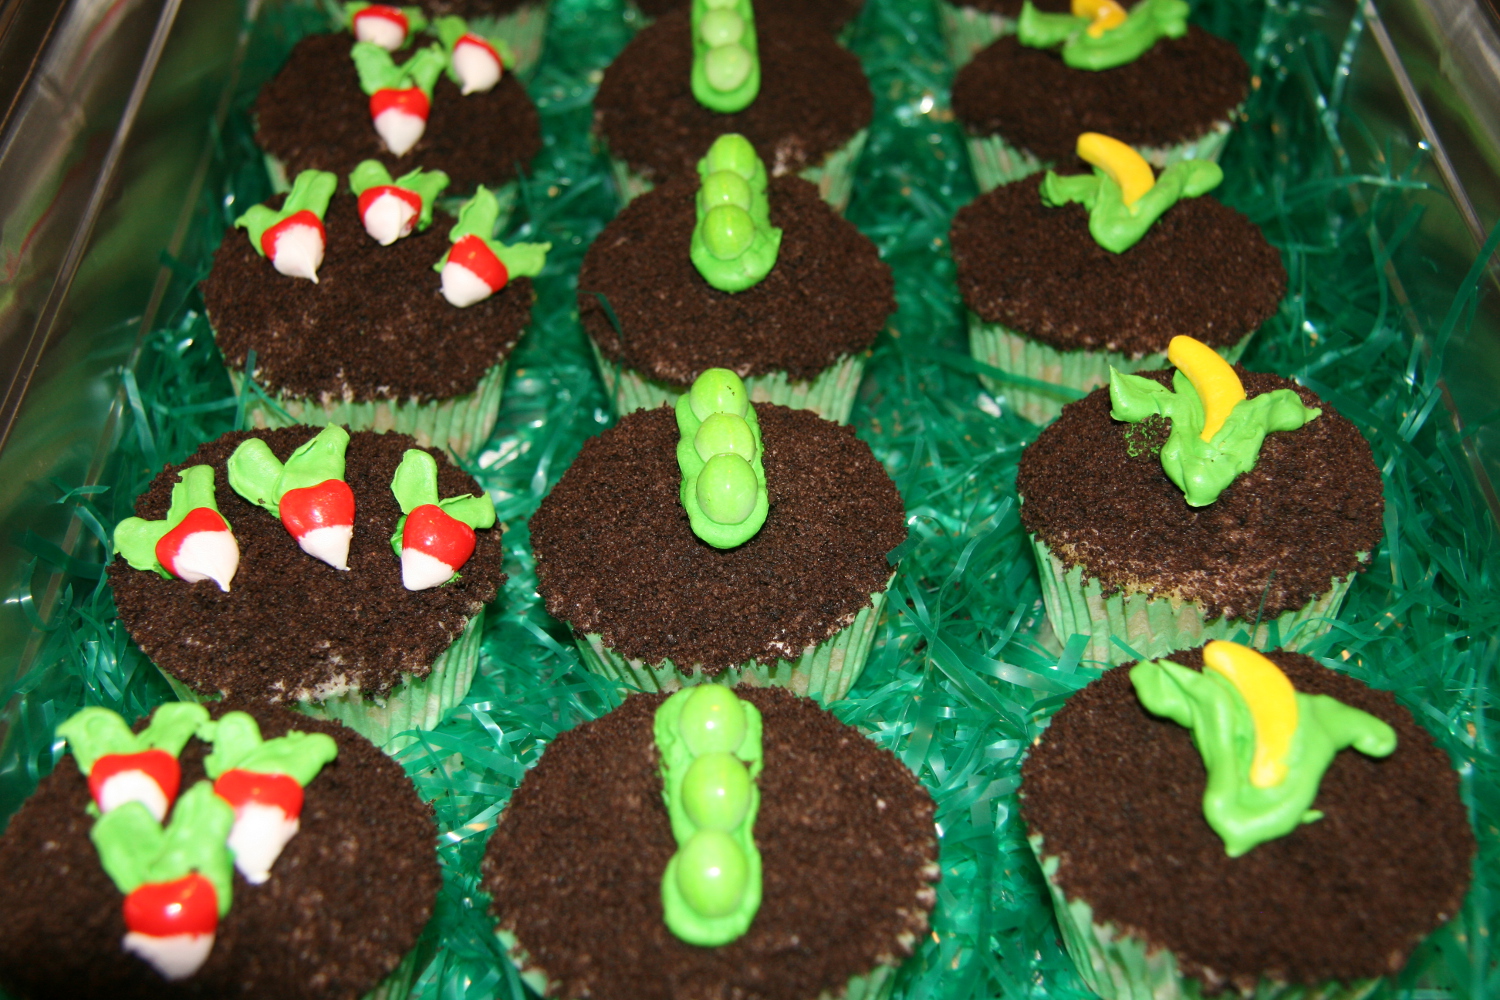
Strawberry-mousse

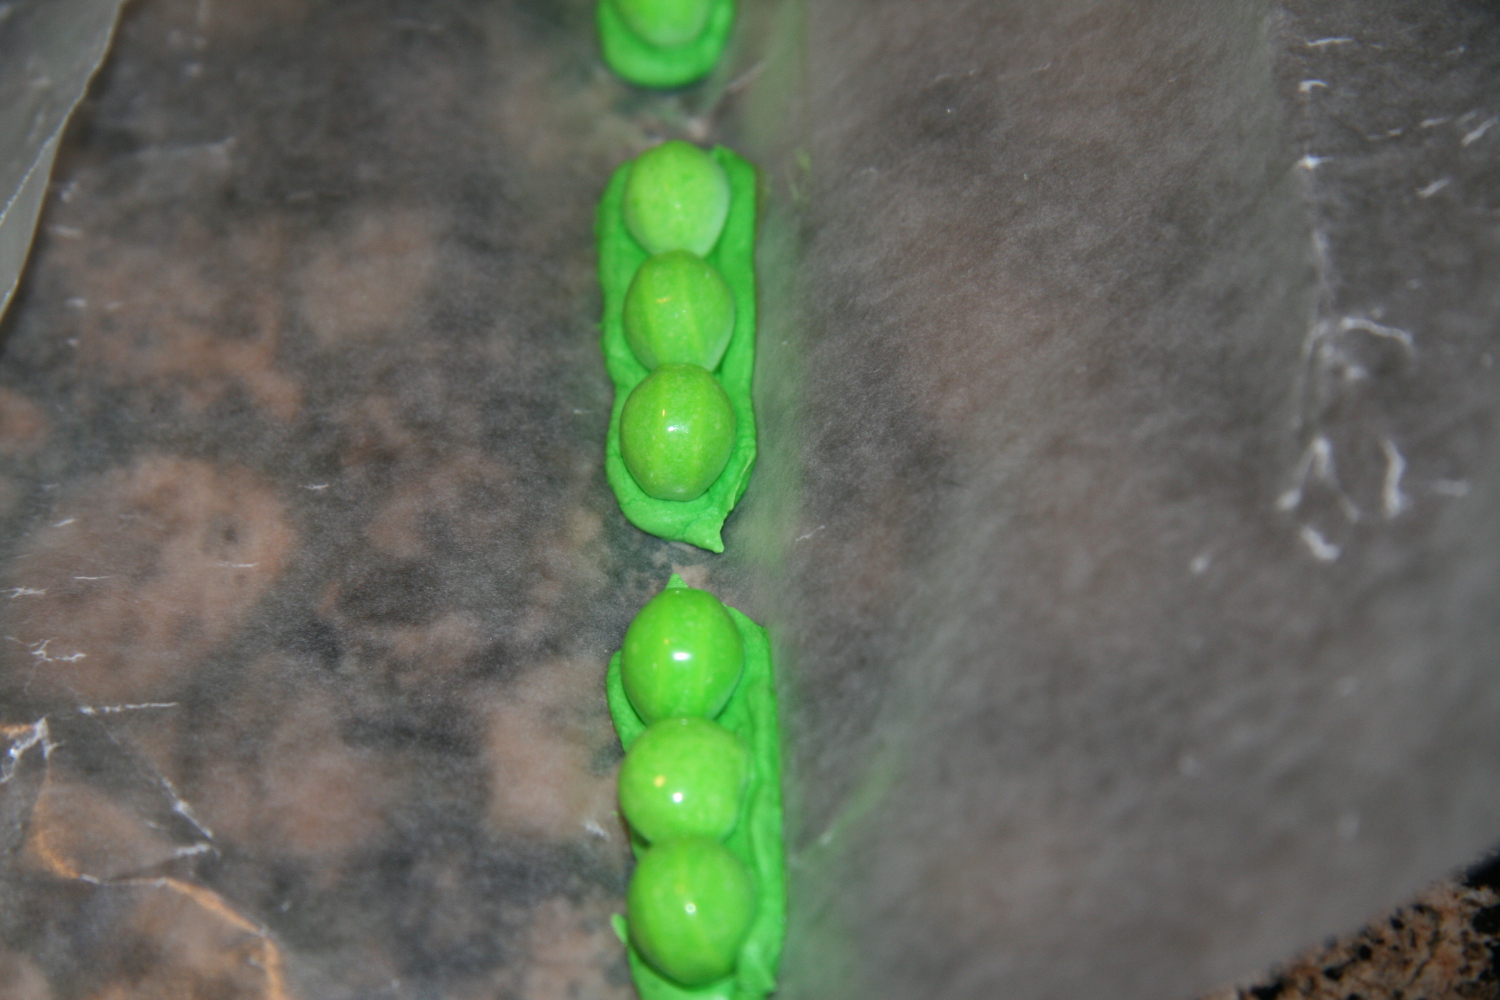
Veggie-cupcakes5Lastly, I made the vegetable toppers using Runts candy and royal icing. The peas are my favorite. I placed an oval of green royal icing about an inch and a half long on wax paper and placed three green apple runts on top. then I gently folded the wax paper along the long edge and clipped it together, so the pod would dry curving slightly upward.
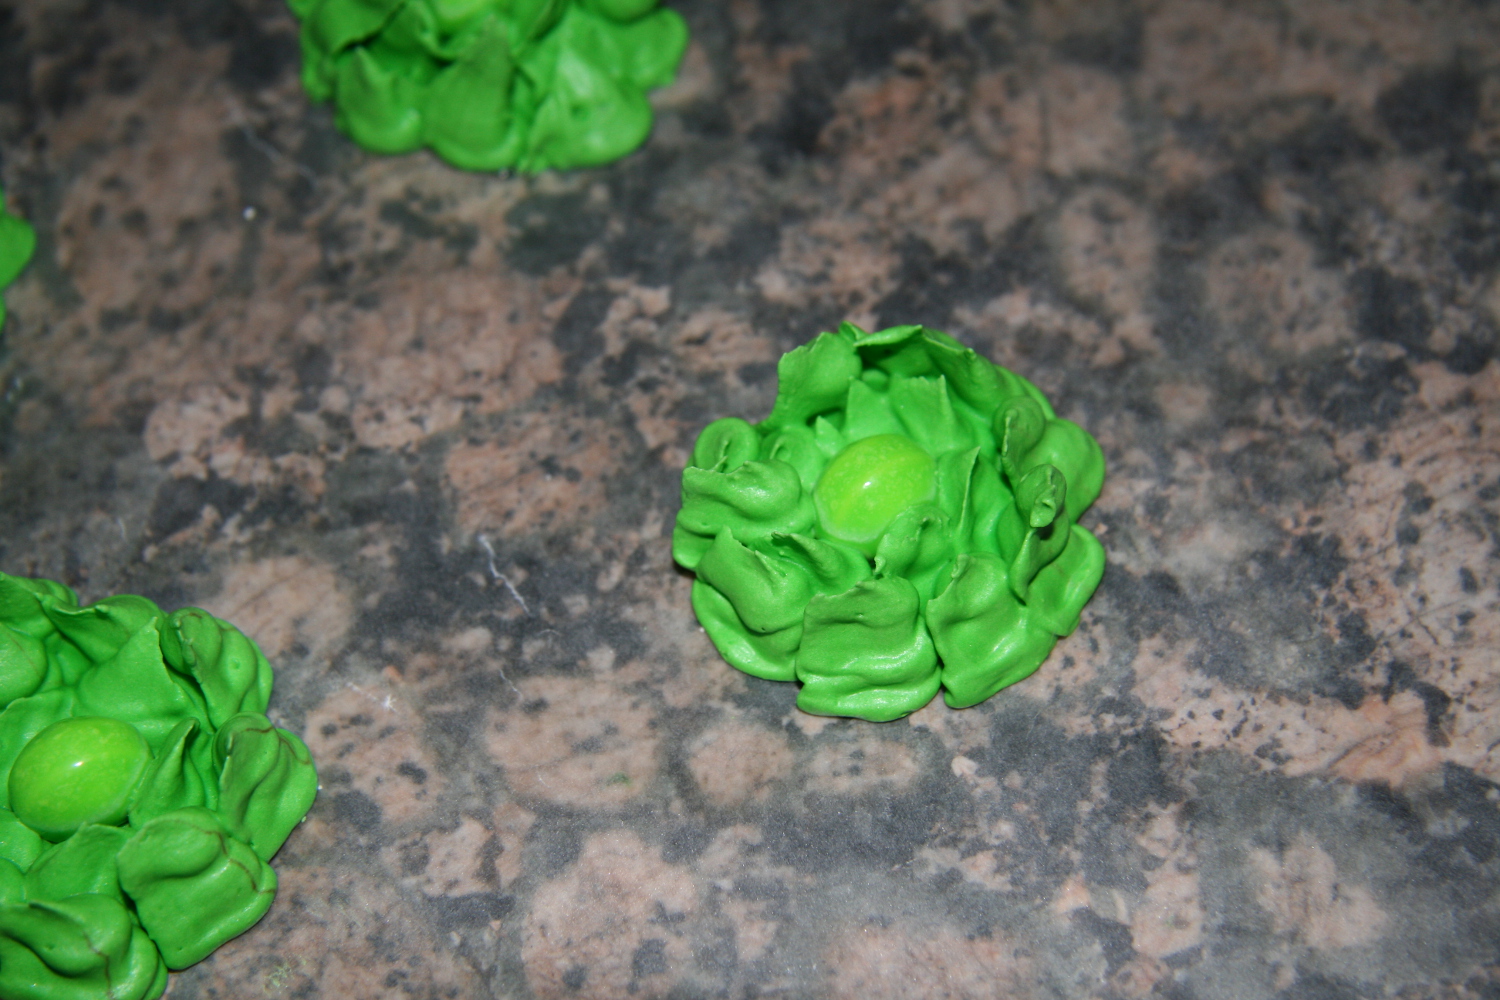
Veggie-cupakes3The cabbage also used the green apple runts.
Veggie-cupcakes2The radish used the red runts that I dipped in white royal icing and added a green stem.
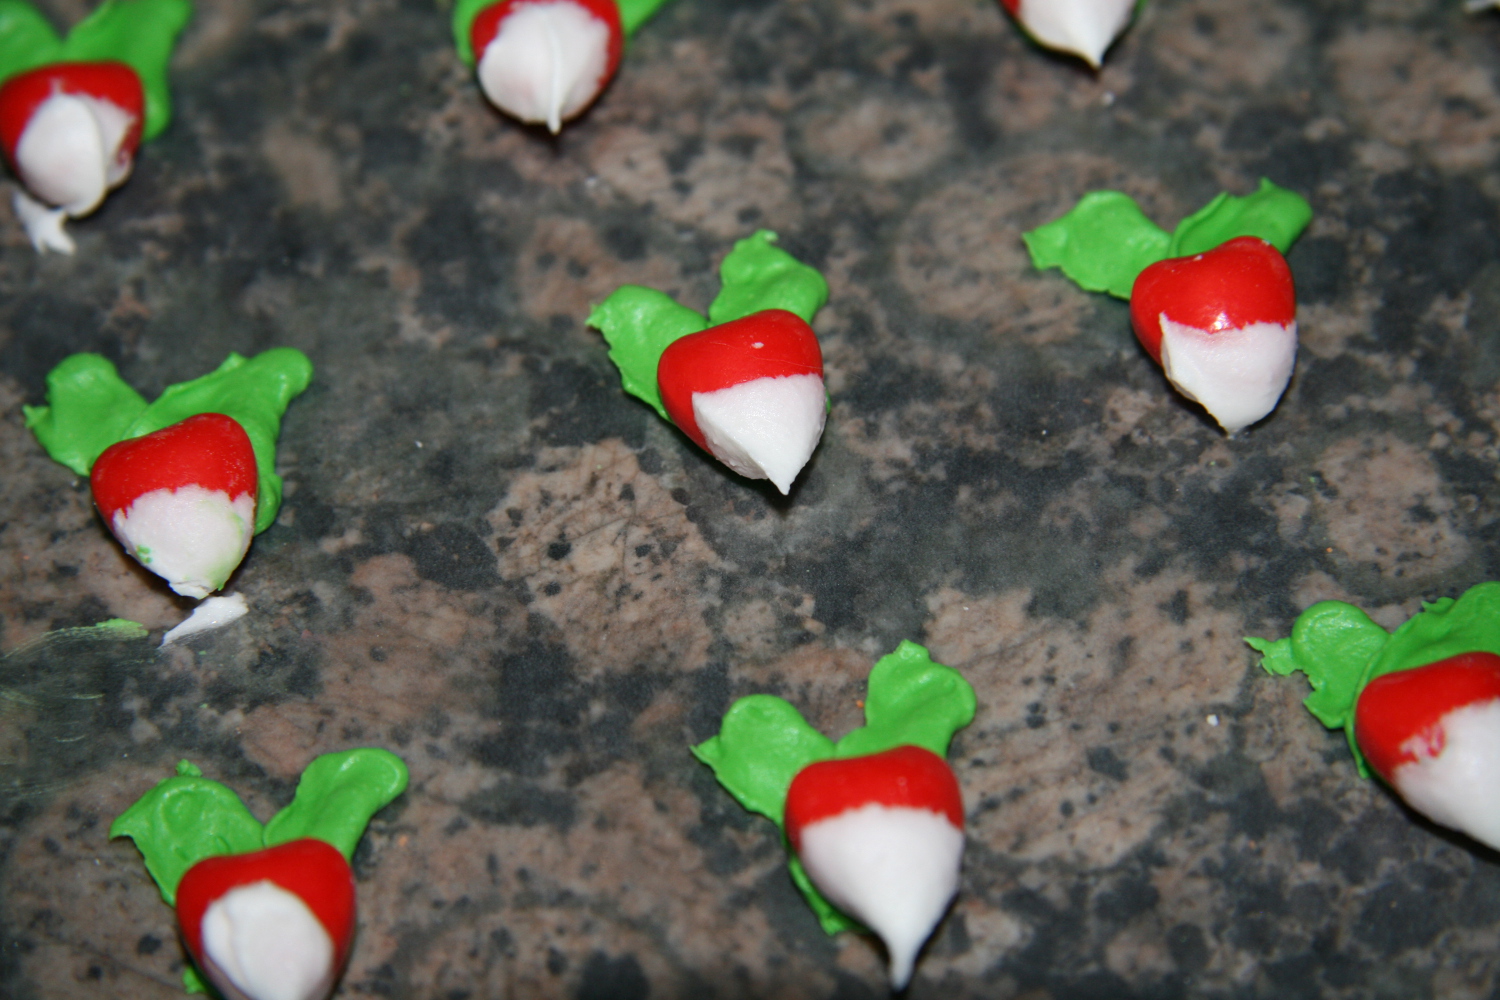
Veggie-cupcakes1For the corn, I used the banana runt and made green leaves. The carrots are 100% royal icing.
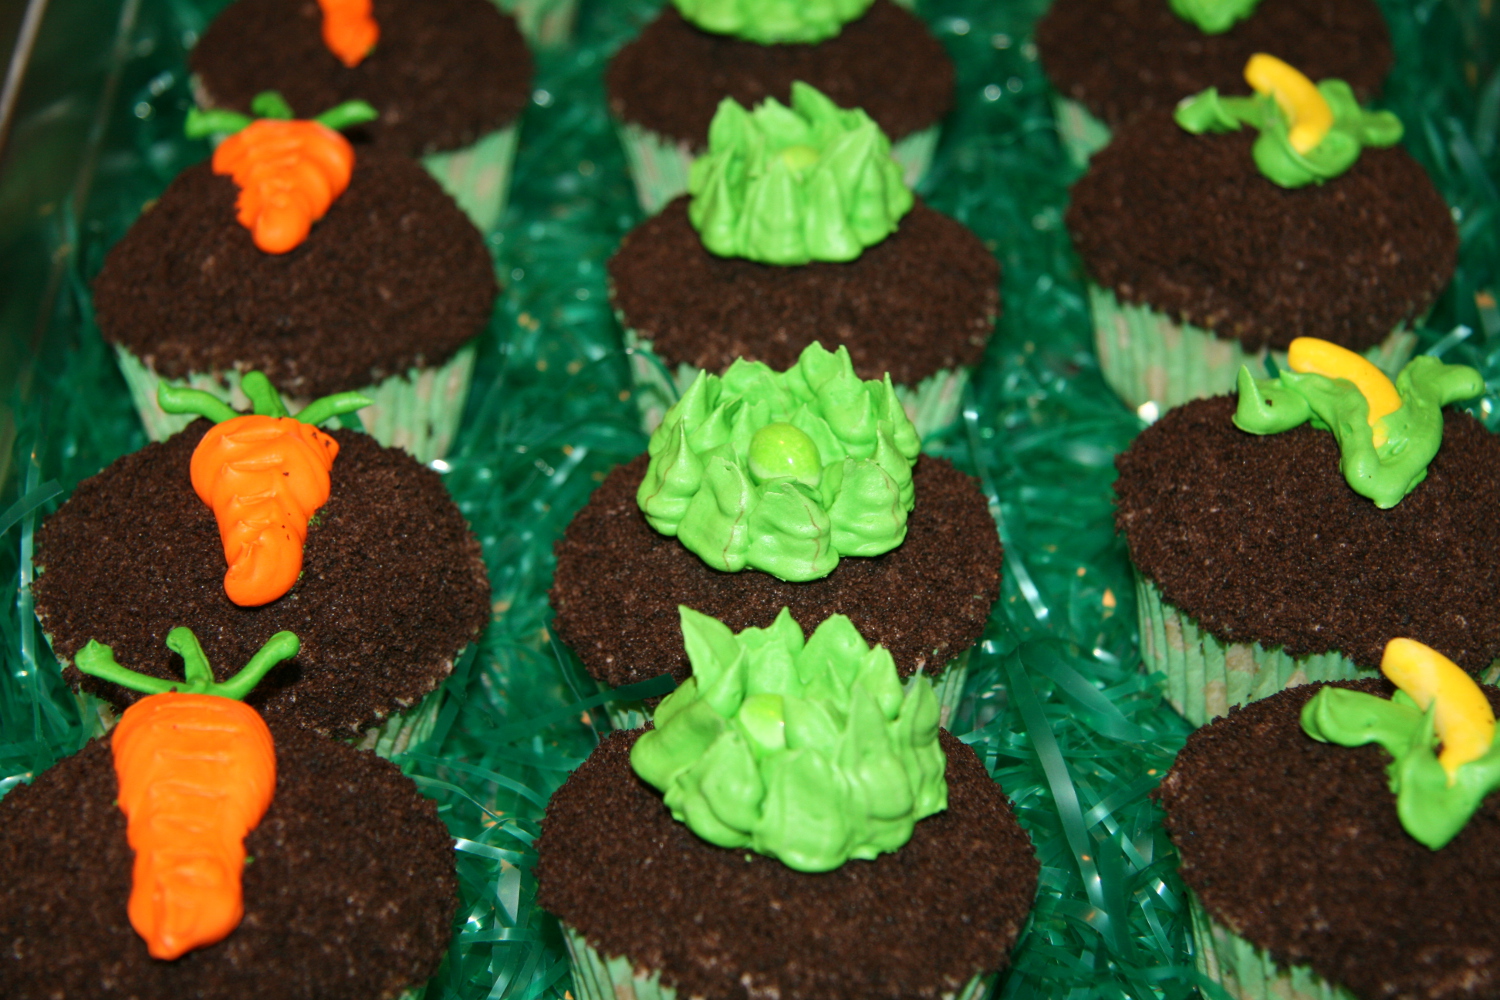
Veggie-cupcakes4I used some leftover royal icing to attach the veggies to the dirt. Otherwise, they will just slide off. And there you have it! These were really fun to make, and definitely fun to eat! The packaging is great too, because it looks like a garden, but they you can just throw everything away when you are done.

Veggie-cupcakes6Veggie-cupcakes8

Strawberry Mousse Filling (adapted from The Smart Cookie Cook)
Ingredients
  • 2 cups of strawberries
  • 2 cups chilled heavy cream
  • 2 cups of confectioner’s sugar (*see my note at the bottom)
  • 2 tsp vanilla extract
  • A pinch of salt
Instructions
  1. Wash and cut the strawberries into small pieces.
  2. Puree strawberries in a food processor or blender.
  3. Add strawberry puree, cream, sugar, vanilla, and salt to a bowl and use a hand mixer to mix until stiff peaks form.
Notes
* The original recipe calls for 1 cup of confectioner’s sugar, but I kept adding sugar until the mousse could stand on a spoon held upside down. I wanted it to be fairly thick before putting in the cupcakes.


Posted in Cupcakes | Comments Off on Garden Vegetable Cupcakes

Tulip Pie for Parkinson’s Awareness Month

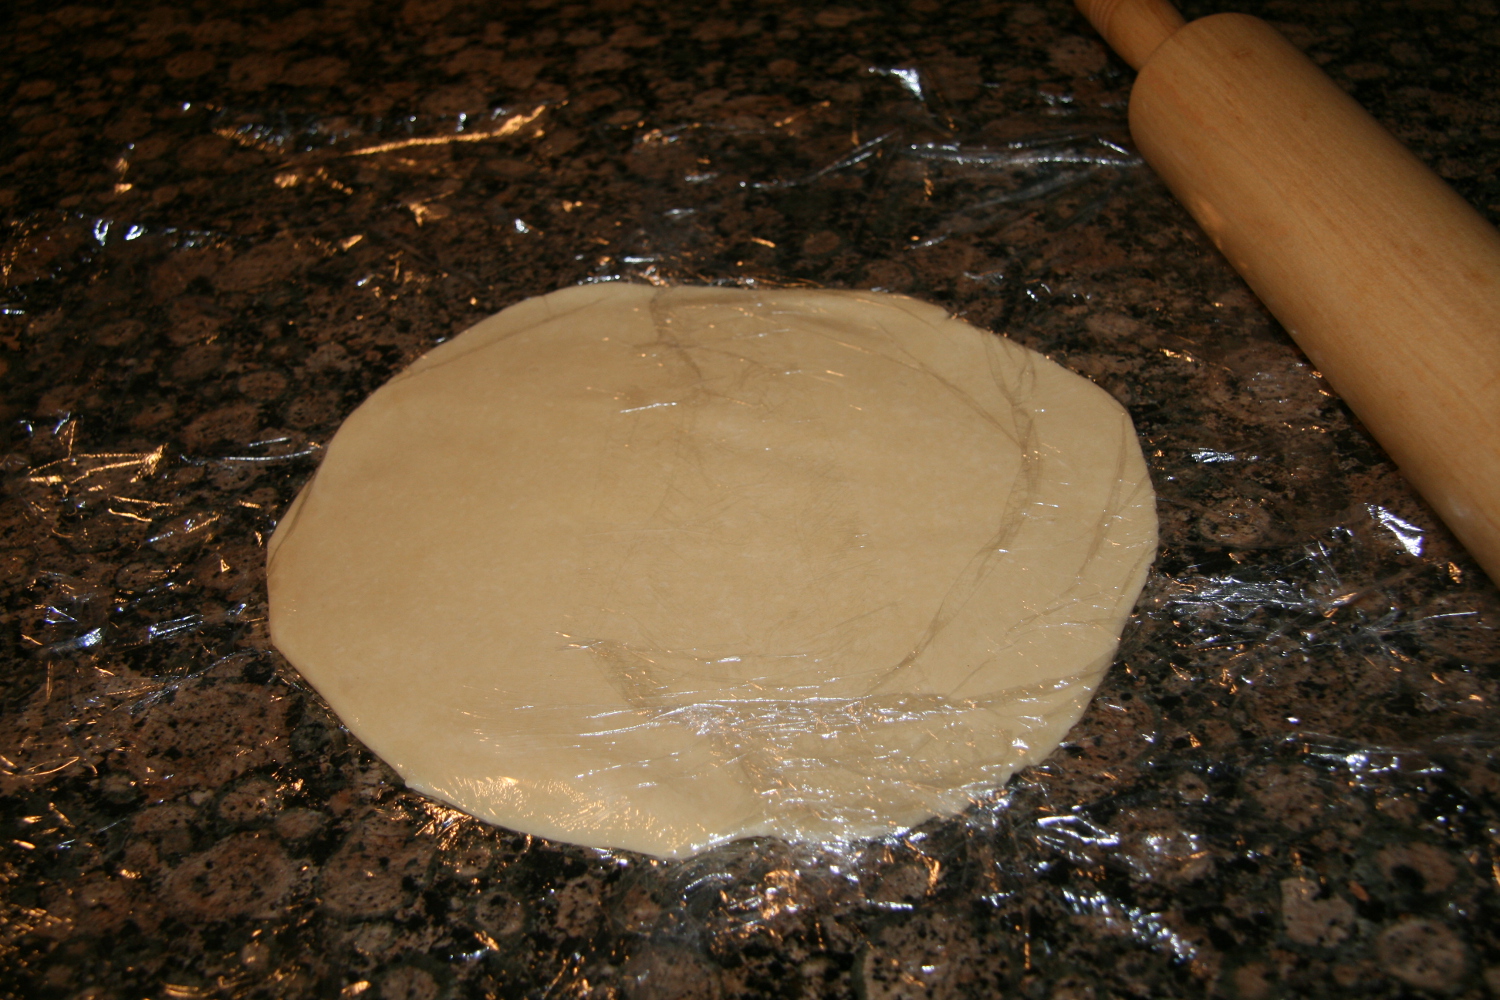
Tulip-pie1April is an important month at work, because it is Parkinson’s Awareness Month (PAM). This is only my second PAM while working at the Parkinson’s Disease Foundation, but I’m trying to make it a habit to show my spirit by bringing tulip-themed baked goods into work during the month of April. Last year, I made these tulip-shaped sugar cookies. This year, I decided to make a pie, since I recently learned a great technique for rolling out dough–roll it between two pieces of plastic wrap! It comes out perfectly and there is no sticking to the rolling pin.  I brought my pie in yesterday (the last day of April) and it was a big hit! Why tulips? Read about the tulip as a symbol for Parkinson’s disease here.

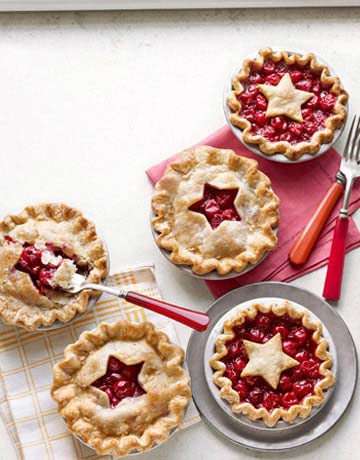
I saw this photo online using star shapes, and thought it would be perfect to make using my tulip cookie cutters. I love the idea of the inverse shapes, and would have done this if I were making two pies.

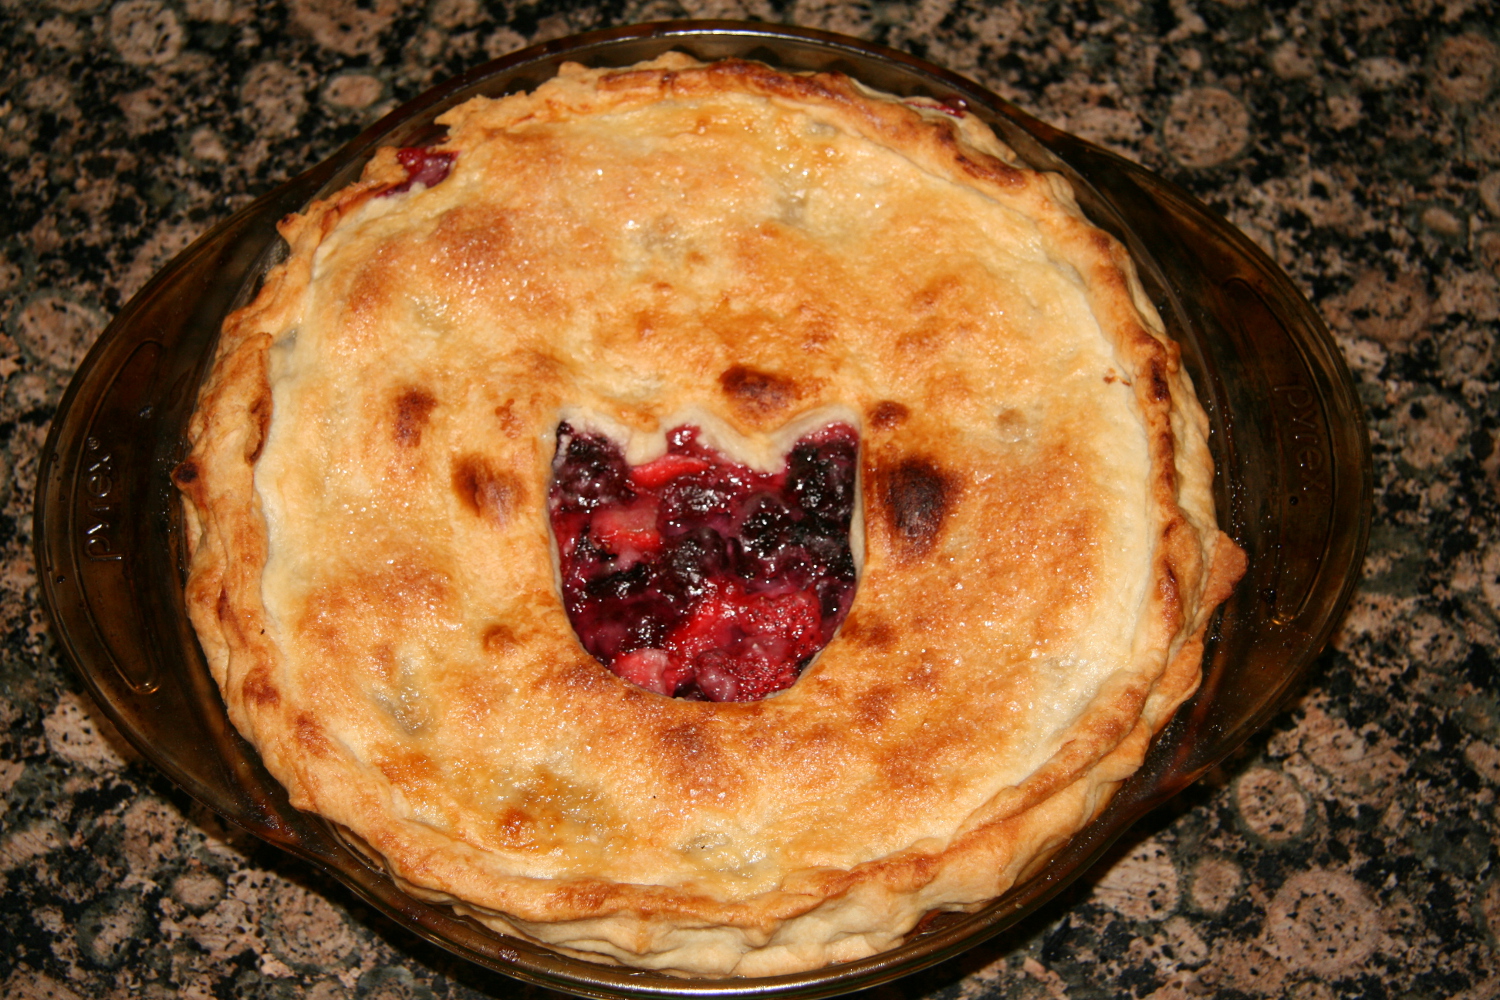
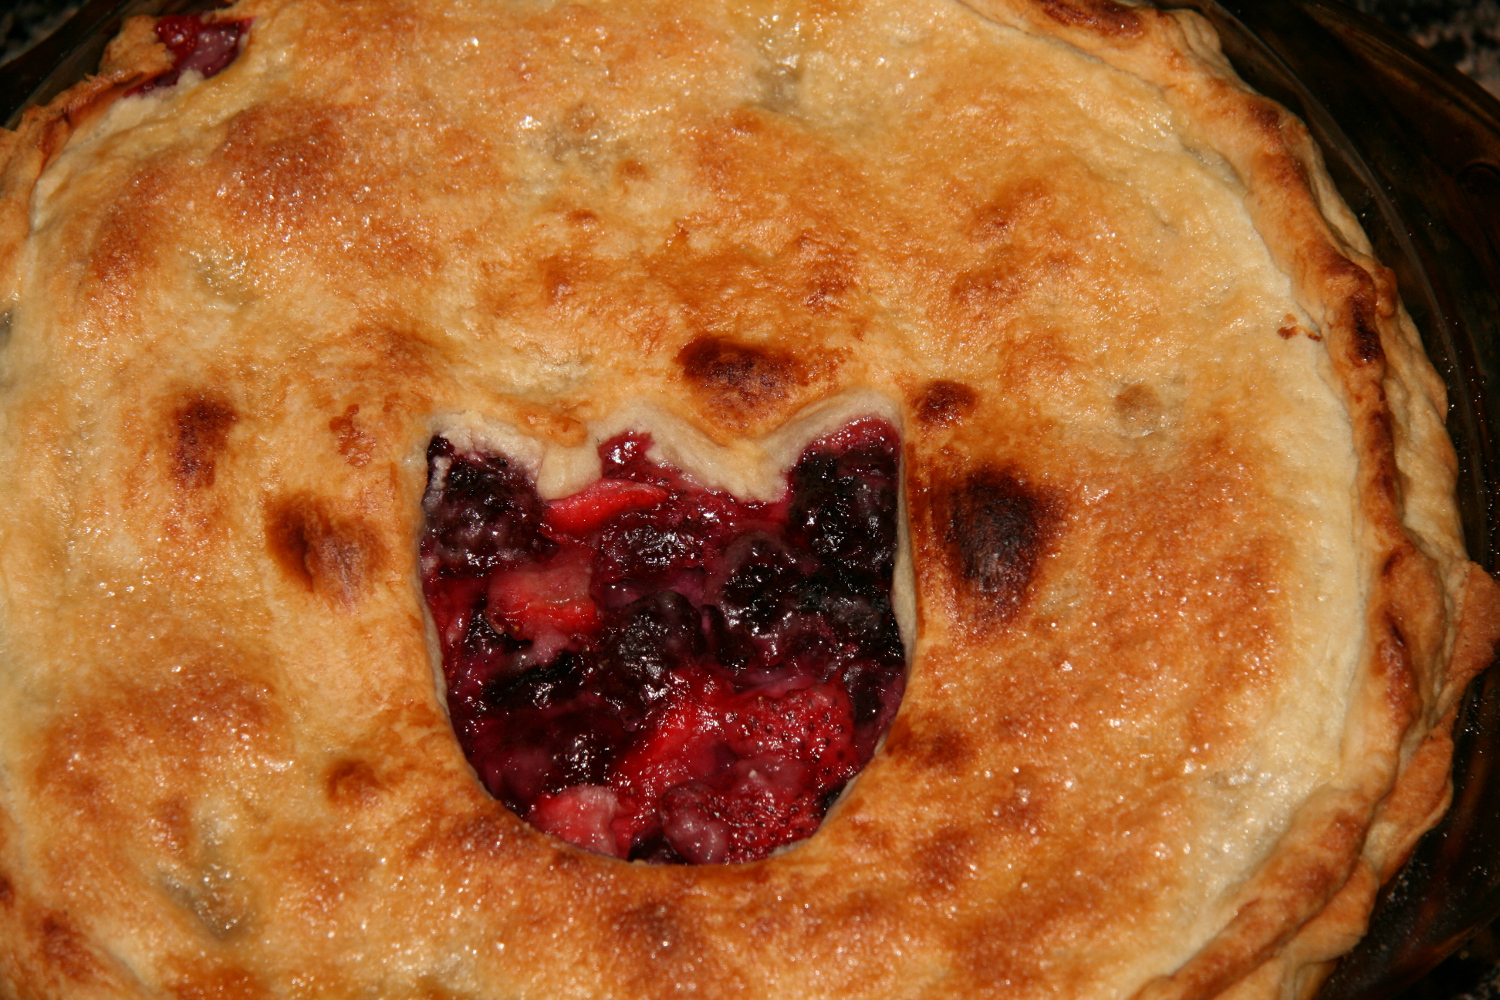
Tulip-pie-inspirationI decided to do a mixed berry pie (strawberries, blueberries, and blackberries). While it tasted great, I think the effect would have been better with just one berry (probably blackberries since they are dark). But, overall I was happy with the end result.

Tulip-pie2Basically I rolled out the dough for the  bottom crust and placed in the pie dish. Then I filled the pie and rolled out the top crust. Before putting the top crust on, I gently made an indent with the cookie cutter in the middle of the dough, but did not go all the way through. After placing the dough on top, I put the cookie cutter in the same spot and pushed down all the way. Then I gently removed the tulip-shaped dough and went around the edges with a butter knife to smooth it out.

Tulip Pie for Parkinson’s Awareness Month
Ingredients
  • For the dough (recipe from Audrey’s apron; double recipe to make top and bottom crust):
  • 1 3/4 cups all purpose flour
  • 1 tsp sugar
  • 1 1/2 sticks of butter, cut into pieces
  • 1/4 cup water
  • For the filling (adapted from Allrecipes):
  • 1 package of strawberries (1 lb)
  • 2 packages of blackberries (pint)
  • 1 package of blueberries (pint)
  • 1/2 cup white sugar
  • 1/2 cup all purpose flour
Instructions
To make the dough:
  1. Mix together the flour and sugar
  2. Add the butter slowly and mix until you have course crumbs
  3. Add water slowly until dough balls together. It will be fairly soft
  4. Wrap in plastic wrap and refrigerate for at least 30 minutes but can be left in the fridge overnight.
For the filling and pie assembly:
  1. Mix together the sugar and flour
  2. Sprinkle 1/4 of the mixture onto the bottom of the rolled out pie crust in the pie dish. Reserve another 1/4 of the mixture for the top.
  3. Mix the remaining flour and sugar with the berries and place in the bottom crust.
  4. Sprinkle the reserved flour and sugar over the berries and place the second pie crust on top. Cut away excess dough and crimp the edges of the top and bottom pie crusts together.
  5. Bake at 425 degrees F for 15 minutes and then turn down the oven to 375 degrees F and bake for an additional 20-25 minutes.

Parkinson’s Awareness Month may be over, but it is always a good time to show your support. Parkinson’s disease is a neurodegenerative disorder that affects movement and currently has no cure. If you would like to learn more about Parkinson’s, or donate to the Foundation’s efforts, please visit www.pdf.org.

Posted in Logo Work, Other Desserts | Comments Off on Tulip Pie for Parkinson’s Awareness Month

In honor of Pi day…zombie pie!

It is as it sounds…a pie with zombies in it!

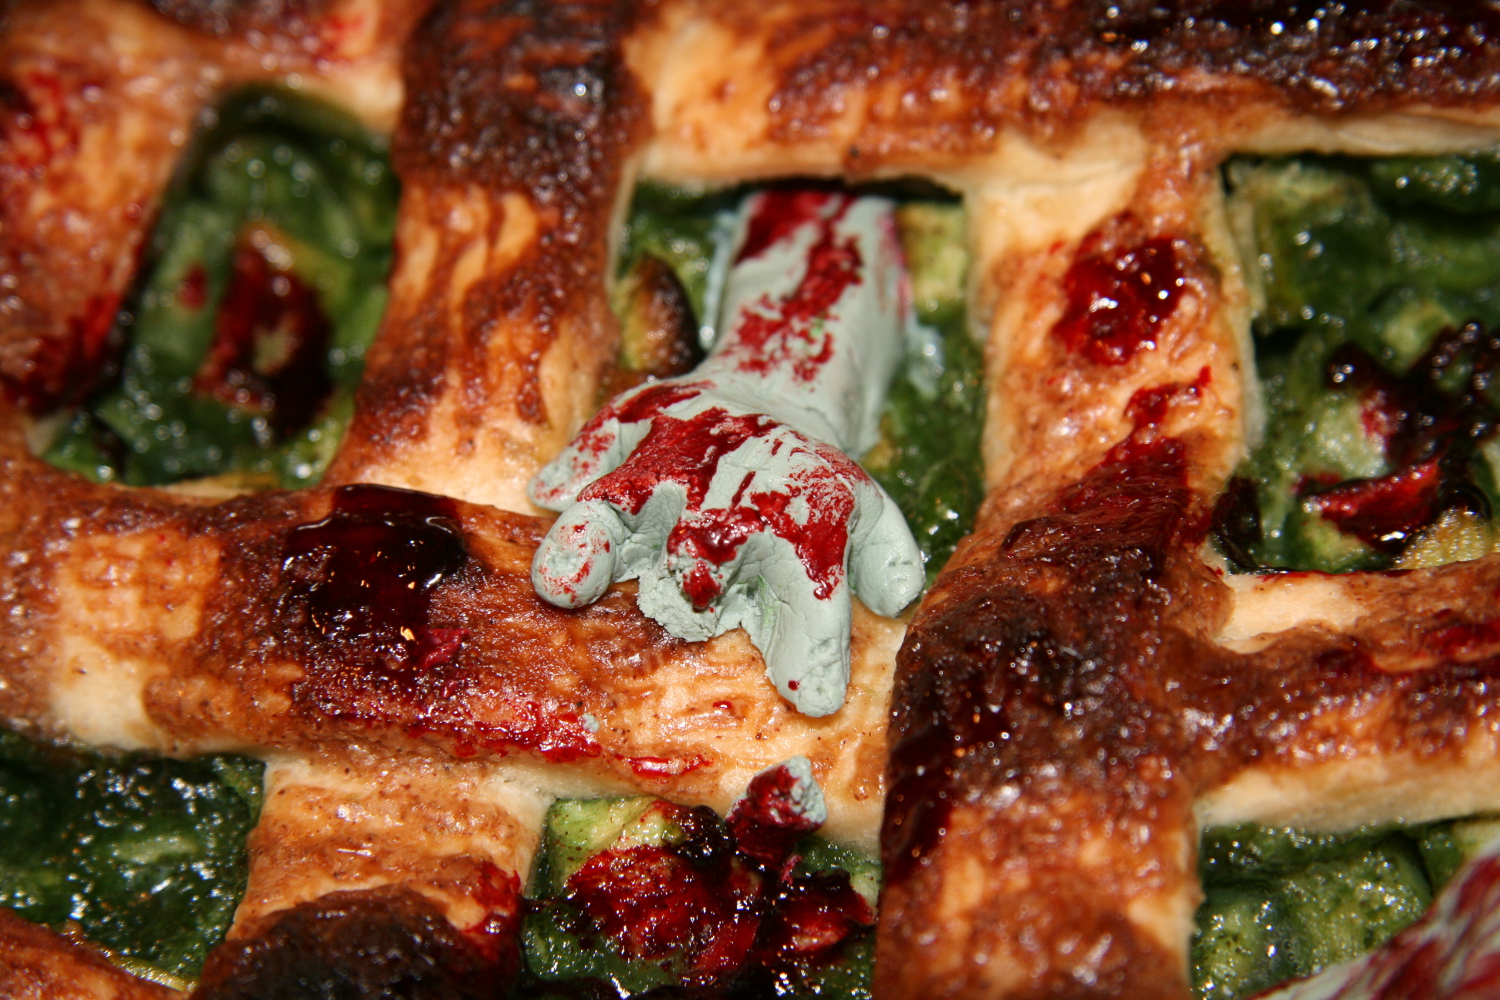
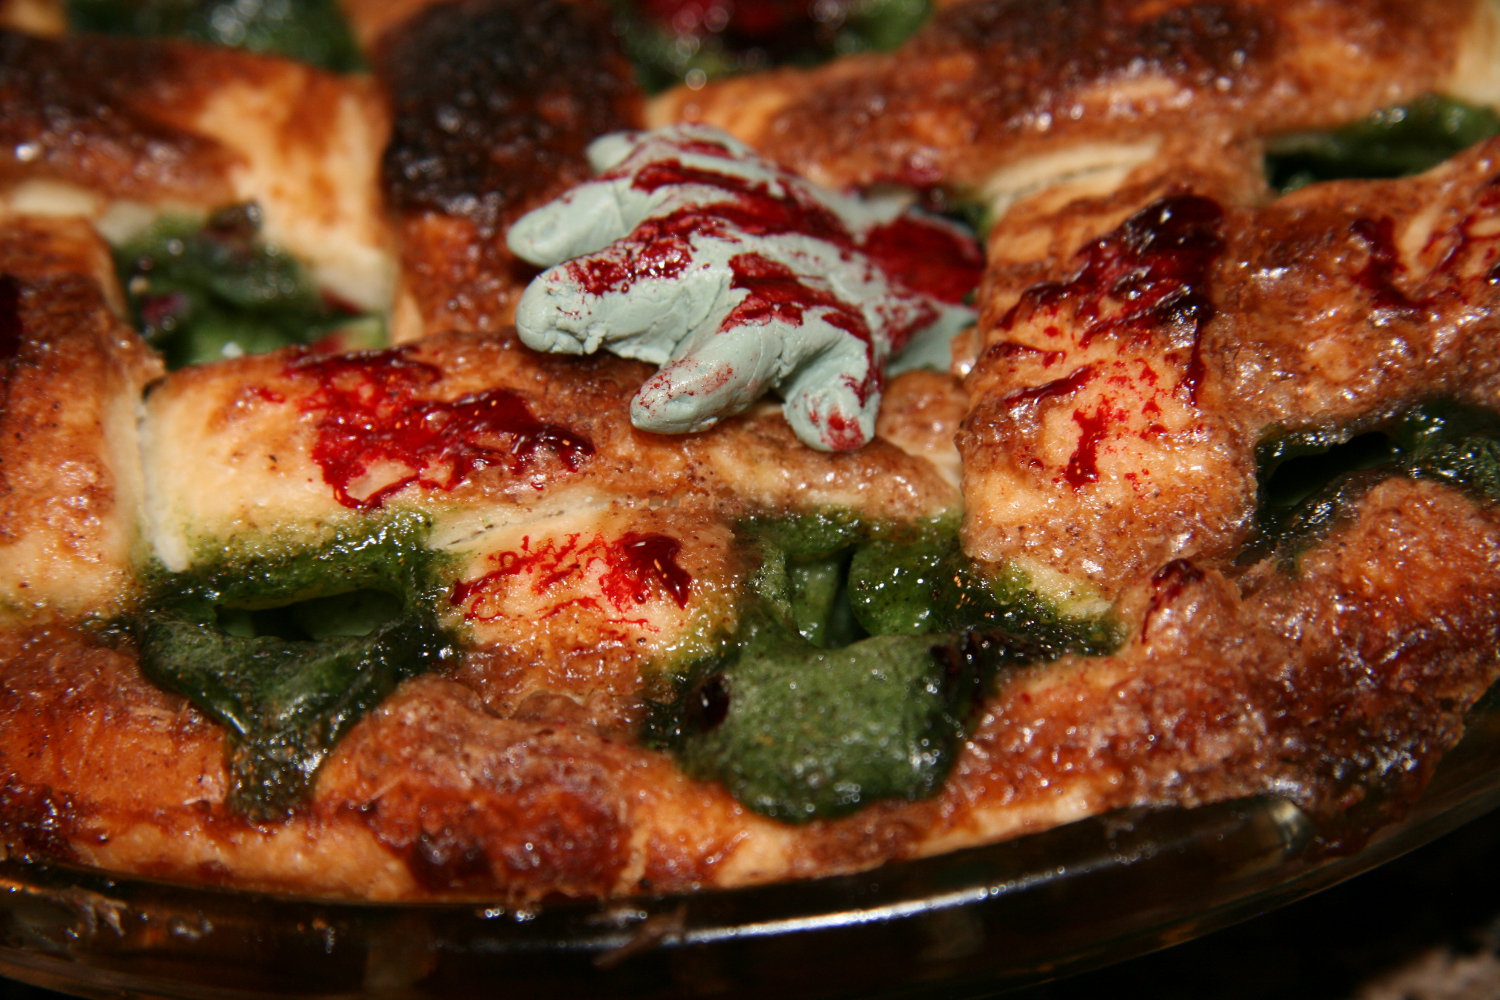
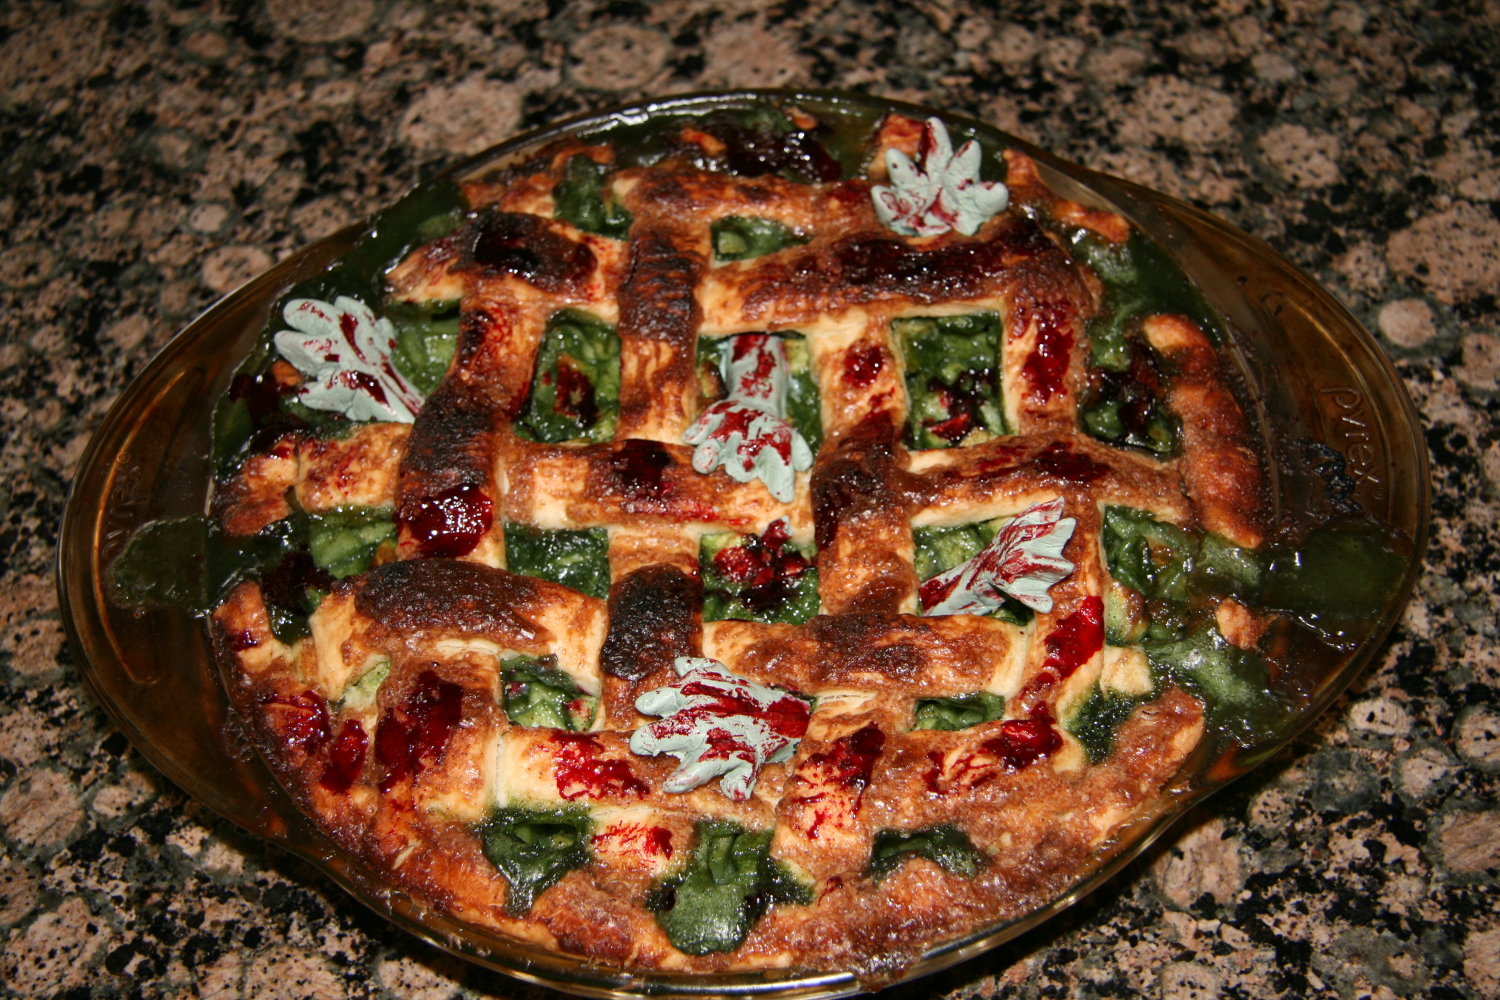
Zombie3Now, why did I make a zombie pie? To celebrate Pi day! The reason why it has zombies crawling out of it is because I’m attending a game night tonight, and we’re playing Zombicide, a zombie board game. So I thought it would be appropriate to make a zombie-themed pie.

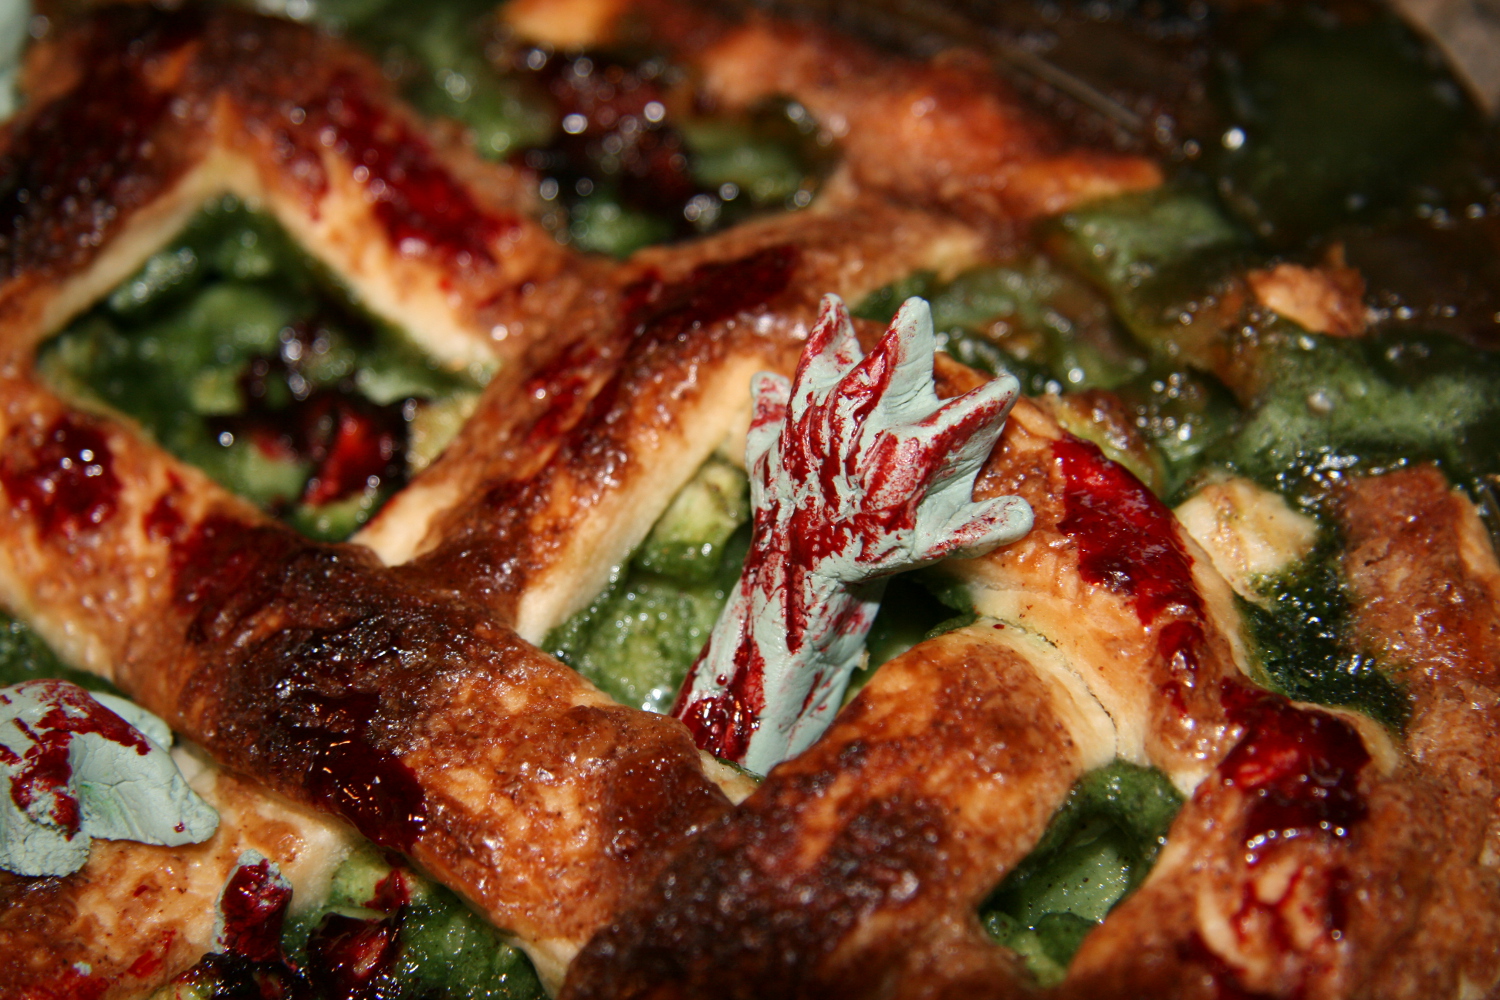
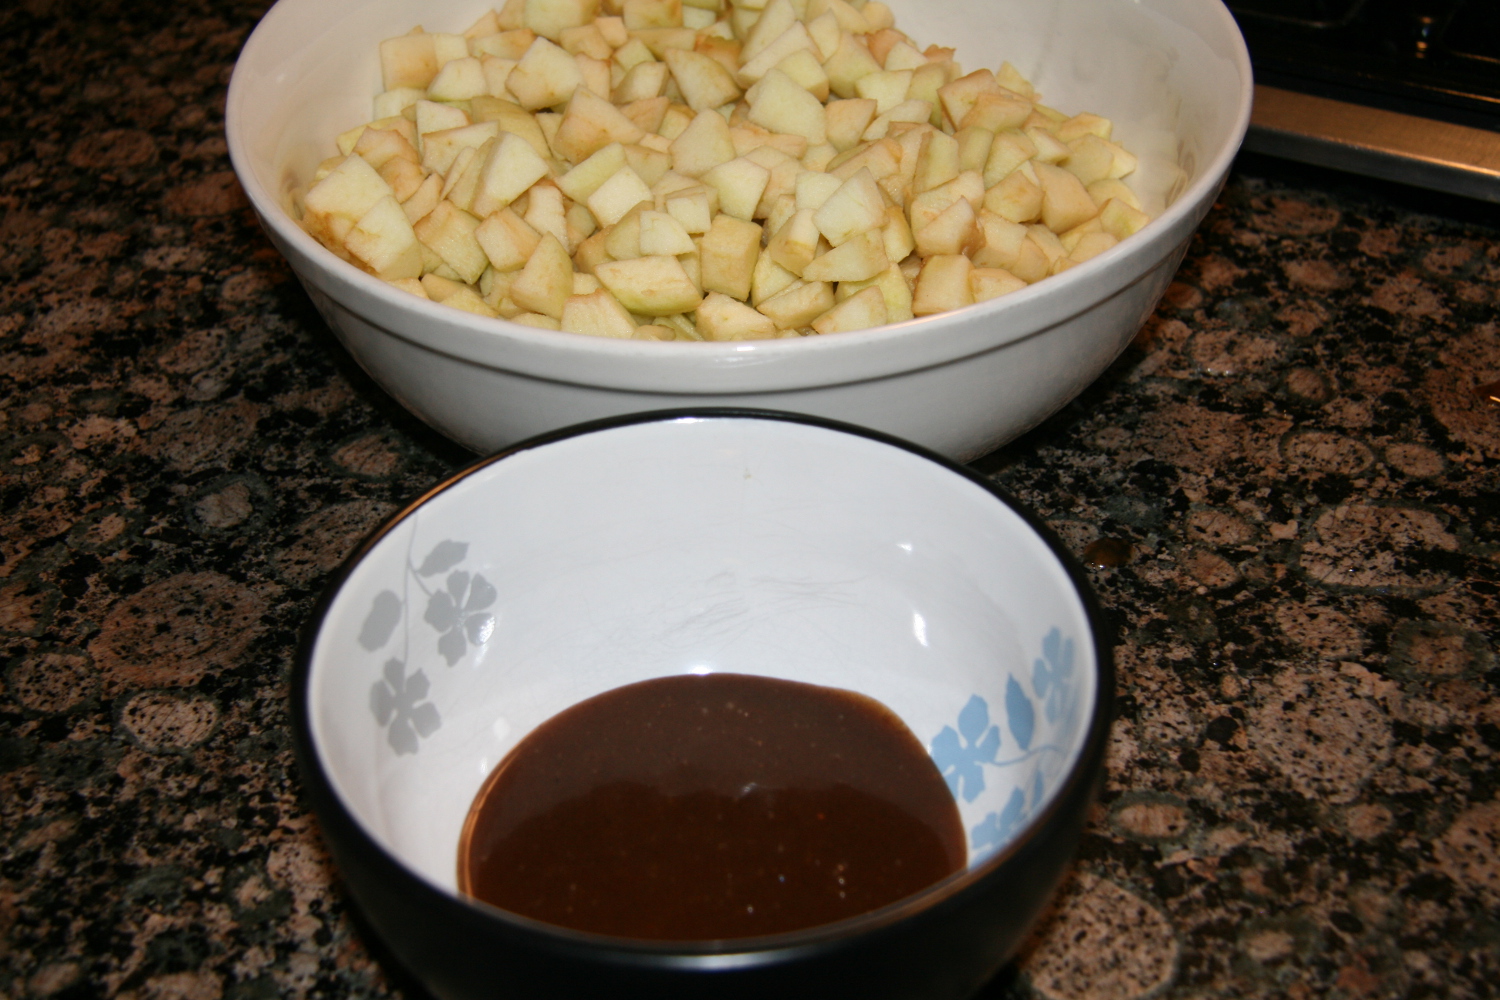
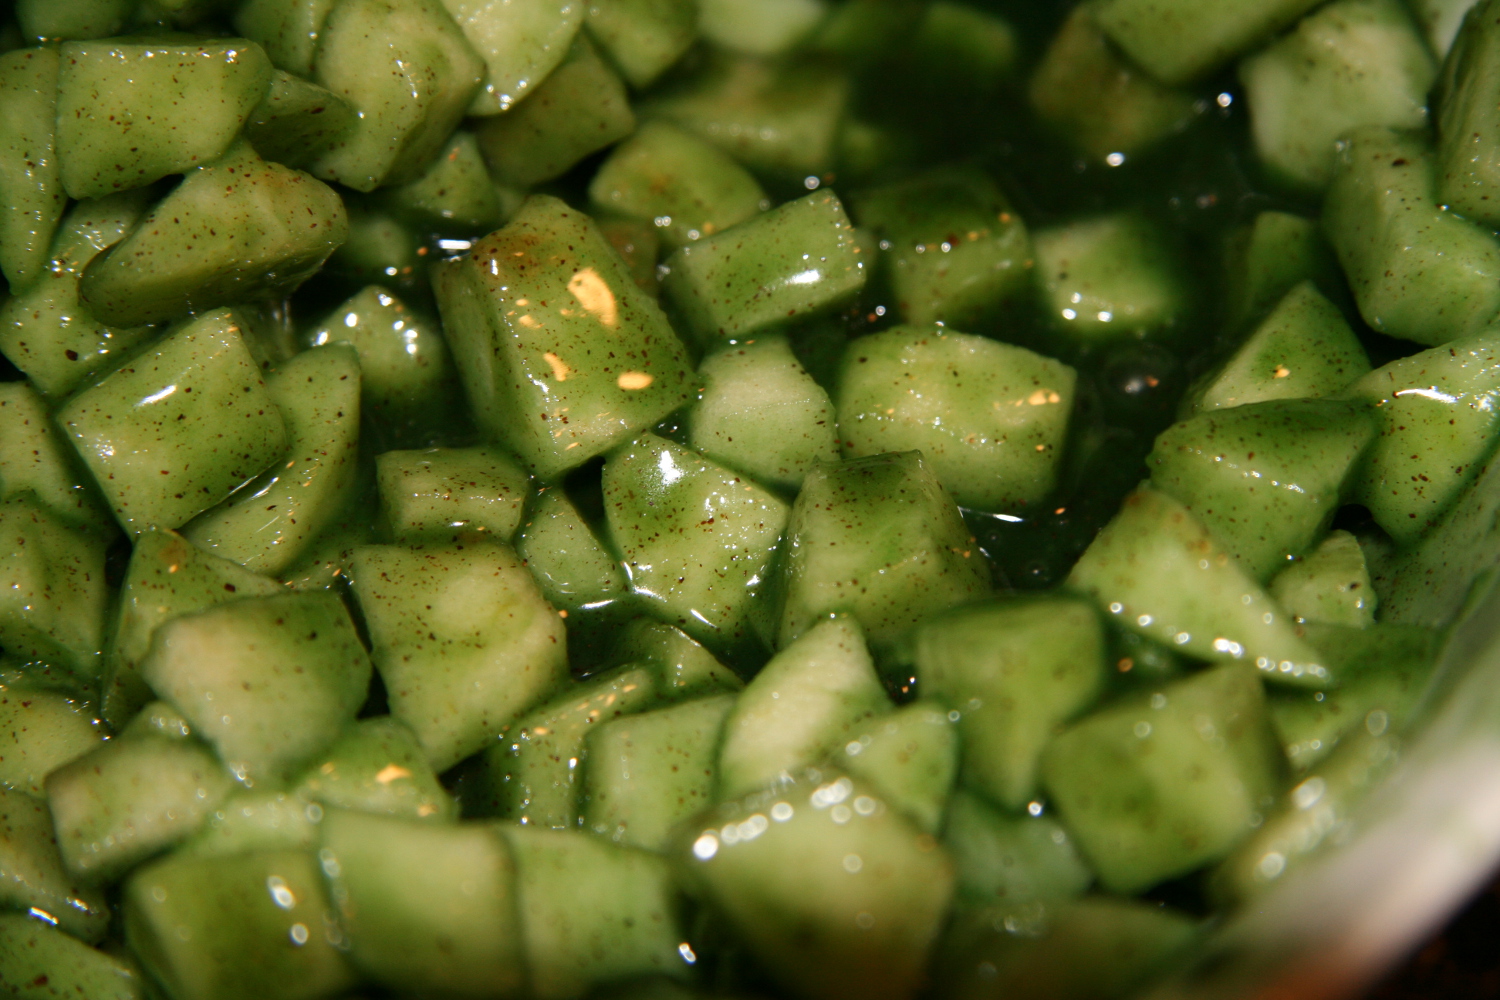
Really, it is just apple pie, with the filling dyed green, and modeling chocolate zombie hands reaching out. Oh yeah, and smeared with Wilton red gel color for blood. I had fun with that part 🙂

I found a recipe for apple pie on Pinterest, that claimed to be the Best Apple Pie EVER. I haven’t tasted it yet, but it certainly looks and smells like the best ever. It’s from a blog called Audrey’s Apron. She also gave the greatest tip ever for rolling out pie dough: roll it between 2 sheets of plastic wrap to prevent sticking. Genius! Worked like a charm.

Zombie6The other notable thing about her recipe is that you reserve 1/3 of the liquid pie filling and brush it on top of the lattice crust before baking.

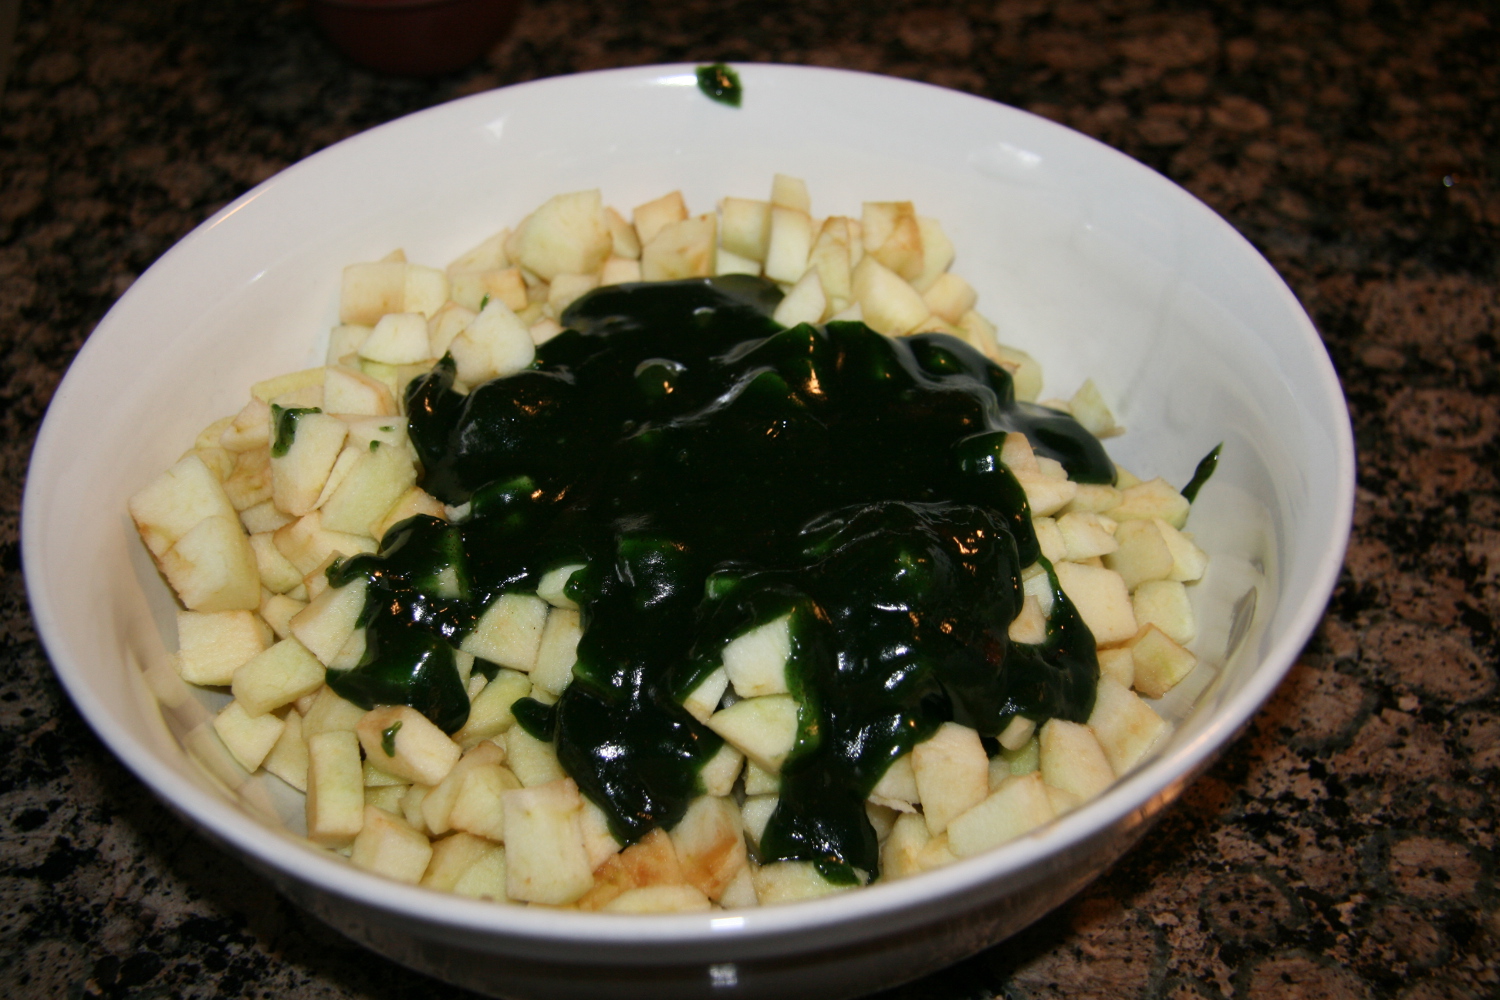
Zombie9 Since I didn’t want the WHOLE pie to be green, I took this part out before adding green food coloring to the remaining 2/3 of the filling and tossing it with the apples.

Zombie8Gross, huh? That’s the point…

Zombie7

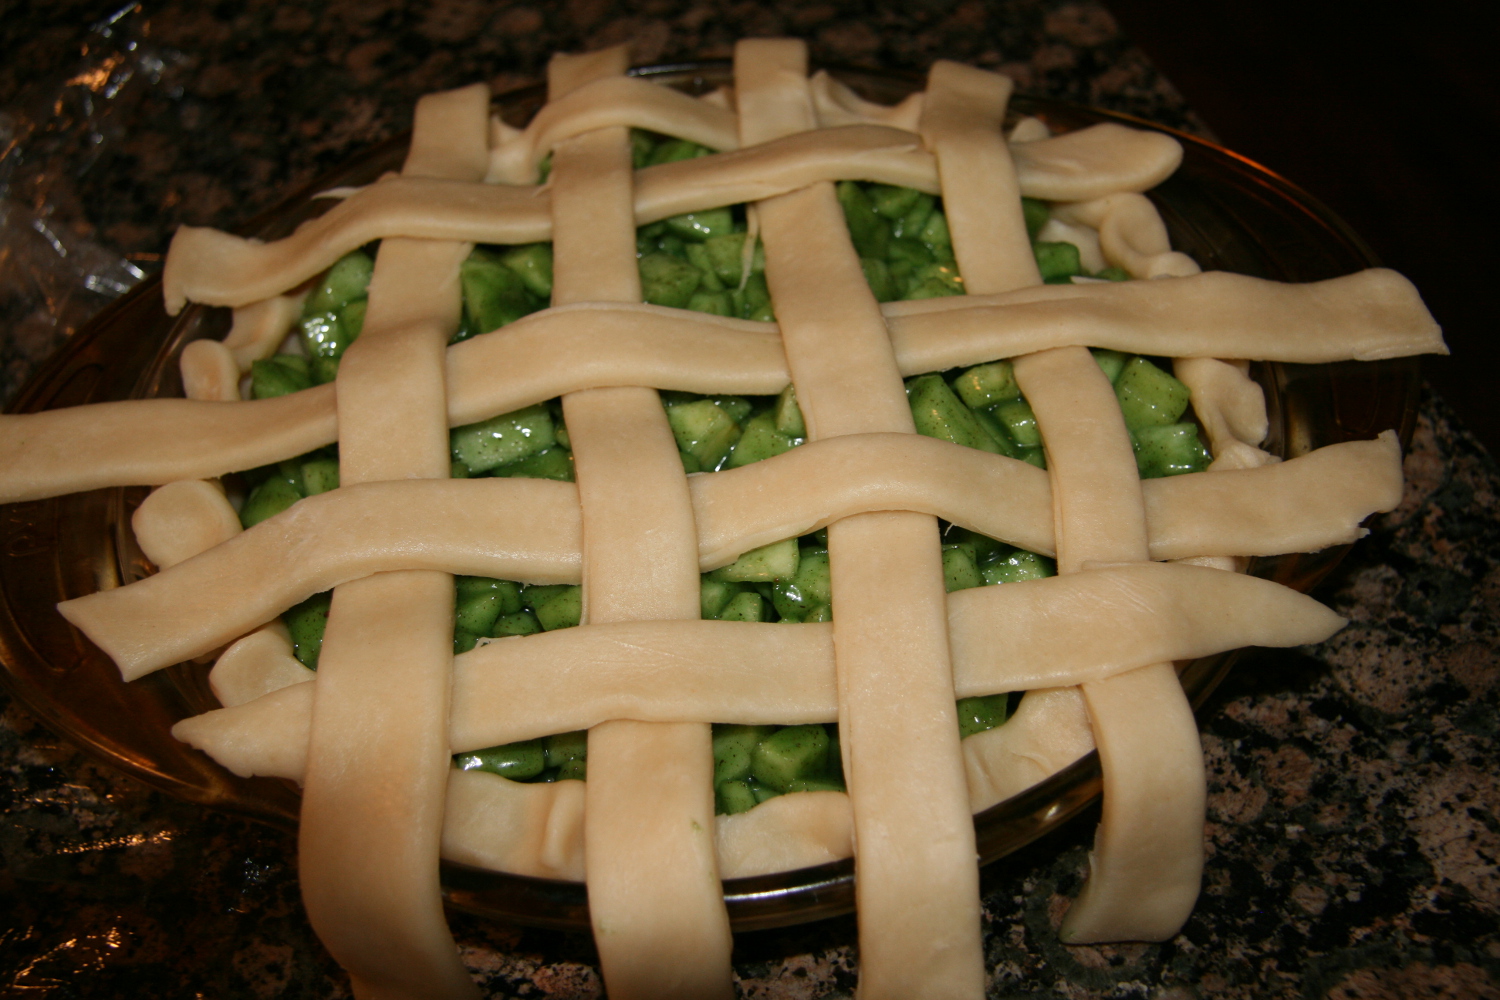
After filling the pie (overflowing so it would ooze out), I made a loose lattice with more dough. I wanted enough space so that I could easily stick zombie hands in between. I found great tutorial on how to do the lattice top here.

Zombie5

Trim the excess dough and tuck under the crust and you are all set to bake. Then I made the hands out of modeling chocolate, smeared them with blood, and stuck them in the pie, imagining they were trapped underneath and trying to get out. For the color of the hands, I used black and leaf green gel mixed with white modeling chocolate. Add a little at a time because a little goes a long way!

One final awesome thing I learned from Audrey’s Apron was about the beauty of pie crust shields. I always wondered why my crust would burn or get splashed with pie filling and how I could prevent that. You can make a shield out of foil, or you can buy a silicone one that is reusable. I think I’ll invest in one.

Zombie2

Zombie4

Zombie1

Best Apple Pie EVER (from Audrey’s Apron)
I made 2 batches of dough for the top and bottom crust. The recipe is listed as one batch, so remember to double it!
Ingredients
  • For the dough (1 batch):
  • 1 3/4 cups of flour
  • 1 tsp sugar
  • 1 1/2 sticks (12 TBSP) butter, cut into pieces
  • 1/4 cup ice water
  • For the filling:
  • 7 or 8 small granny smith apples
  • 1 stick of butter
  • 3 TBSP flour
  • 1/2 cup white sugar
  • 1/2 cup brown sugar
  • 1 tsp cinnamon (heaped)
  • 1/4 tsp nutmeg
  • 1 tsp vanilla
Instructions
For the dough:
  1. (Can be done in a food processor, but I used my Kitchenaid mixer, so I will give instructions for that)
  2. Mix together the flour and sugar
  3. Add the butter a little at a time and mix until you have course crumbs
  4. Add the water slowly until the dough balls together. It will be pretty soft.
  5. Wrap in plastic wrap and refrigerate for at least 30 minutes, but can be left in the fridge overnight.
For the filling:
  1. Peel, core, and chop the granny smith apples and place aside in a large bowl.
  2. Melt the butter in a saucepan over medium heat. When completely melted, add the flour and mix until it thickens.
  3. Add the water, sugars, cinnamon, nutmeg, and vanilla.
  4. Let the mixture boil for one minute, and then turn down the heat and simmer for one minute.
  5. Reserve 1/3 of the mixture for the crust. Toss the remaining 2/3 with the apples.
To assemble:
  1. Spray a pie dish with Pam cooking spray. Roll out the bottom crust and place in the pie dish.
  2. Pour the apple mixture inside the crust and make sure the apples are level.
  3. Roll out the second crust and cut into strips (I did about an inch thick) with a pizza cutter or scissors.
  4. Place the trips on top of the pie in a lattice design and trim the excess dough.
  5. Tuck the down into the bottom crust and crimp around to make sure it is secure.
  6. Brush the top of the pie with the butter mixture you set aside, using a pastry brush.
Baking:
  1. Cover the edges of the pie with a pie guard or foil. Bake at 350 degrees for 1 hour. Remove the foil and bake at 425 degrees another 10-15 minutes.


Posted in Other Desserts | Comments Off on In honor of Pi day…zombie pie!

Breadit Asian Bread Challenge: Anpan! Aka sweet buns filled with red bean paste

Anpan4

About a month ago, I started going on Reddit, a site with all sorts of fun and interesting  things found on the internet. There are sub-readits based on people’s interests, and one of my favorites is “breadit,” dedicated to all things bread! Don’t you love the name? A baking challenge was posted, asking people to make an east Asian bread and post the results along with a recipe. The judge is going to recreate all the recipes and choose the winner.

I figured this was totally up my alley because I happen to LOVE Japanese buns and rolls. When John and I lived near DC, we used to go to Chinatown a lot. One of our favorite restaurants was this hole in the wall that probably broke all kinds of health regulations. But their food was SO good and they were SO cheap. The best part was they had these great Japanese buns behind their counter for $1 each. One of our favorites is the red bean bun, or anpan. I figured I would try this one for my submission. The red bean paste I made with my own recipe after browsing on the internet. For the dough, I used a recipe from Mamaloli.com a site for Asian recipes.

I’ll give a few tips first, then post the full recipe at the bottom.

I found that making the red bean paste a few days early was the easiest. You can store it wrapped in plastic wrap for a week in the fridge. Soak the beans for 3 hours before cooking them to make the paste.

Beans-rawThe paste is very easy, and you can use honey, brown sugar, white sugar (or a combination) to sweeten it. I used a combination of honey and white sugar. I didn’t have any brown sugar, but I’d love to try it the next time I make it.
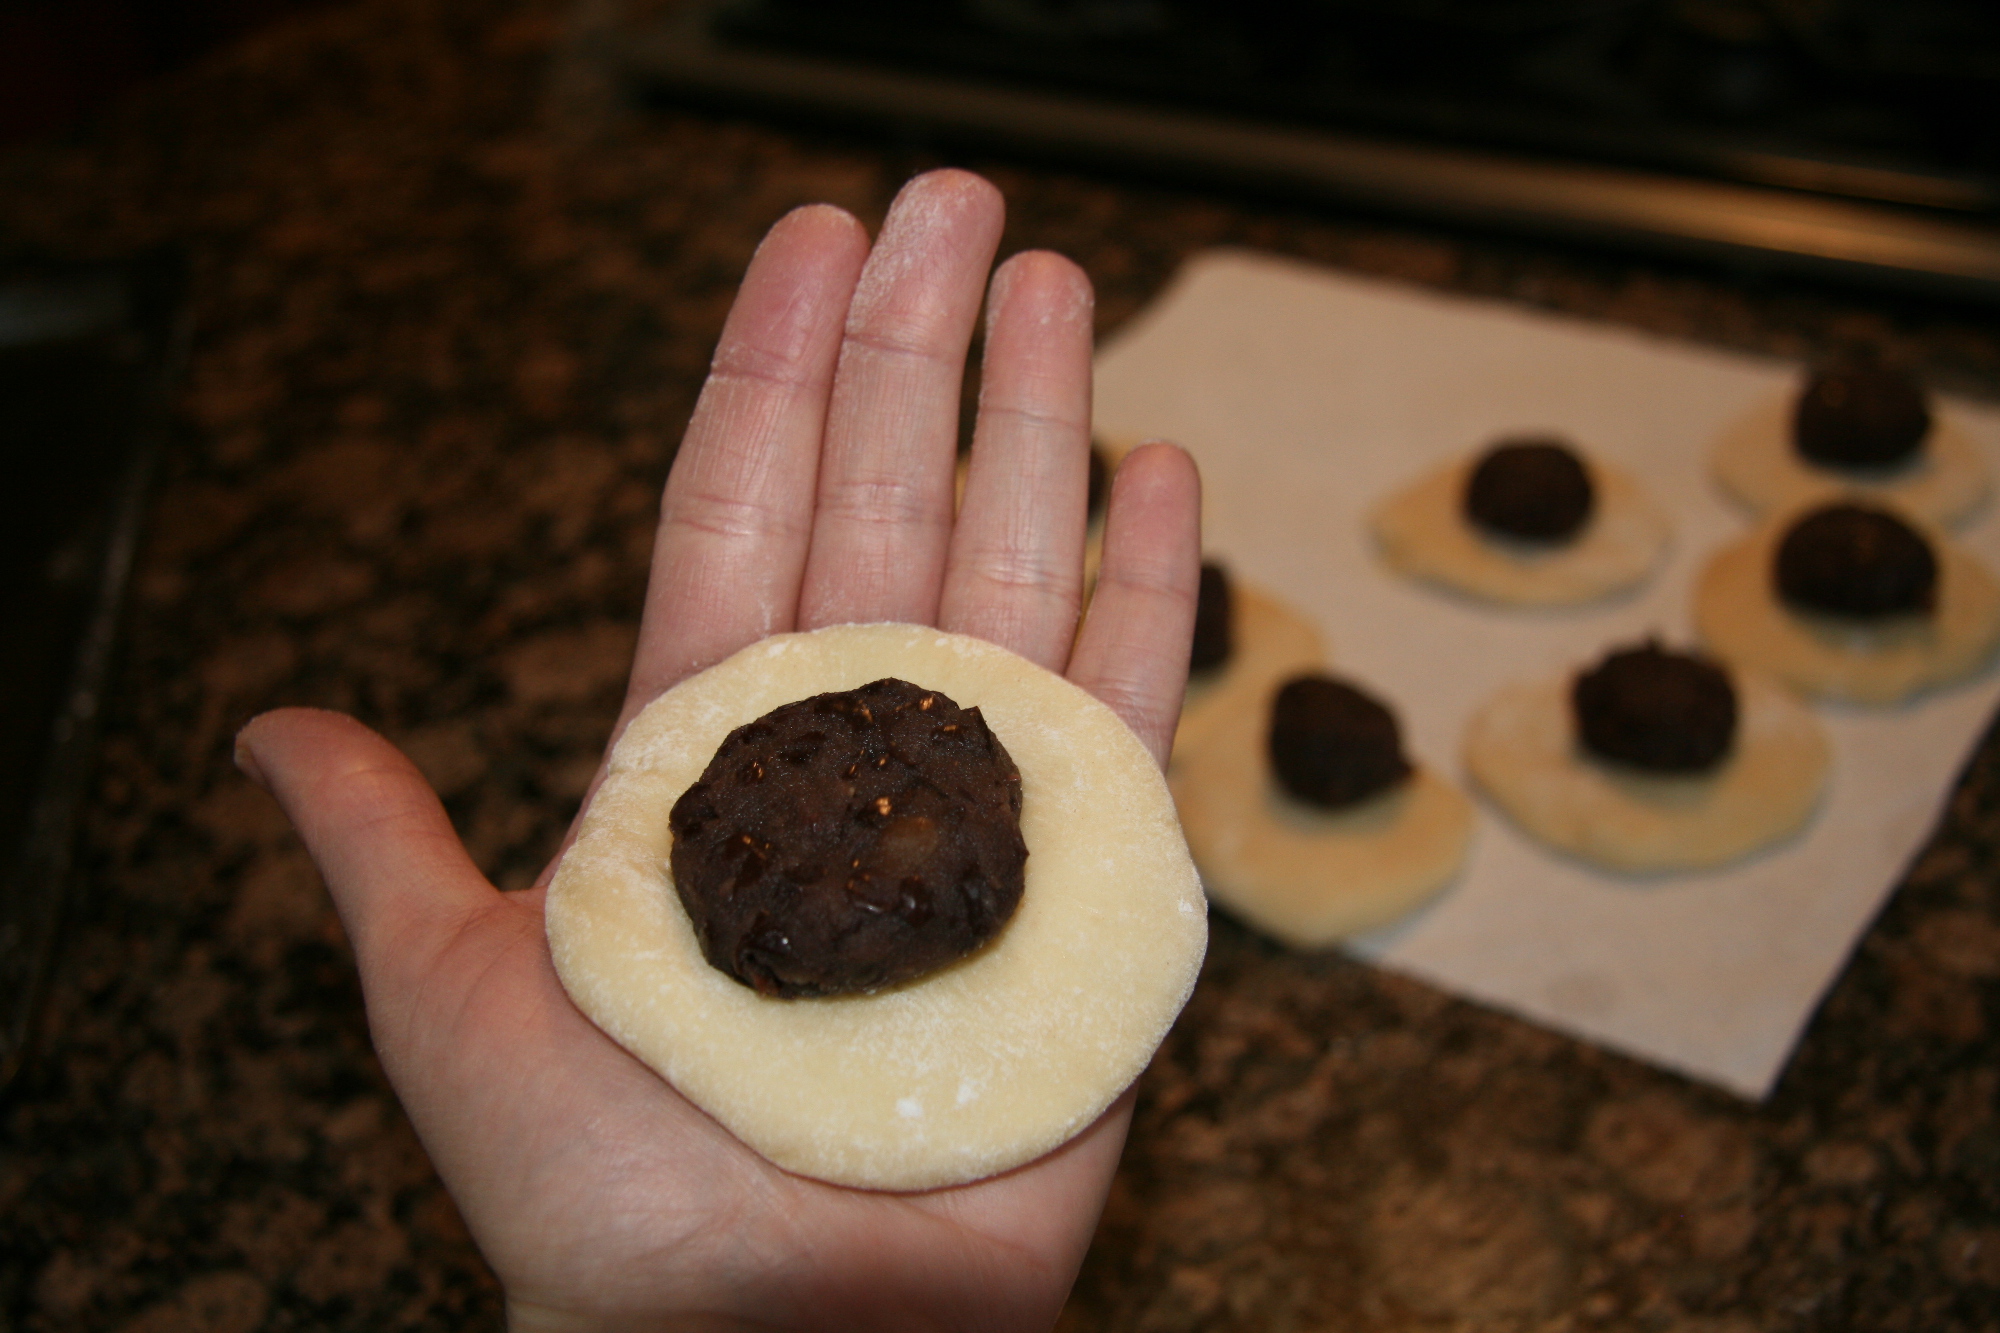
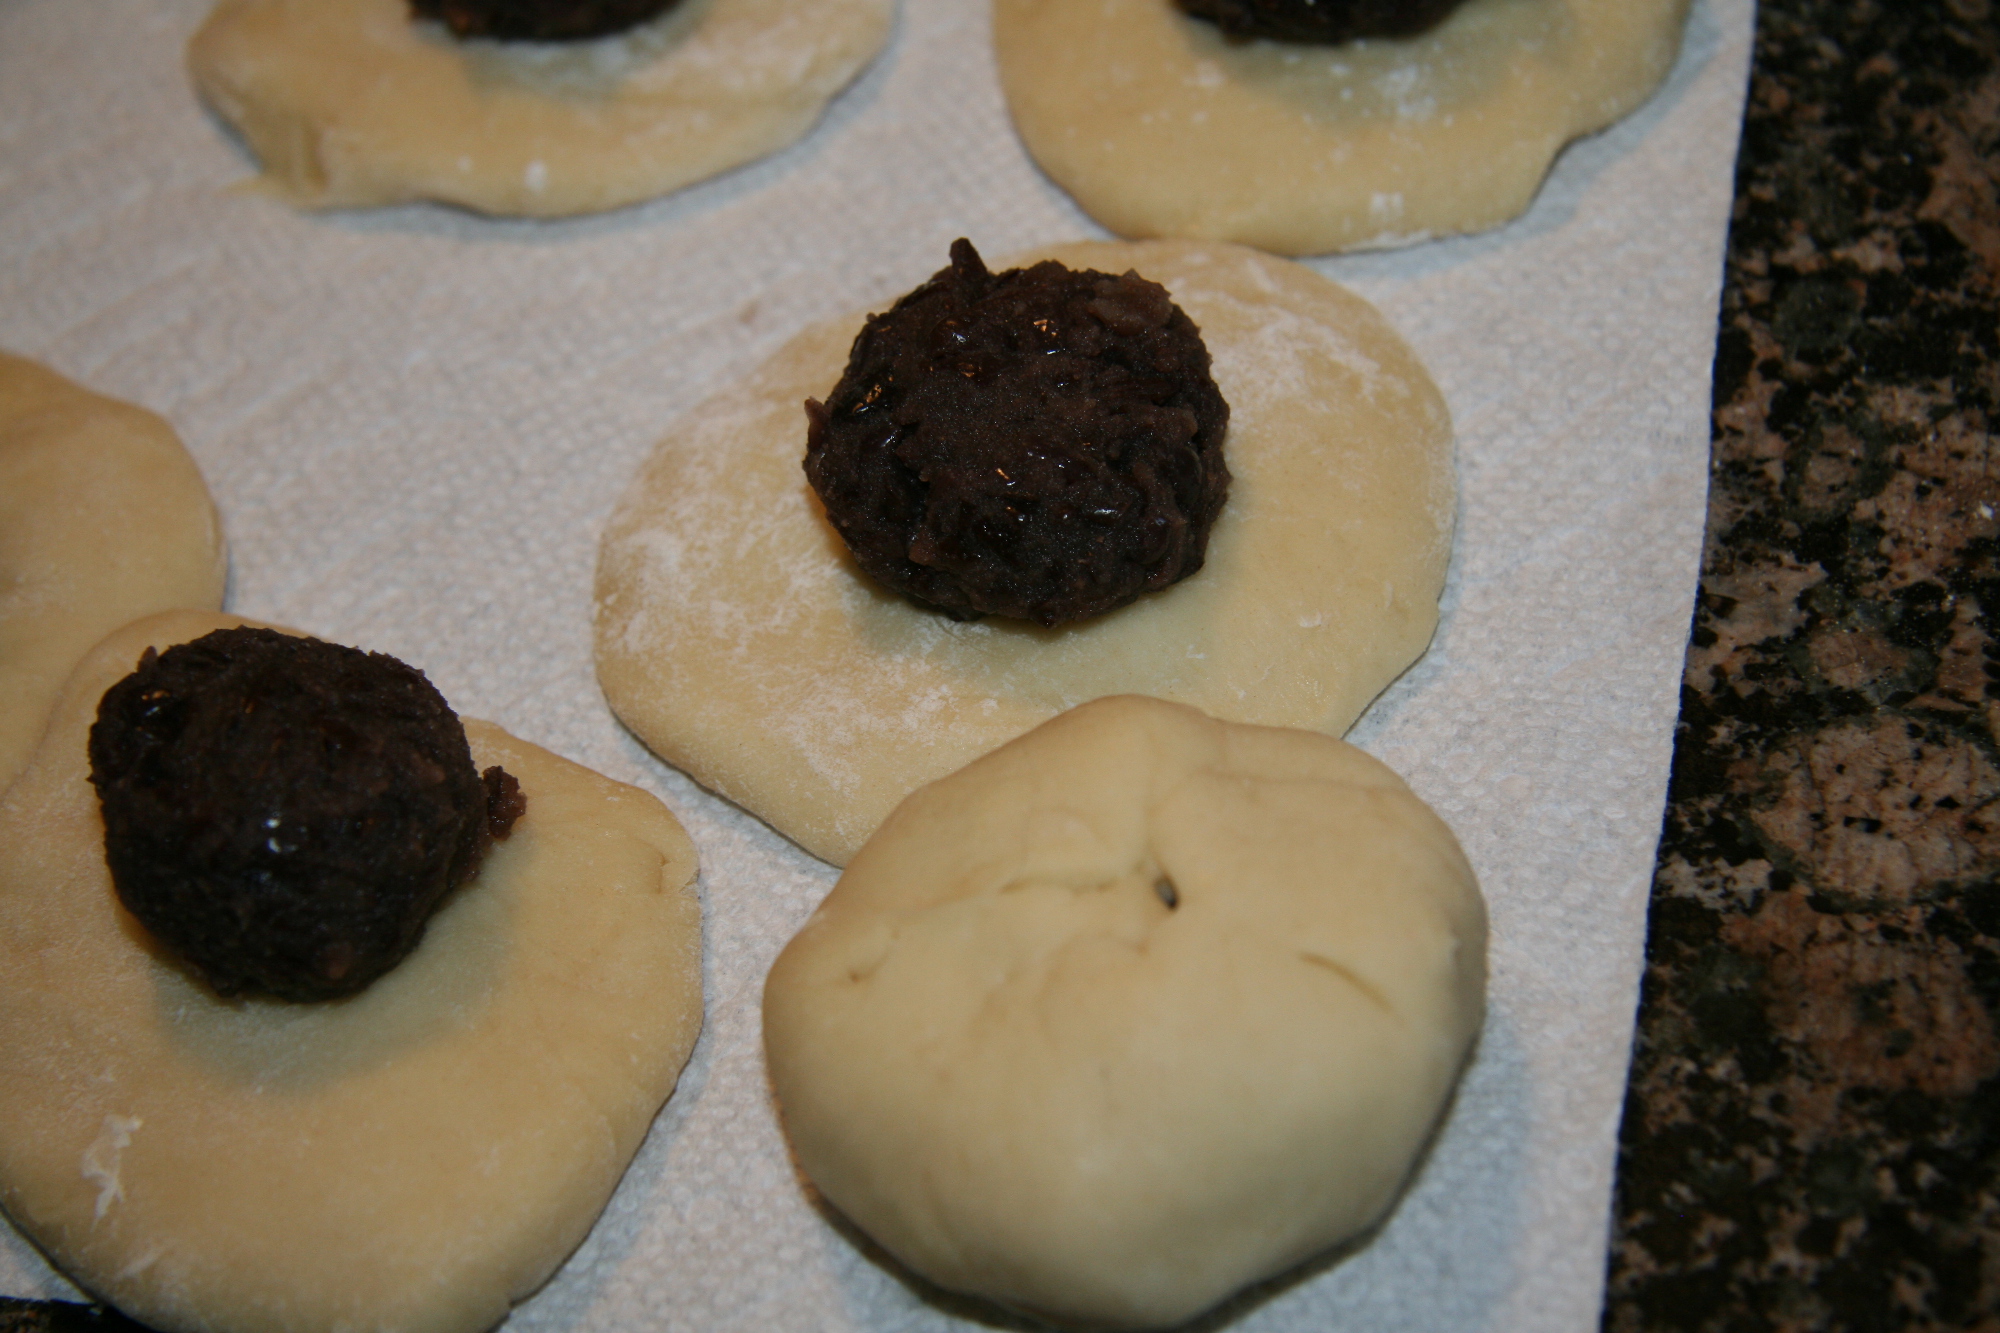
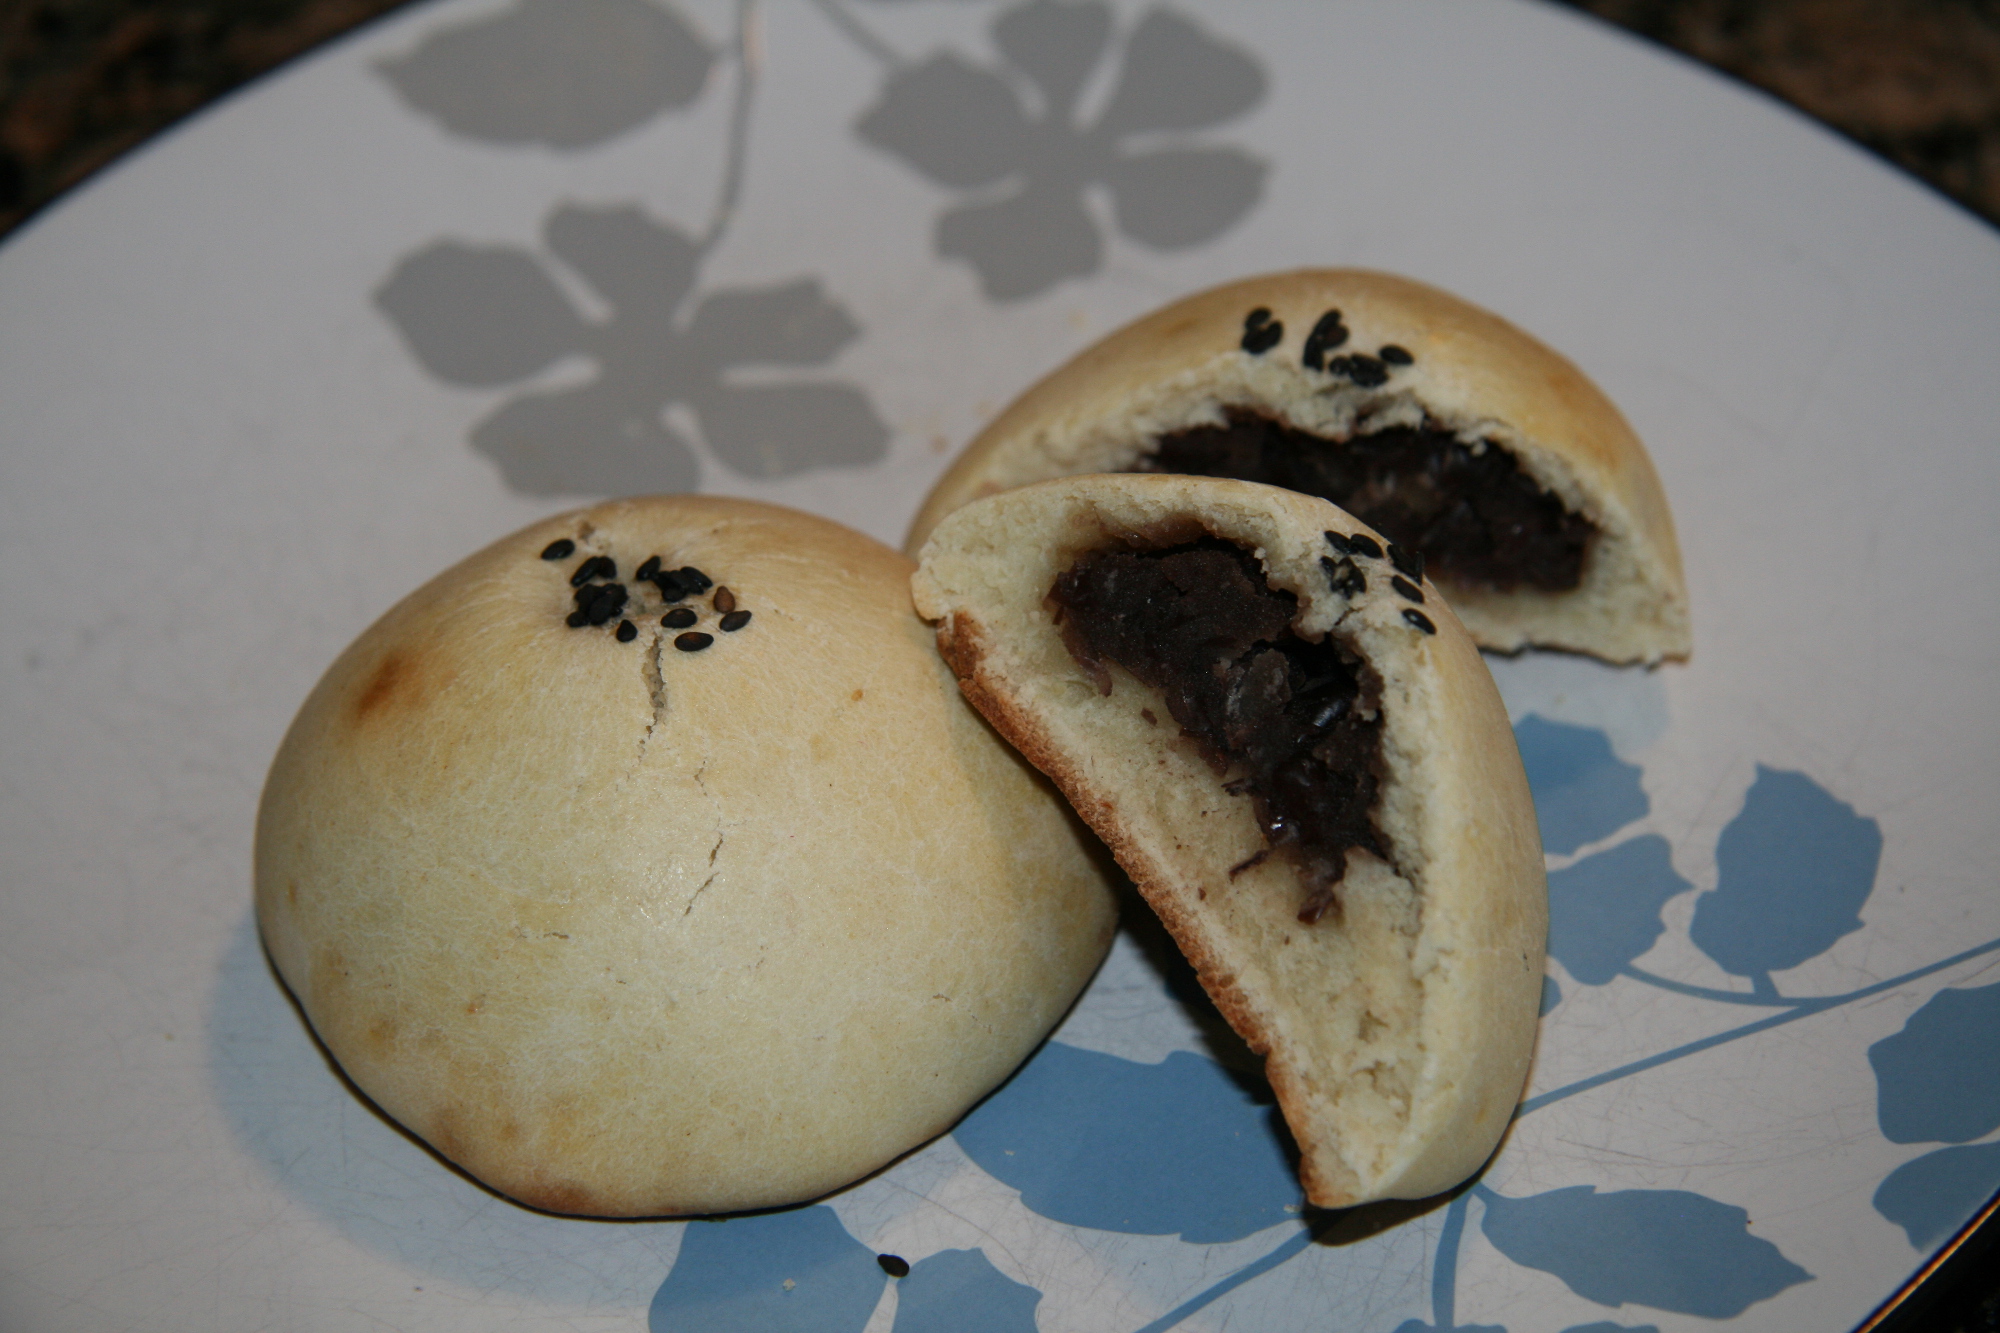
Beans-cookedTo shape the buns, take the flattened dough in your palm and place a ball of paste in the center. Then pull the dough around the ball of paste and pinch it shut. Make sure it is completely closed so the paste doesn’t leak out when baking.

Anpan1

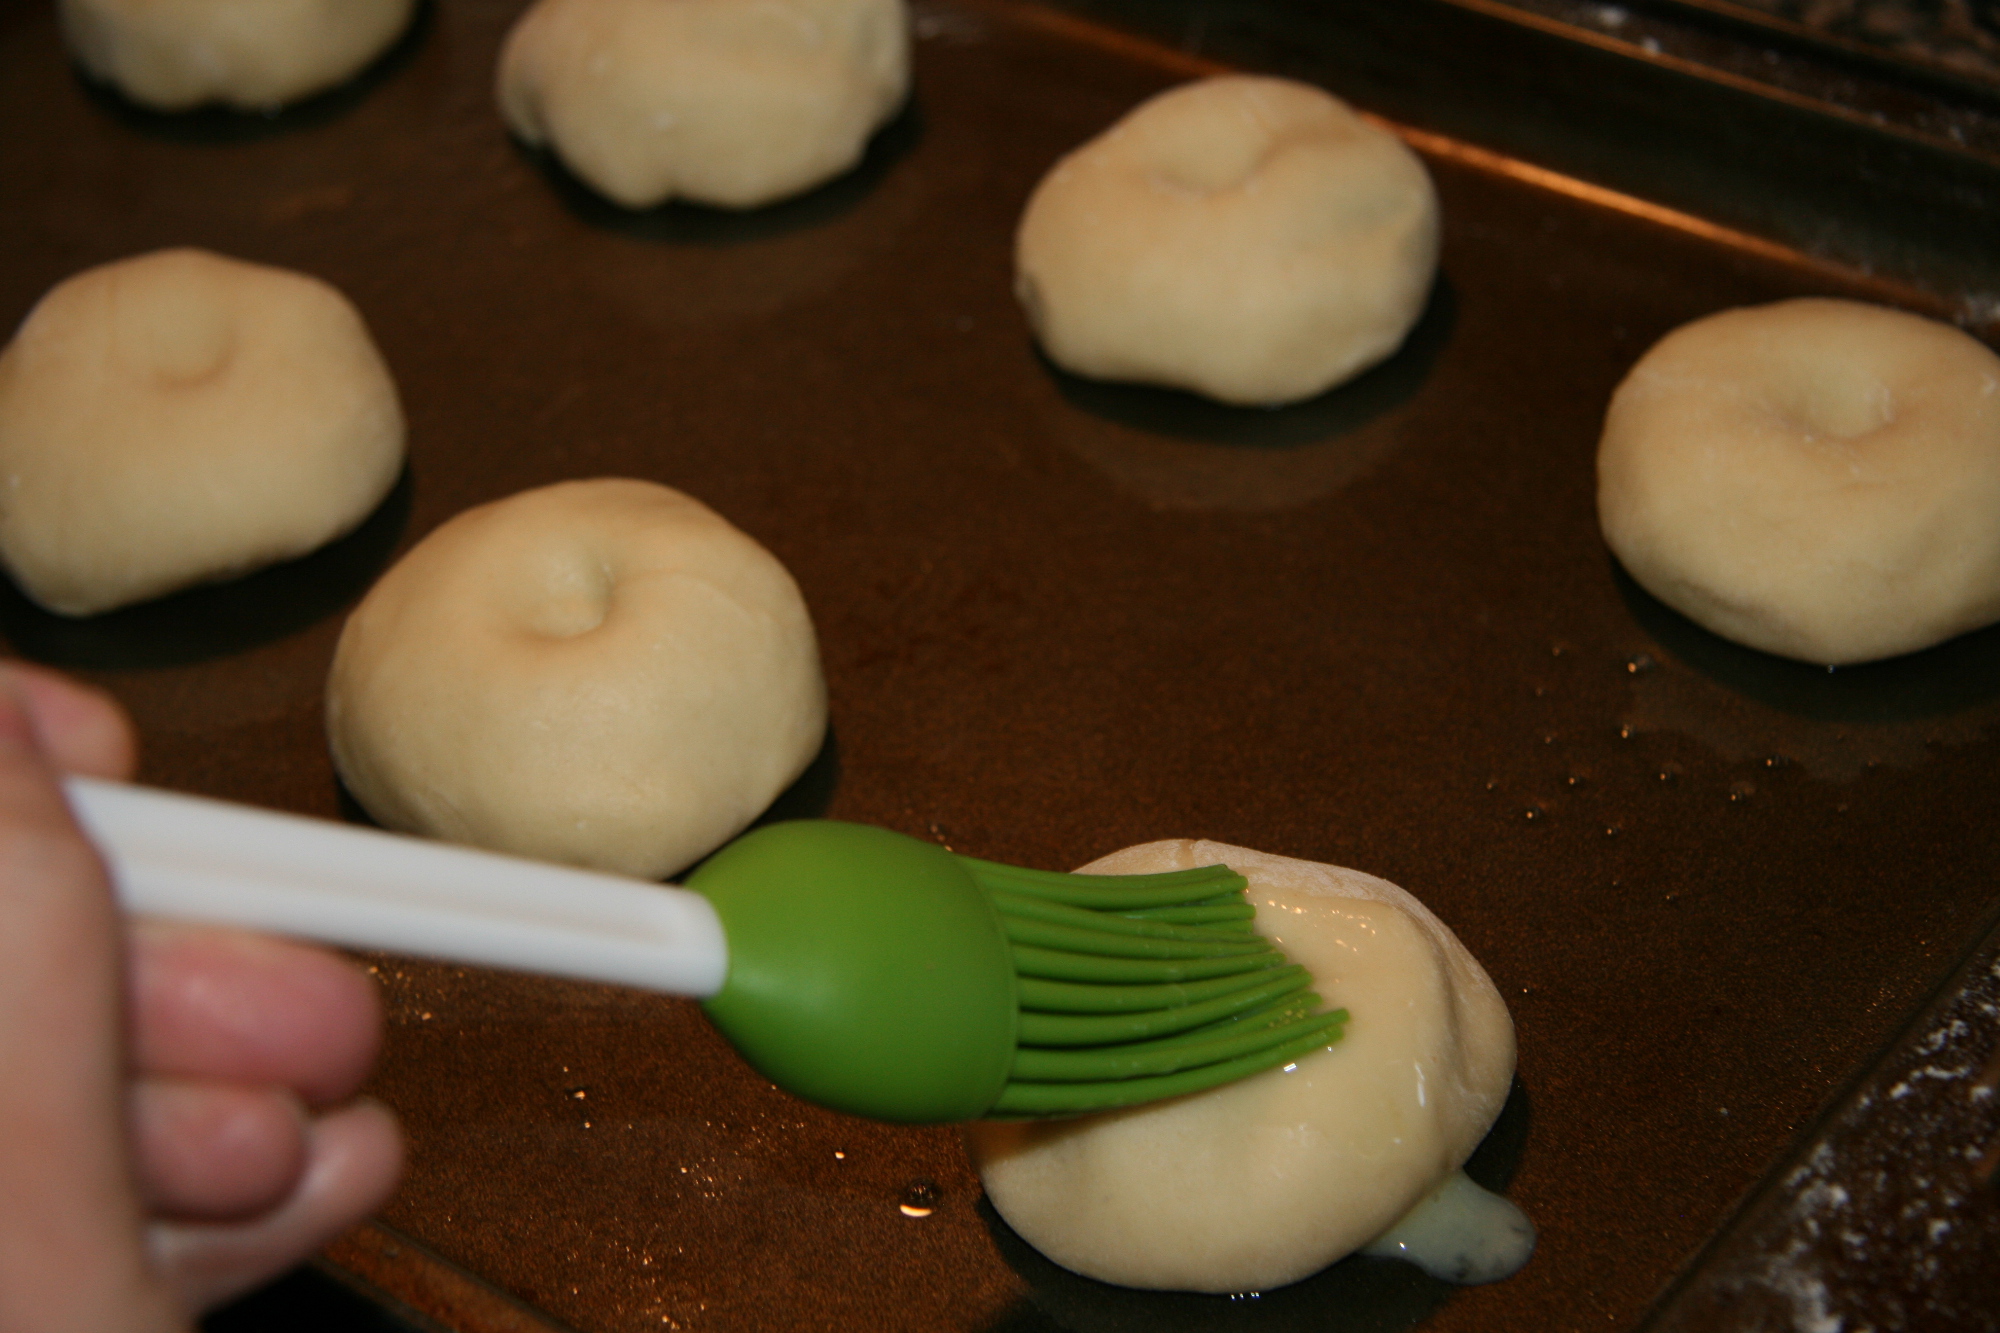
Anpan2To make them shiny, I used an egg wash and then added sesame seeds to the top before baking. As you can see, before the egg wash, I put a thumbprint in the top of each bun to hold the sesame seeds.

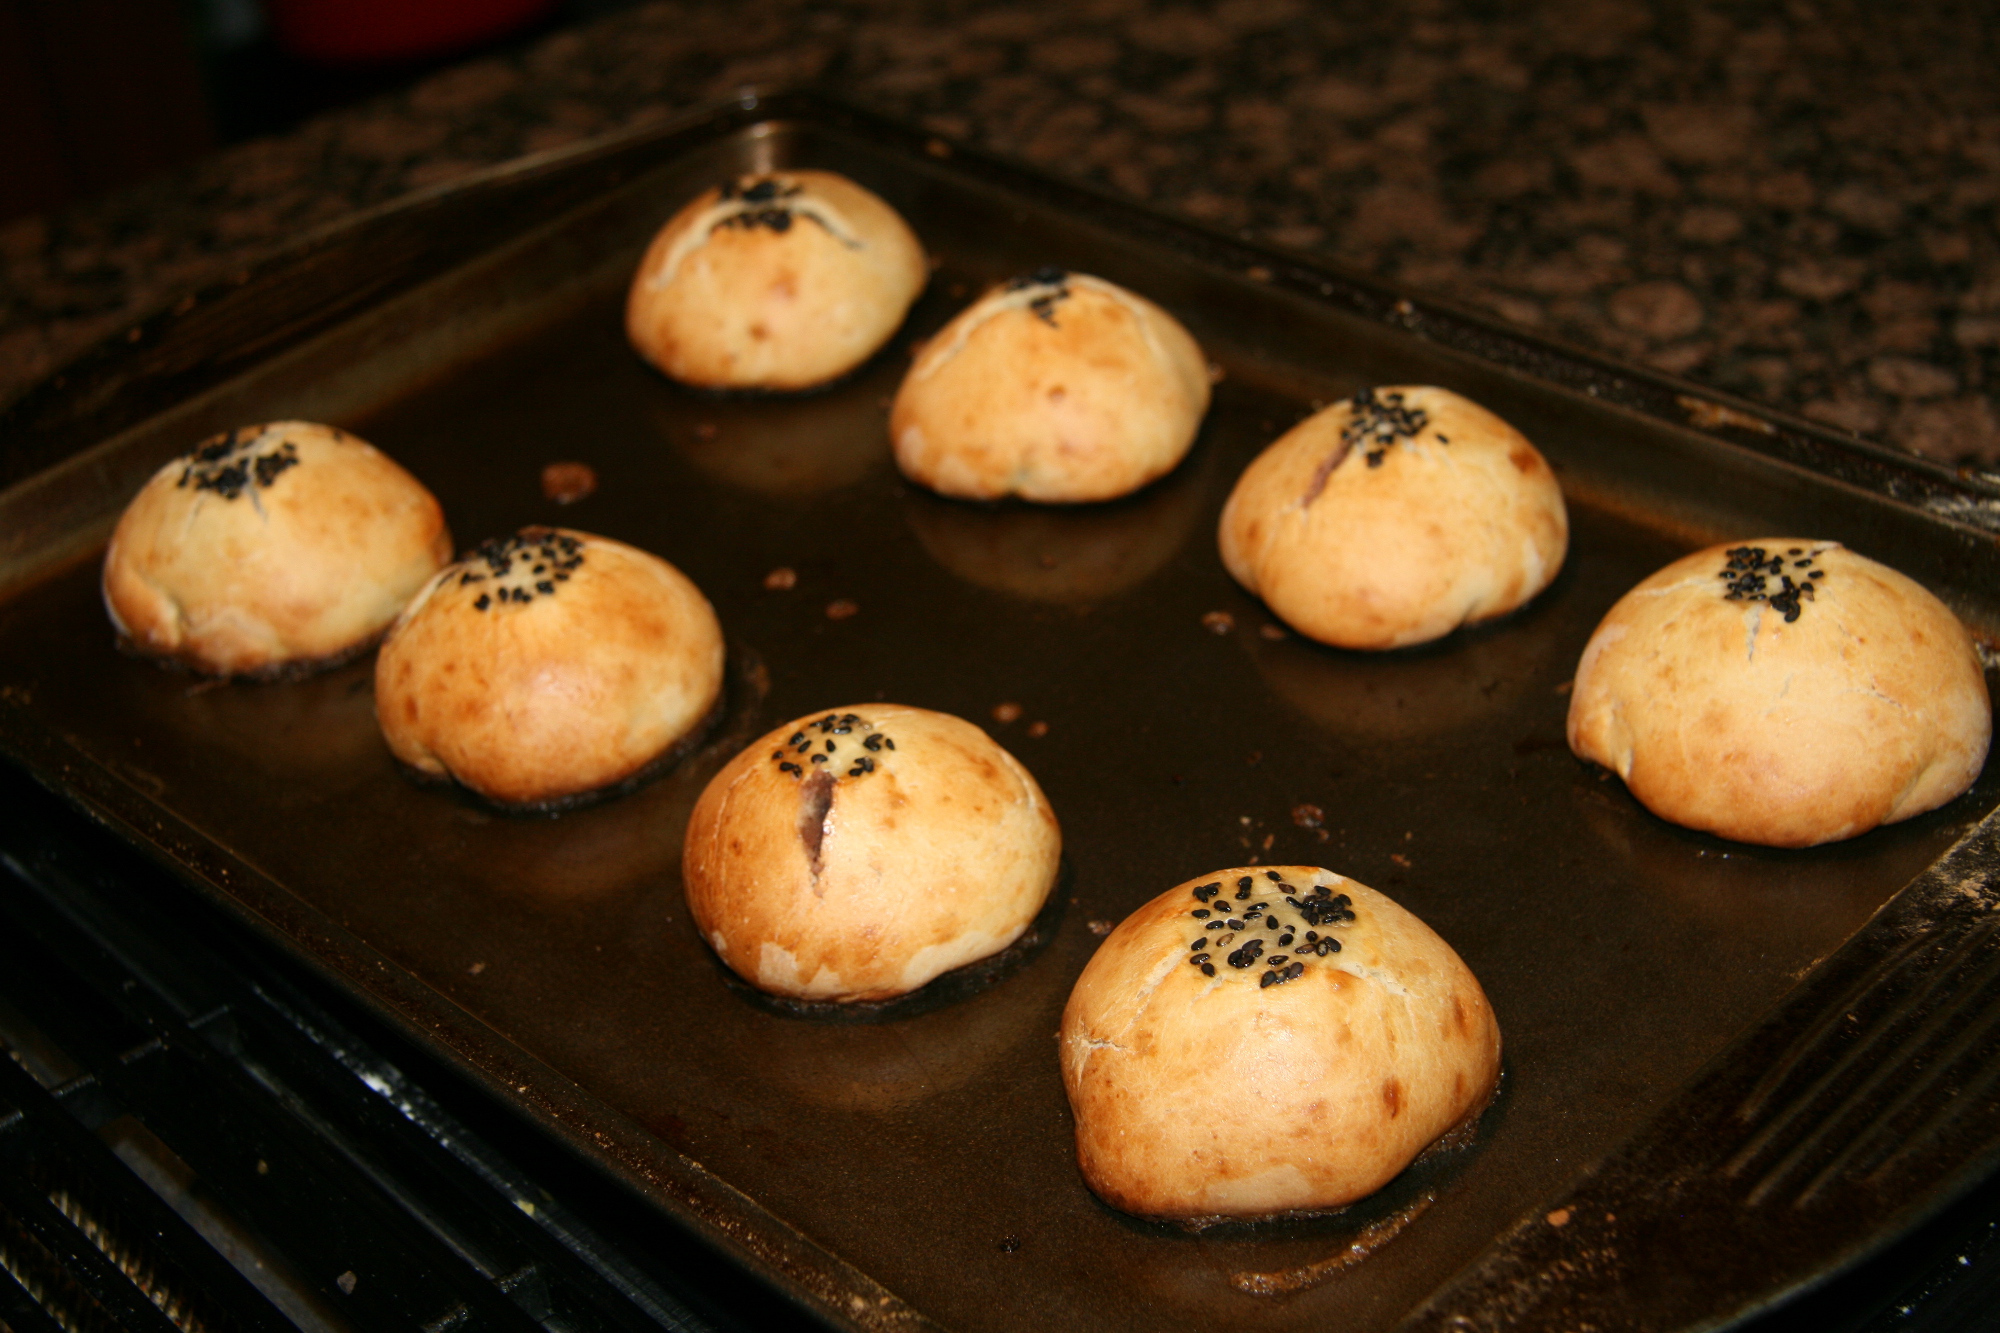
Anpan3Nice and shiny and golden!

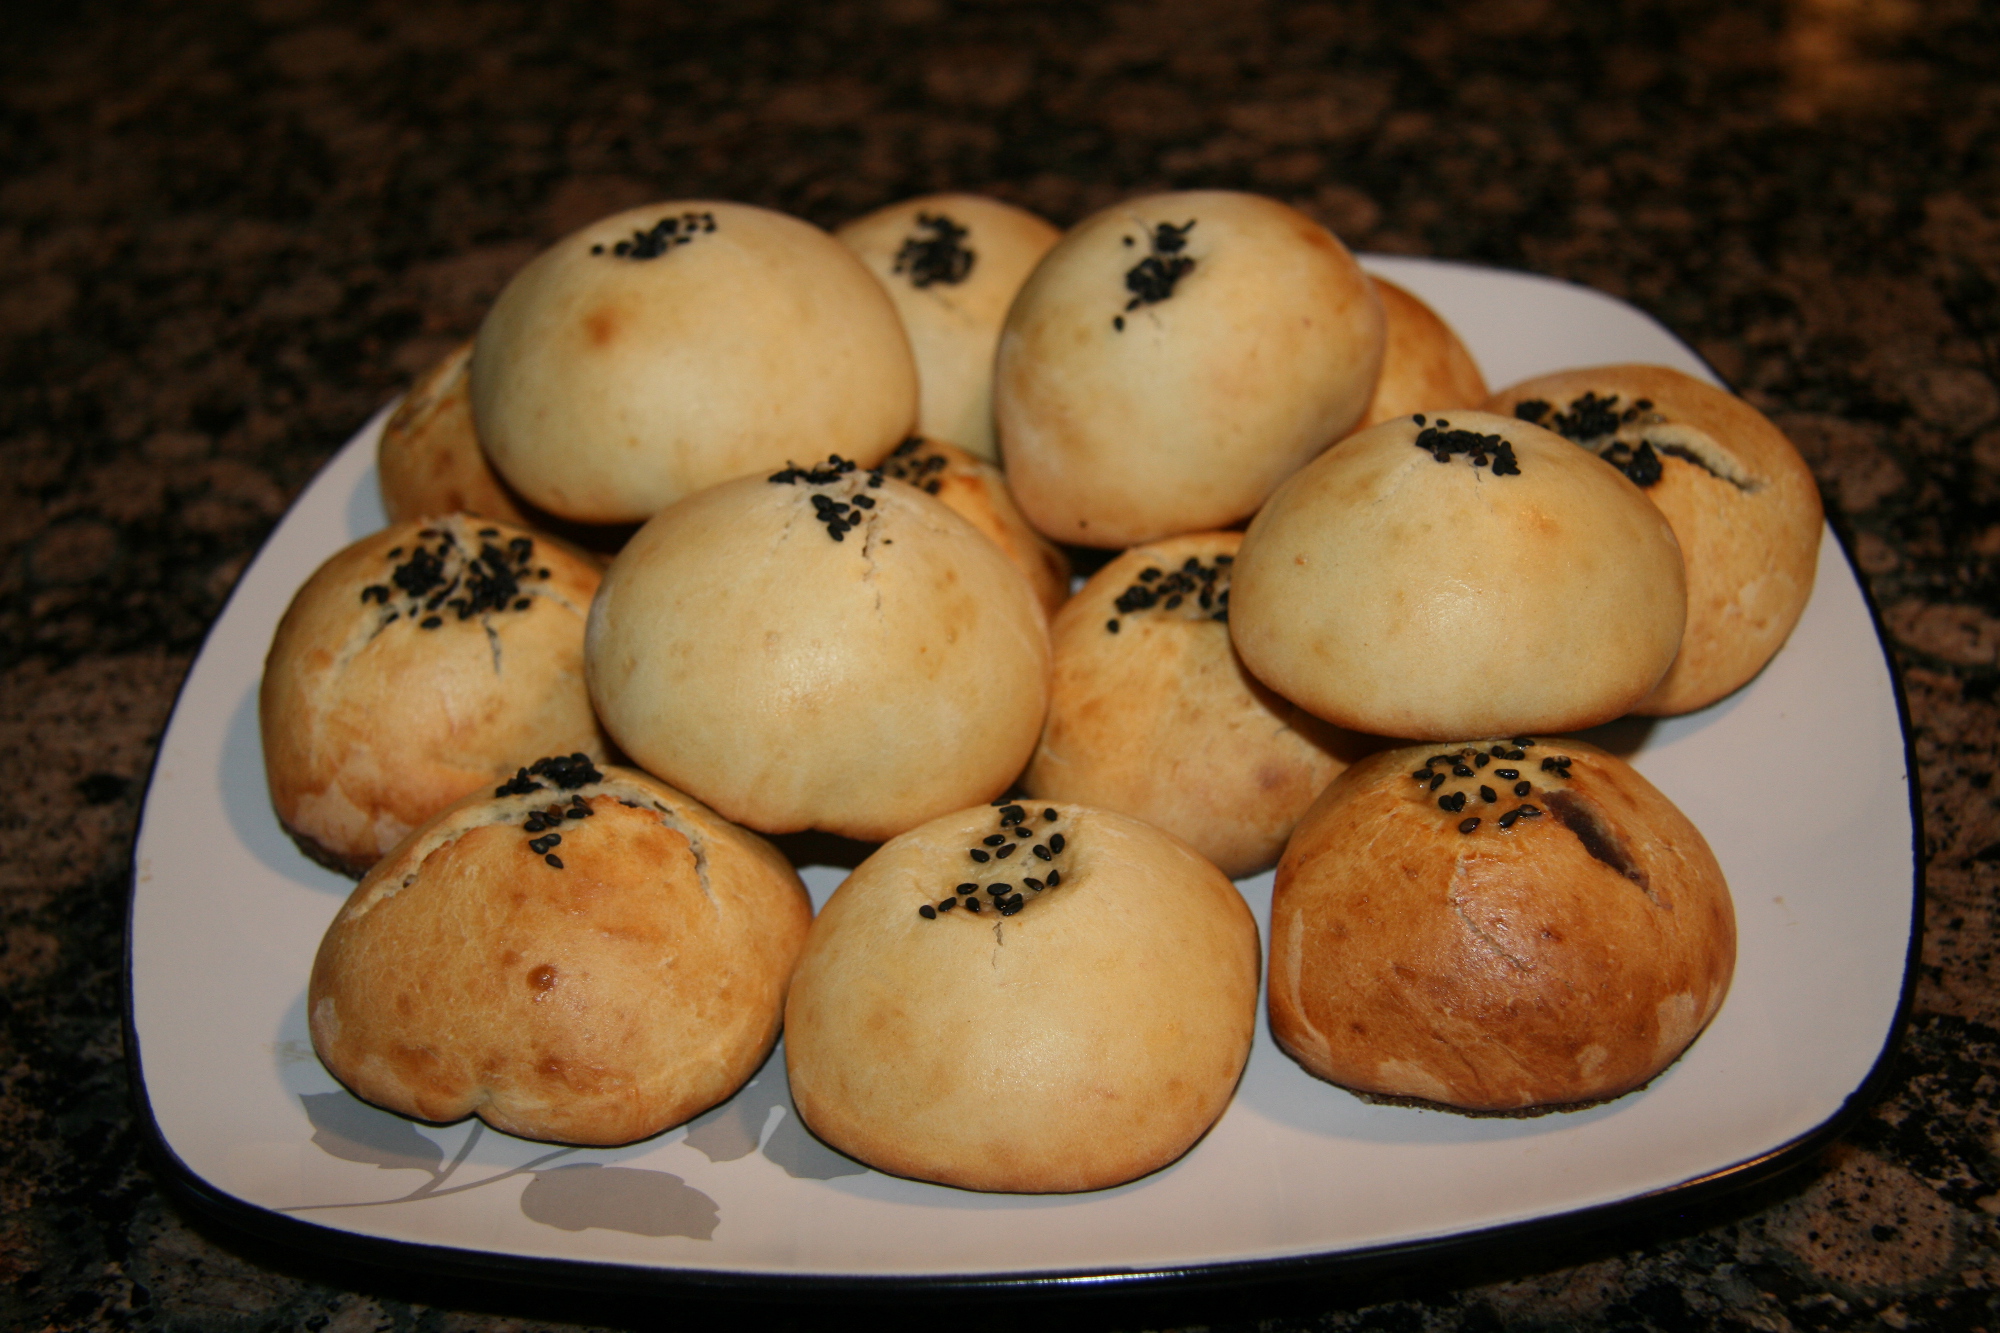
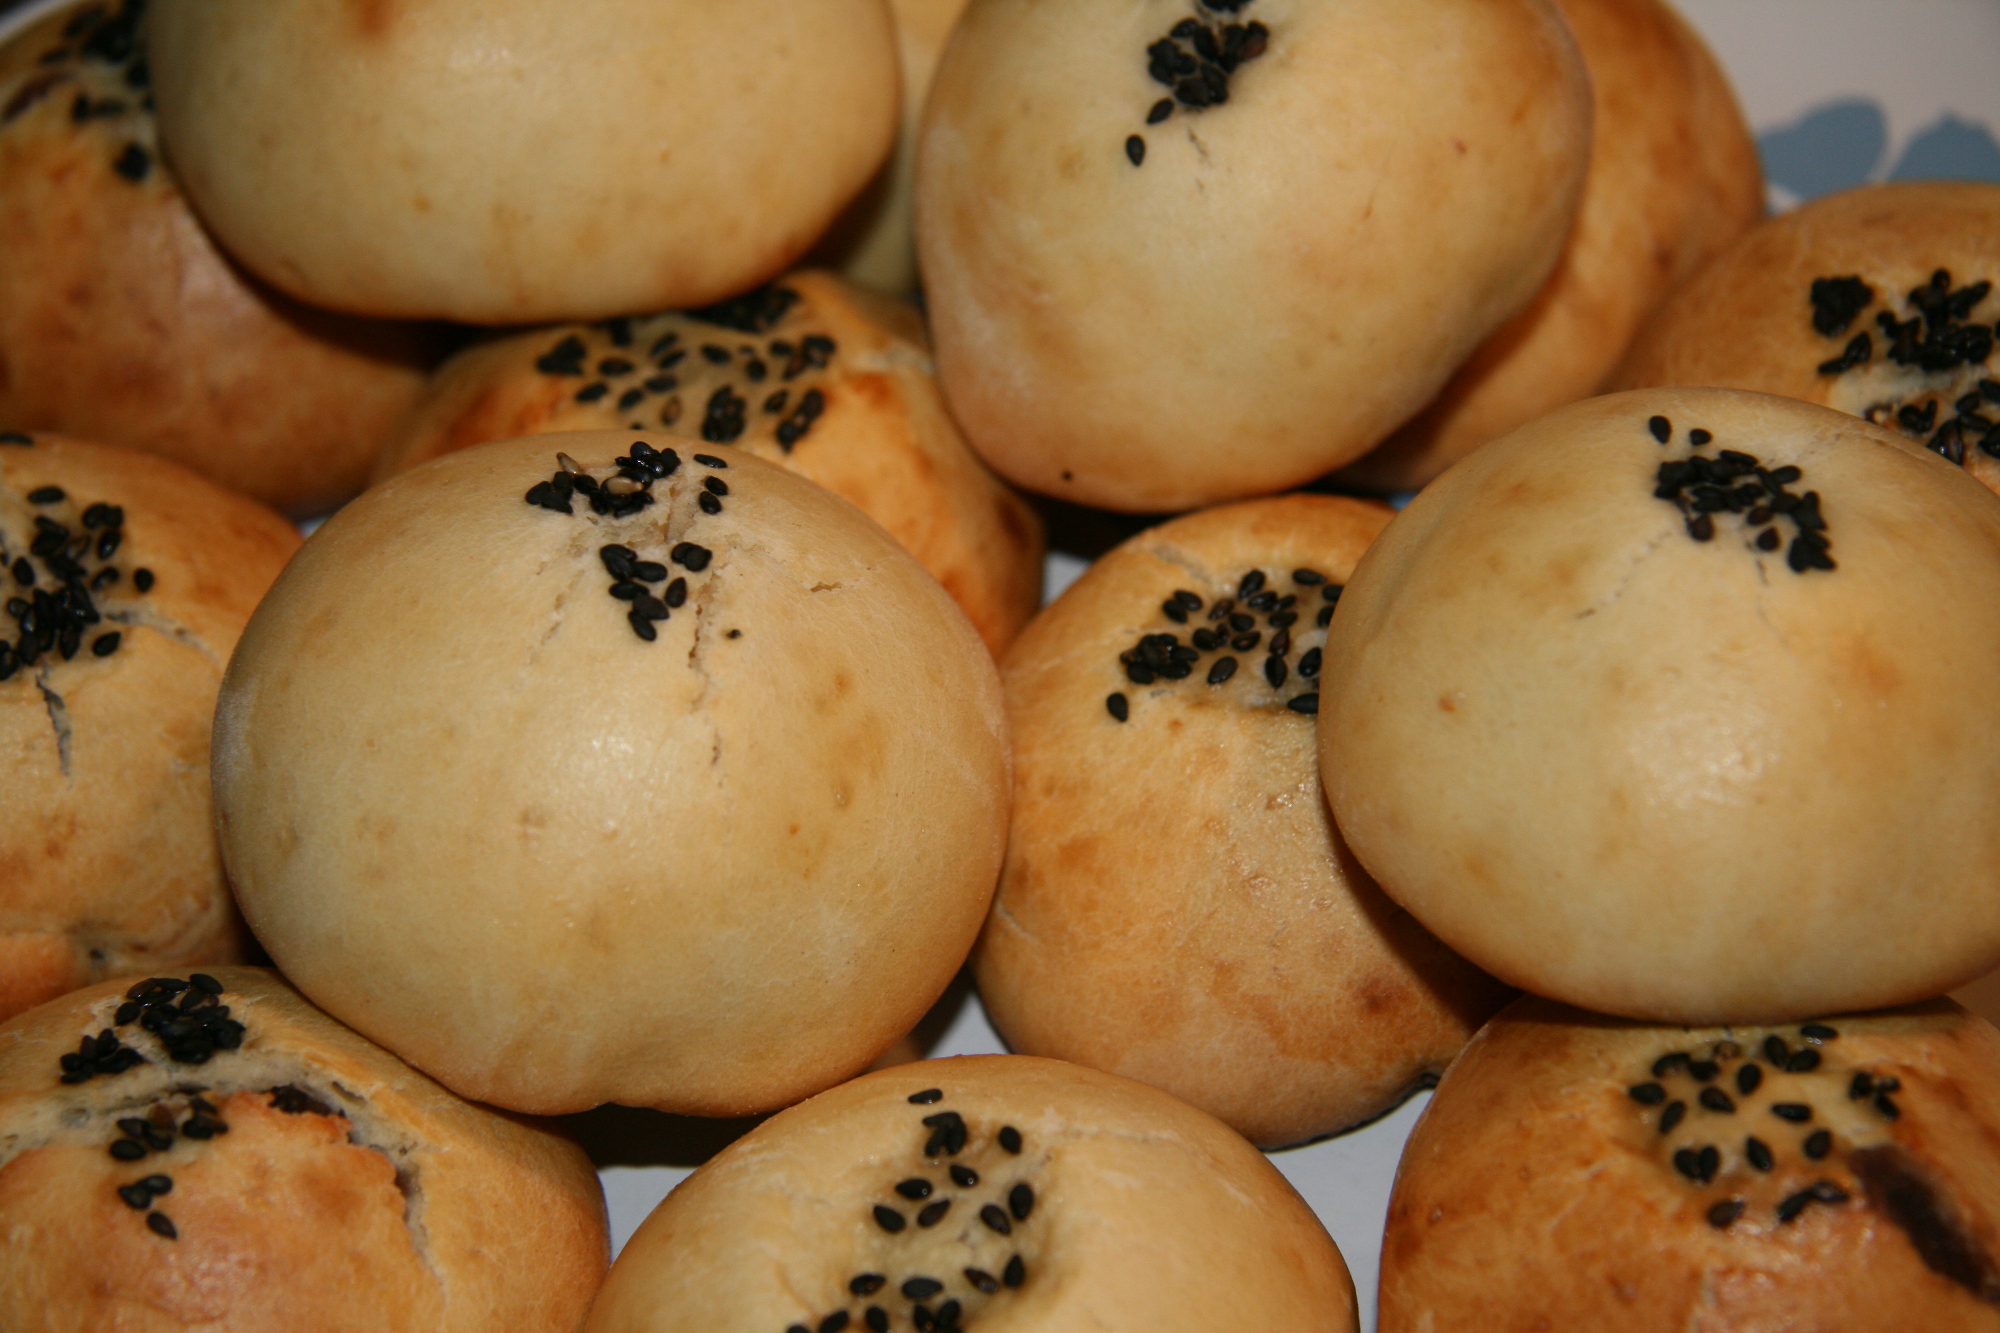
Anpan5These are really fun to make, and even more fun to eat! We enjoyed them for breakfast this morning 🙂 A nice twist to the usual winter comfort food!

Anpan7

Anpan6

Anpan (sweet buns filled with red bean paste)
Makes 8 buns
Ingredients
  • For the red bean paste: (This makes enough for 2 batches of dough)
  • 100 g red Azuki beans (1/2 cup)
  • 1/4 cup honey
  • 36 g white sugar (3 TBSP)
  • Water, for soaking and boiling
  • For the dough (recipe from Mamaloli.com):
  • 200 g all-purpose flour (1 1/2 cups)
  • 40 g white sugar (3 TBSP + 1 tsp)
  • 1/8 tsp salt
  • 1 tsp active dry yeast
  • 1 egg, lightly beaten
  • 60 grams water (1/4 cup)
  • 20 grams milk (1 TBSP)
  • 1 TBSP melted butter
  • For the topping:
  • 1 egg, lightly beaten
  • 30 g water (2 TBSP)
  • Black sesame seeds
Instructions
For the paste:
  1. Place the beans in a bowl and cover with water. Let soak for 3 hours.
  2. Drain the beans and place in a pot. Fill with water so that it comes an inch above the beans.
  3. Bring to boil and then cover and simmer for 1 hour and 10 minutes.
  4. Drain the beans and place back into the pot.
  5. Add the honey and sugar and stir until combined.
  6. Mash and let cool for 15 minutes.
  7. Boil uncovered for 5 minutes to remove excess water, until the paste has the consistency of re-fried beans.
  8. Transfer to a bowl and mash again until smooth.
For the dough (Do all the mixing in a Kitchenaid mixer if you have one, using a dough hook):
  1. Mix the flour, sugar, salt, and yeast together. Then add the water, milk, and beaten egg to form the dough. Add the melted butter and mix for about 5 minutes, until the dough is smooth and elastic.
  2. Oil a bowl by putting a few drops of olive oil and spreading around with a paper towel. Place the dough in the oiled bowl and cover (you can use a towel or plastic wrap). Let rise in a warm place for 1 hour.
  3. Split the dough into 8 equal-sized balls and place on an oiled cookie sheet. Cover with plastic wrap and let rise for 15 minutes.
To assemble:
  1. With floured hands so the dough doesn’t stick, gently flatten each ball of dough. Place a TBSP-sized ball of red bean paste on top of the dough and shape the dough around the paste until it completely surrounds it. Pinch together and place the bun (pinched side down) on a cookie sheet sprayed with Pam cooking spray.
  2. Once all the buns are formed, gently place a thumbprint in the center of each bun.
For the topping:
  1. Combine the beaten egg and water for the egg wash. Brush over the entire bun.
  2. Then spoon a few black sesame seeds into the thumbprint.
Baking instructions:
  1. Bake at 375 degrees F for 15 minutes, until golden.


Posted in Breads | Comments Off on Breadit Asian Bread Challenge: Anpan! Aka sweet buns filled with red bean paste

Authentic NYC Black and White Cookies!

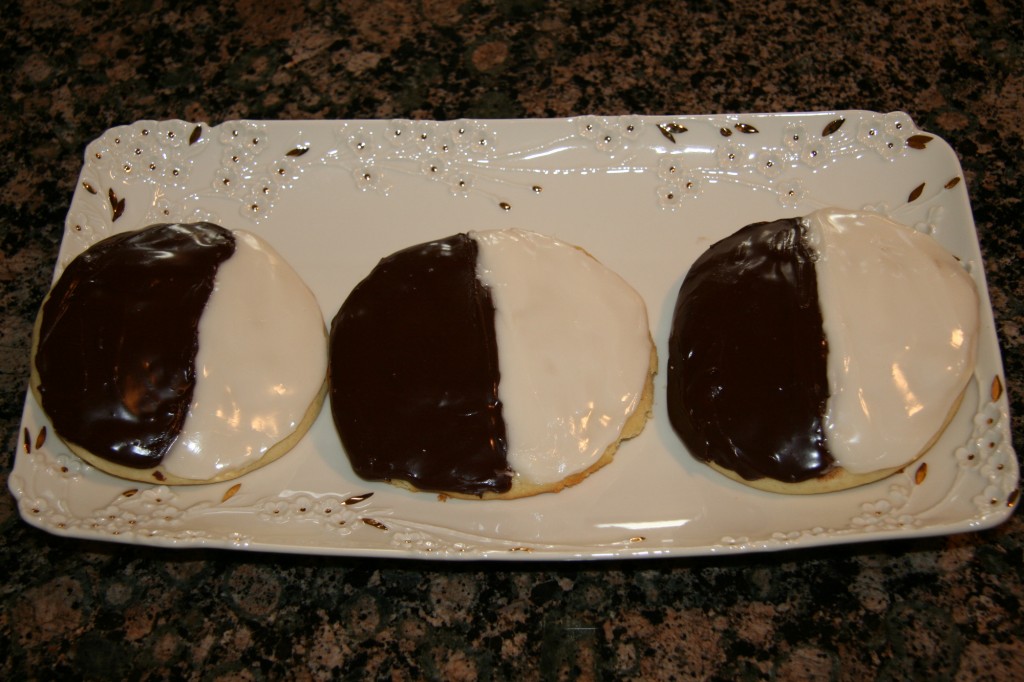
Black-and-white-cookies2I grew up in New England, lived in Queens for a while, and recently bought a house in Long Island.  But of all the places I’ve lived, I feel like I’ll always be a Queens girl. I don’t miss NYC all that much since I work there, but it’s still nice to bring a little bit of the City home to the Island. So I made some black and white cookies.They are one of my favorites, and while we had them in New England, they are a much bigger thing in NYC (on the level of pizza and bagels). BTW, I found this online. Is this not the cutest pillow to decorate a cramped NY apartment?

b&w-plush-frontb&w-plush-side

Anyways, here is the recipe. The cookies are super easy to make. The frosting is a bit more challenging, especially getting that straight division between chocolate and vanilla. I’m sure it takes a lot of practice to get it perfect!

Authentic NYC Black and White Cookies! (modified from Food.com)
Makes 6 cookies
Ingredients
  • For the cookies:
  • 1 1/4 cups all-purpose flour
  • 1/2 tsp baking soda
  • 1/2 tsp salt
  • 1/3 cup milk
  • 2 tsp white vinegar
  • 1/2 tsp vanilla
  • 1/3 cup butter, softened
  • 1 large egg
  • For the frosting:
  • 1 1/2 cups confectioner’s sugar
  • 1 TBSP Karo corn syrup
  • 2 tsp lemon juice
  • 1/4 tsp vanilla
  • 2 TBSP water (add more if needed)
  • 1/4 cup cocoa powder
Instructions
To make the cookies:
  1. Preheat oven to 350 degrees and line a baking sheet with parchment paper.
  2. In a measuring cup, pour the vinegar into the milk and let sit 5 minutes to sour into buttermilk.
  3. In a medium bowl, sift together the flour, baking soda, and salt.
  4. Stir the vanilla into the buttermilk.
  5. Using a Kitchenaid stand mixer, beat together the butter and sugar until combined. Add the egg.
  6. Add one cup of the flour mixture into the butter and sugar and mix until combined. Add some of the buttermilk and mix to moisten. Continue this way, alternating between adding the flour and the buttermilk, until it is all added and combined.
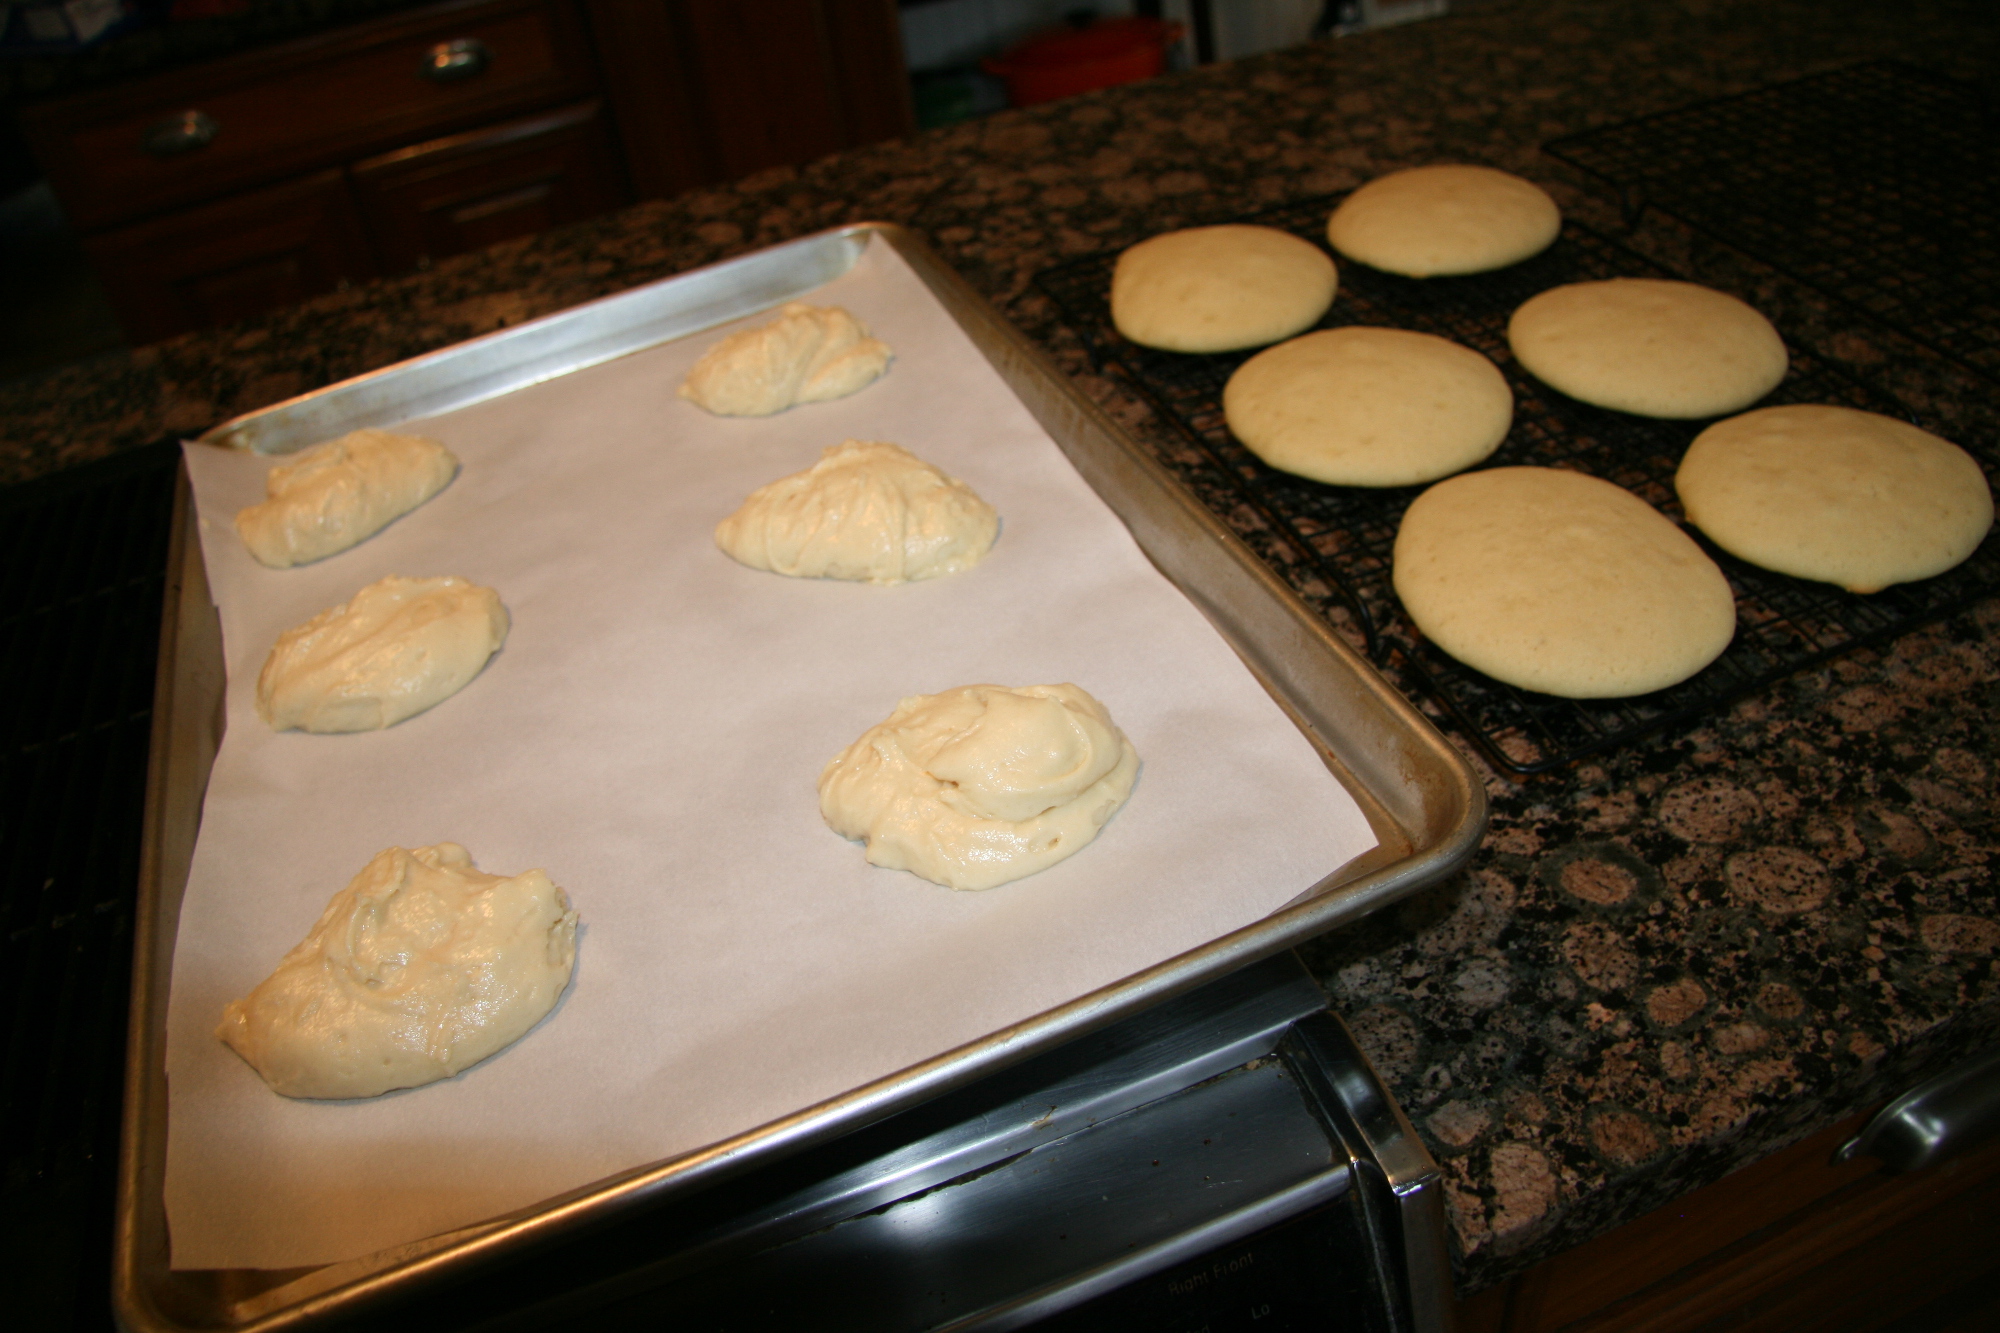
  7. Spoon 1/4 cup servings onto the cookie sheet and bake for 14-17 minutes until the tops are golden and they spring back when touched.
To make the frosting:
  1. Pour the confectioner’s sugar into a bowl. Make a well, and add the corn syrup, lemon juice, vanilla, and 1 TBSP water to the center. Mix until completely combined. Pour half of the frosting in a bowl and then add the cocoa powder and remaining 1 TBSP water.
  2. If you find it is hard to mix, you can always add more water to mix, and then add some confectioner’s sugar to stiffen the frosting. The frosting should be very thick and should not drip off the spoon.
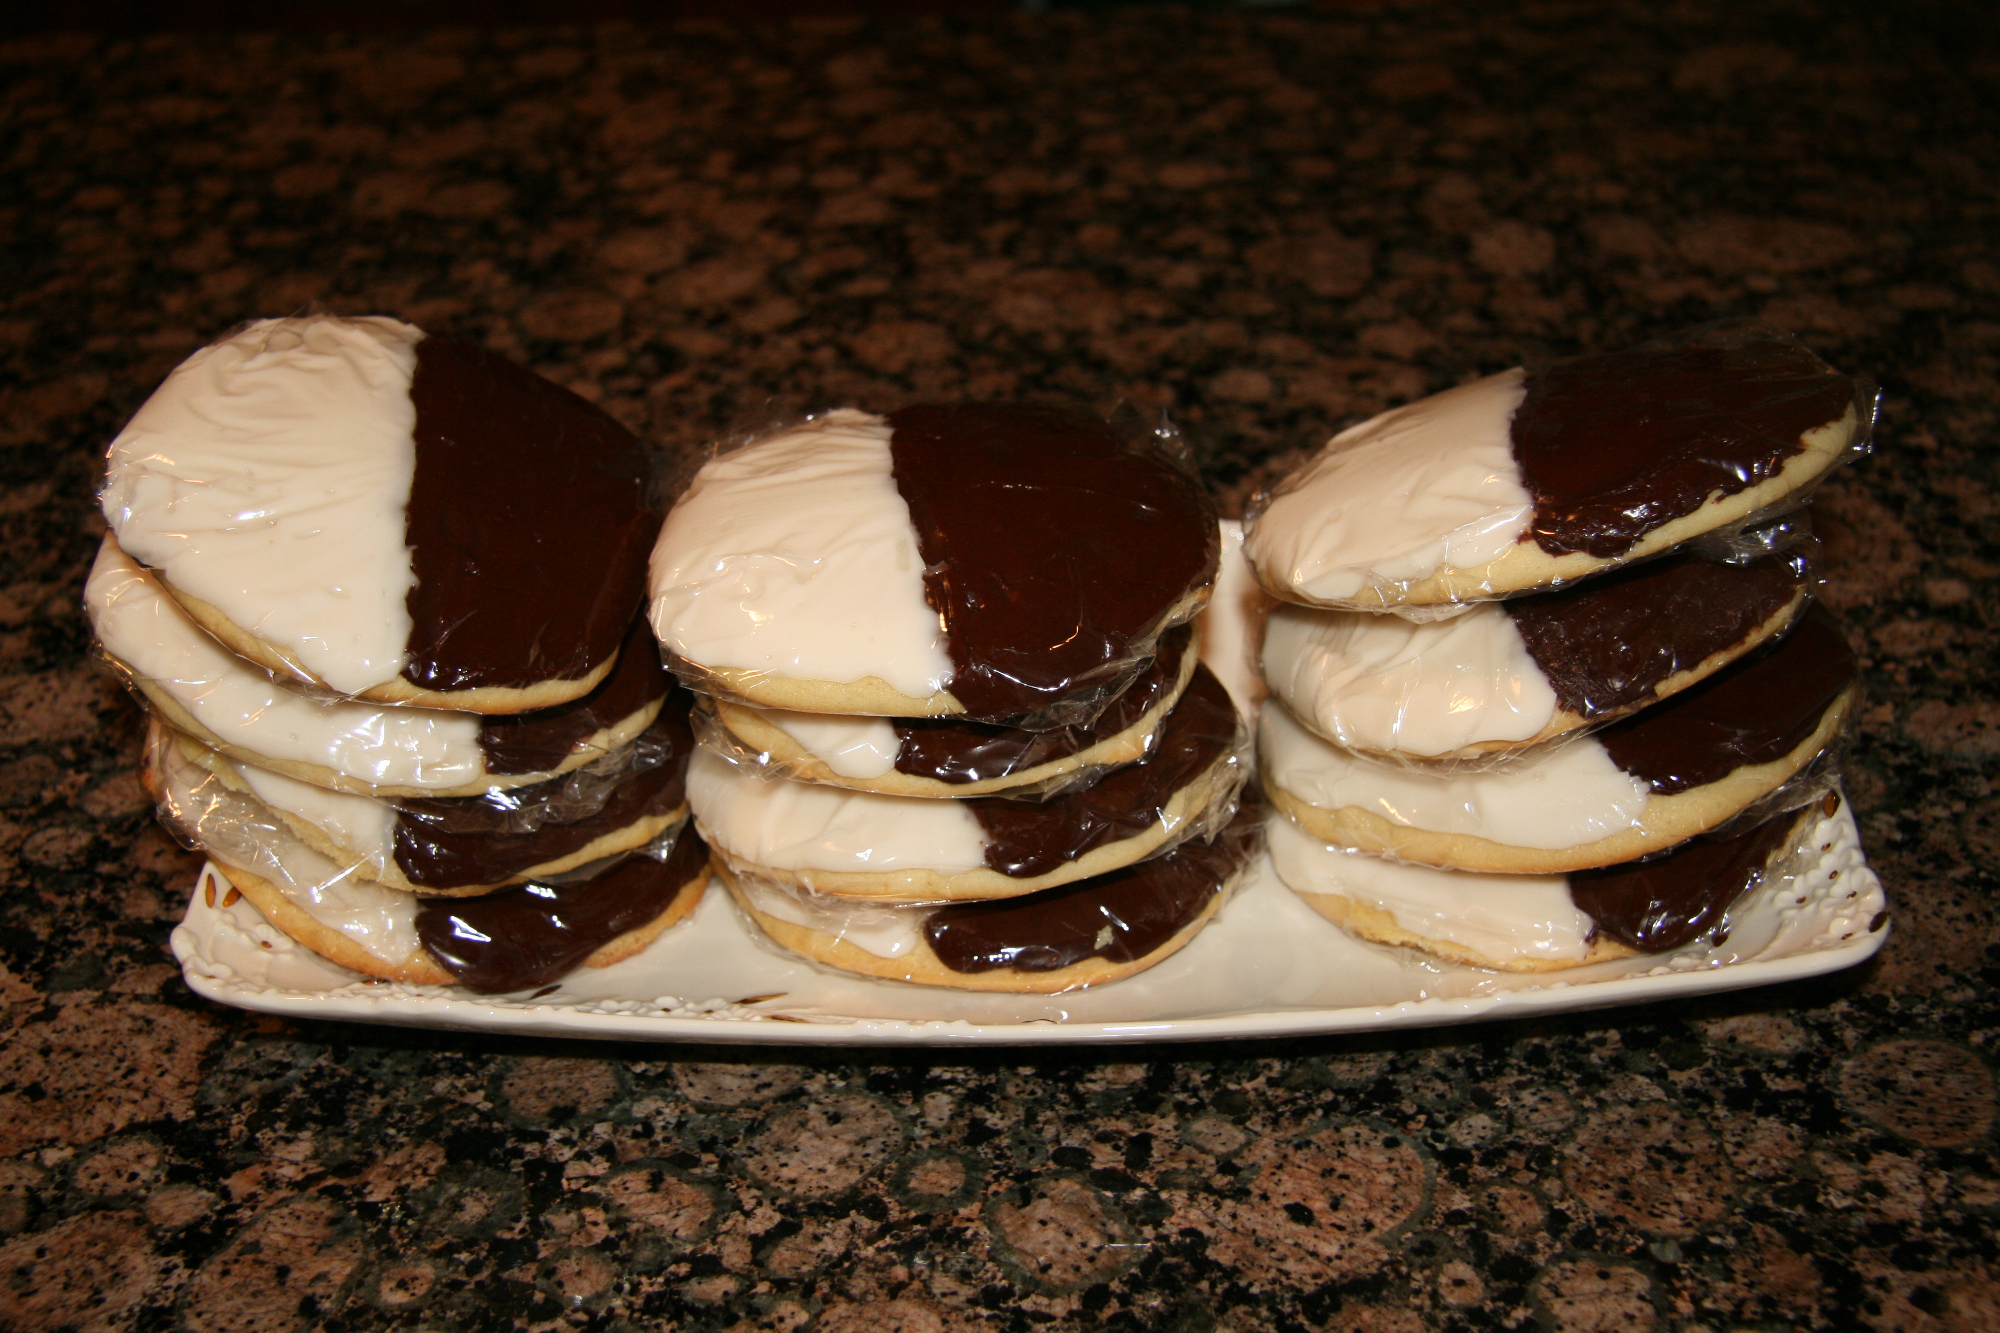
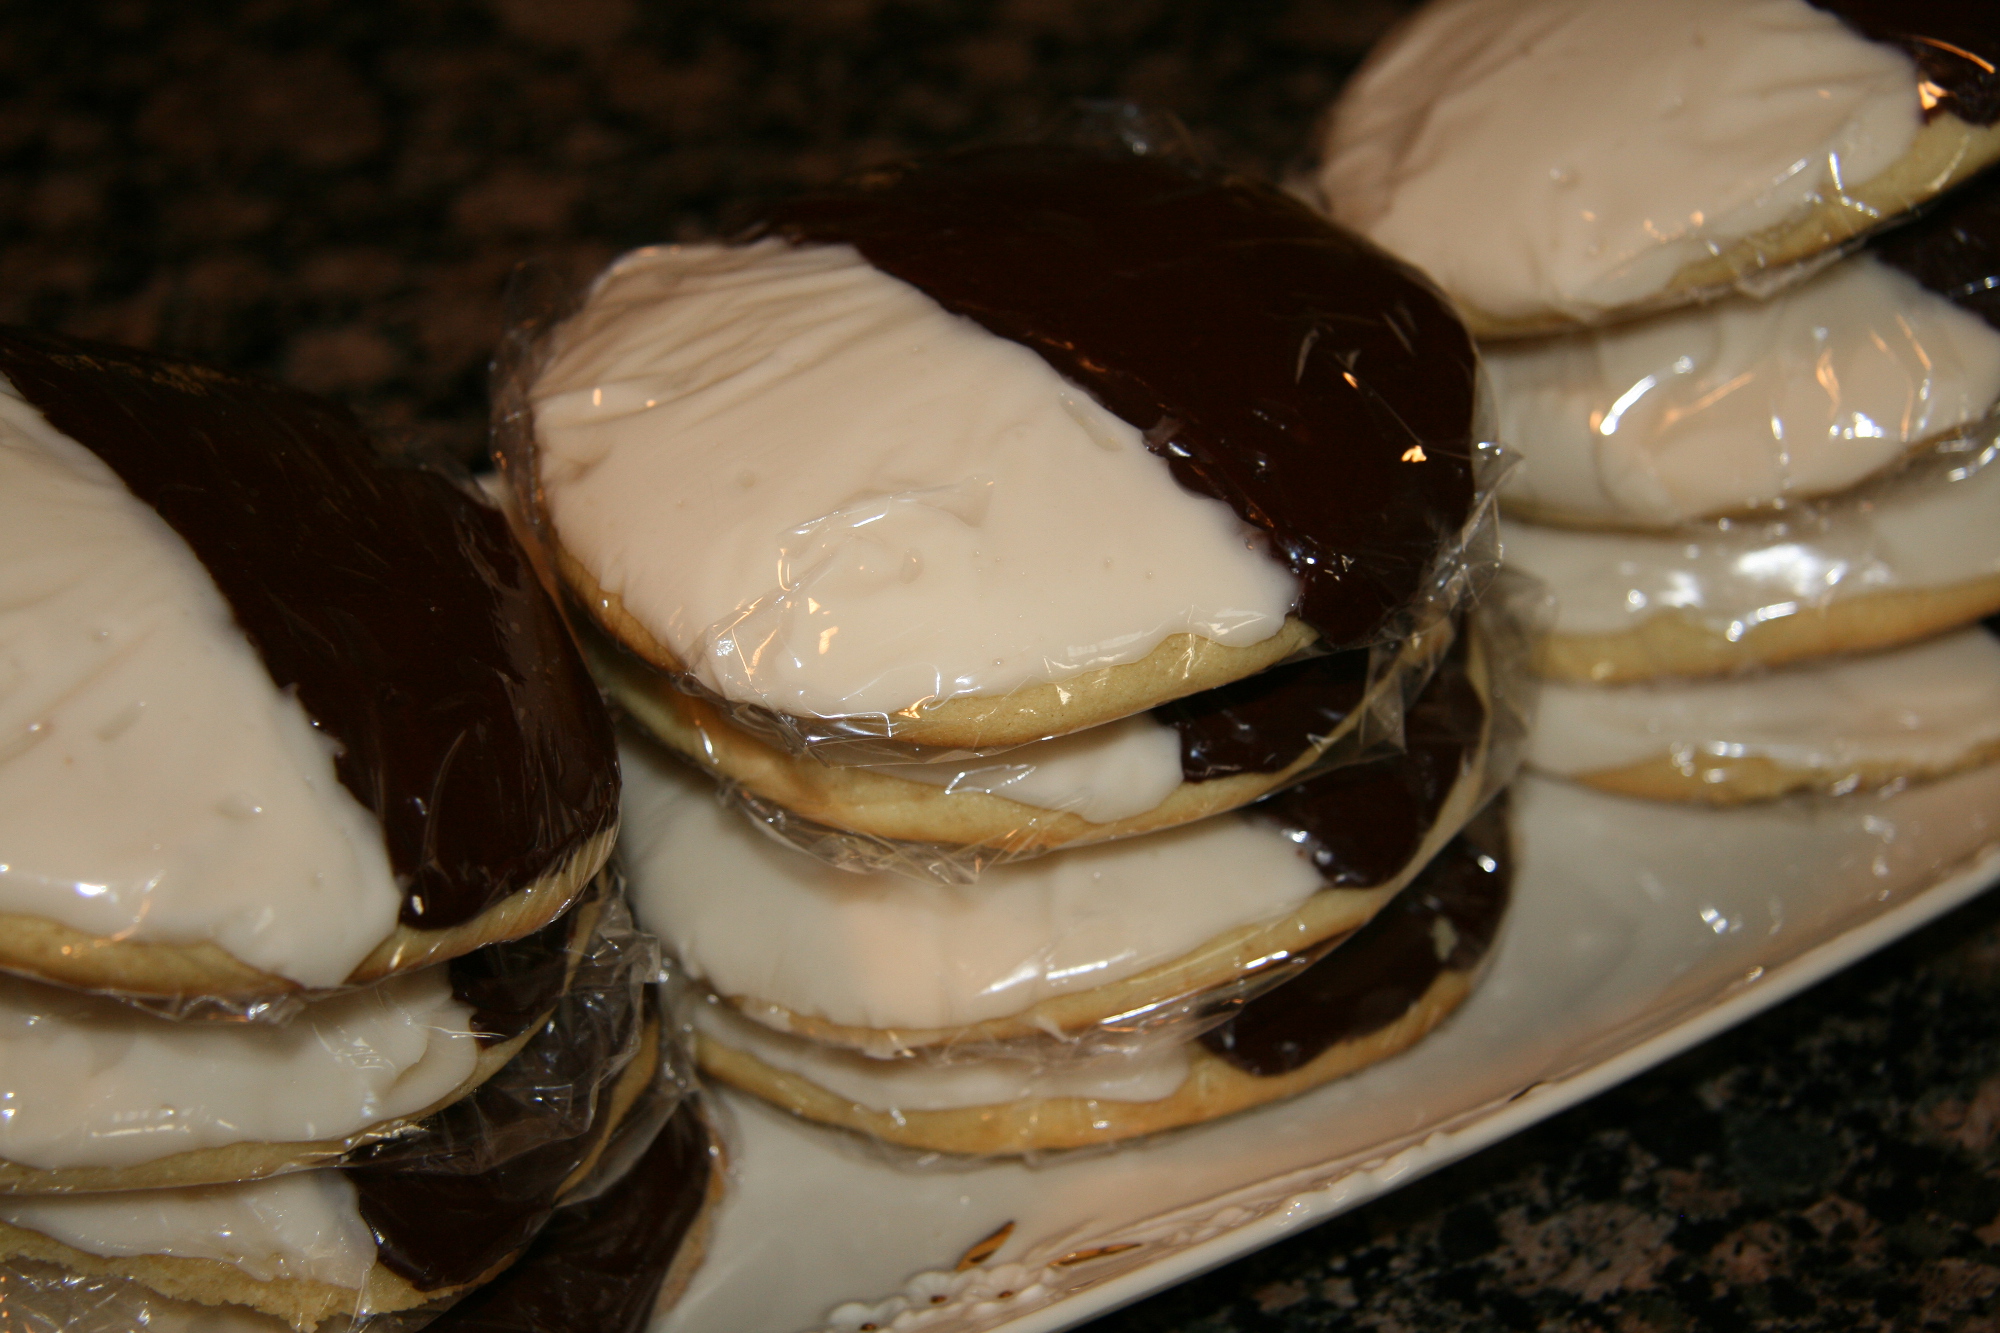
  3. To decorate, spread half of each cookie with the vanilla frosting, and the other half with the chocolate. I just used a butter knife. Let sit in the fridge for 10 minutes to harden. Then you can individually wrap with Saran wrap, which keeps them nice and soft.


Black-and-white-cookies1

Black-and-white-cookies3

Black-and-white-cookies4

Posted in Cookies | Comments Off on Authentic NYC Black and White Cookies!